ANYCUBIC Photon Mono 4, Resin 3D Printer with 7'' 10K Mono LCD Screen, Stable LighTurbo Light Source and 70mm/h Fast Printing, Print Volume 6.04'' x 3.42'' x 6.49''
$159.99 (as of June 4, 2025 21:32 GMT +00:00 - More infoProduct prices and availability are accurate as of the date/time indicated and are subject to change. Any price and availability information displayed on [relevant Amazon Site(s), as applicable] at the time of purchase will apply to the purchase of this product.)Are you tired of the constant noise and inefficiencies of your Ender 3 KE 3D printer? Upgrading to a silent and more efficient printing experience is within reach. With a few simple steps and some quality components, you can transform your printer into a powerhouse that churns out high-quality prints without disrupting your entire household.
Anycubic Coupon – $5 off $50+ sitewide with code DIY5OFF
Understanding the Upgrade Overview
The Ender 3 KE silent fans upgrade is a game-changer for 3D printing enthusiasts who crave a quieter and more efficient printing experience. By upgrading to high-quality Noctua fans and optimizing airflow, you can significantly reduce the noise level of your printer while also improving its overall performance.
Upgrade Benefits
| Benefit | Description |
|---|---|
| Reduced Noise | Experience a significant reduction in noise level, making it ideal for printing in quiet spaces. |
| Improved Airflow | Optimized airflow ensures better cooling and reduced risk of overheating. |
| Increased Efficiency | Upgrade your printer’s performance and enjoy faster print times and higher quality prints. |
Anycubic Coupon – $5 off $50+ sitewide with code DIY5OFF
Gathering Supplies
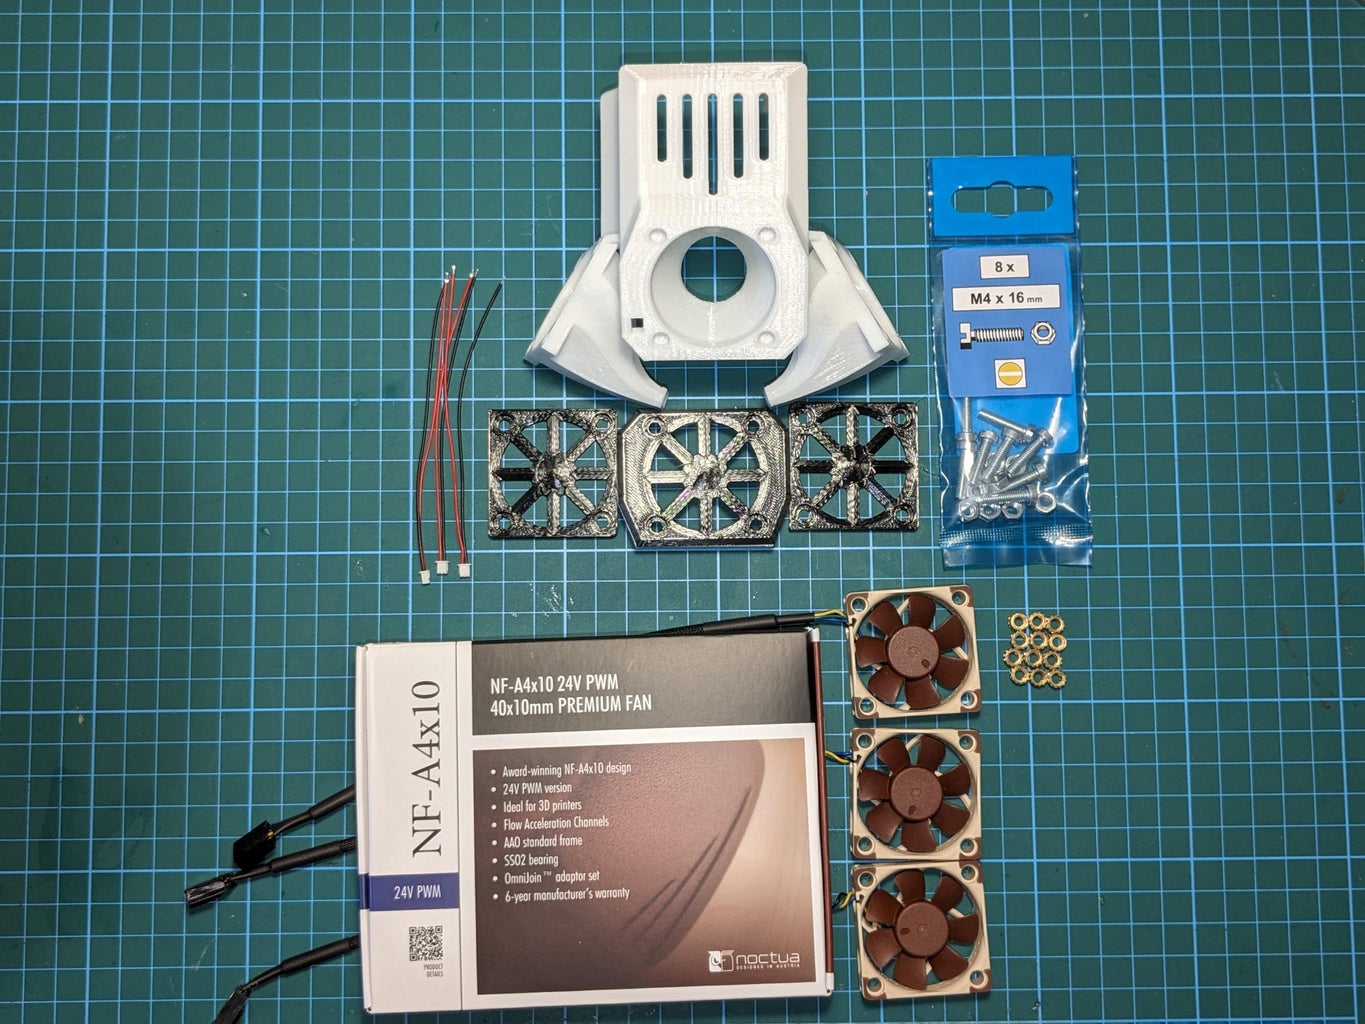
Before embarking on this upgrade, it’s essential to gather all the necessary supplies. You’ll need the following:
- 3D printed hotend shroud and mainboard/PSU fan templates
- Noctua silent fans (A4 40×10 mm and A9x14mm or A8x25mm)
- Buck converters to step down voltage from 24V to 12V
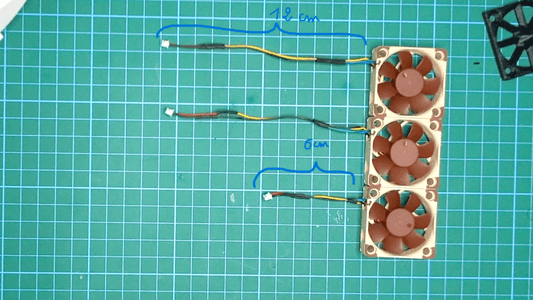
- JST connectors and wires
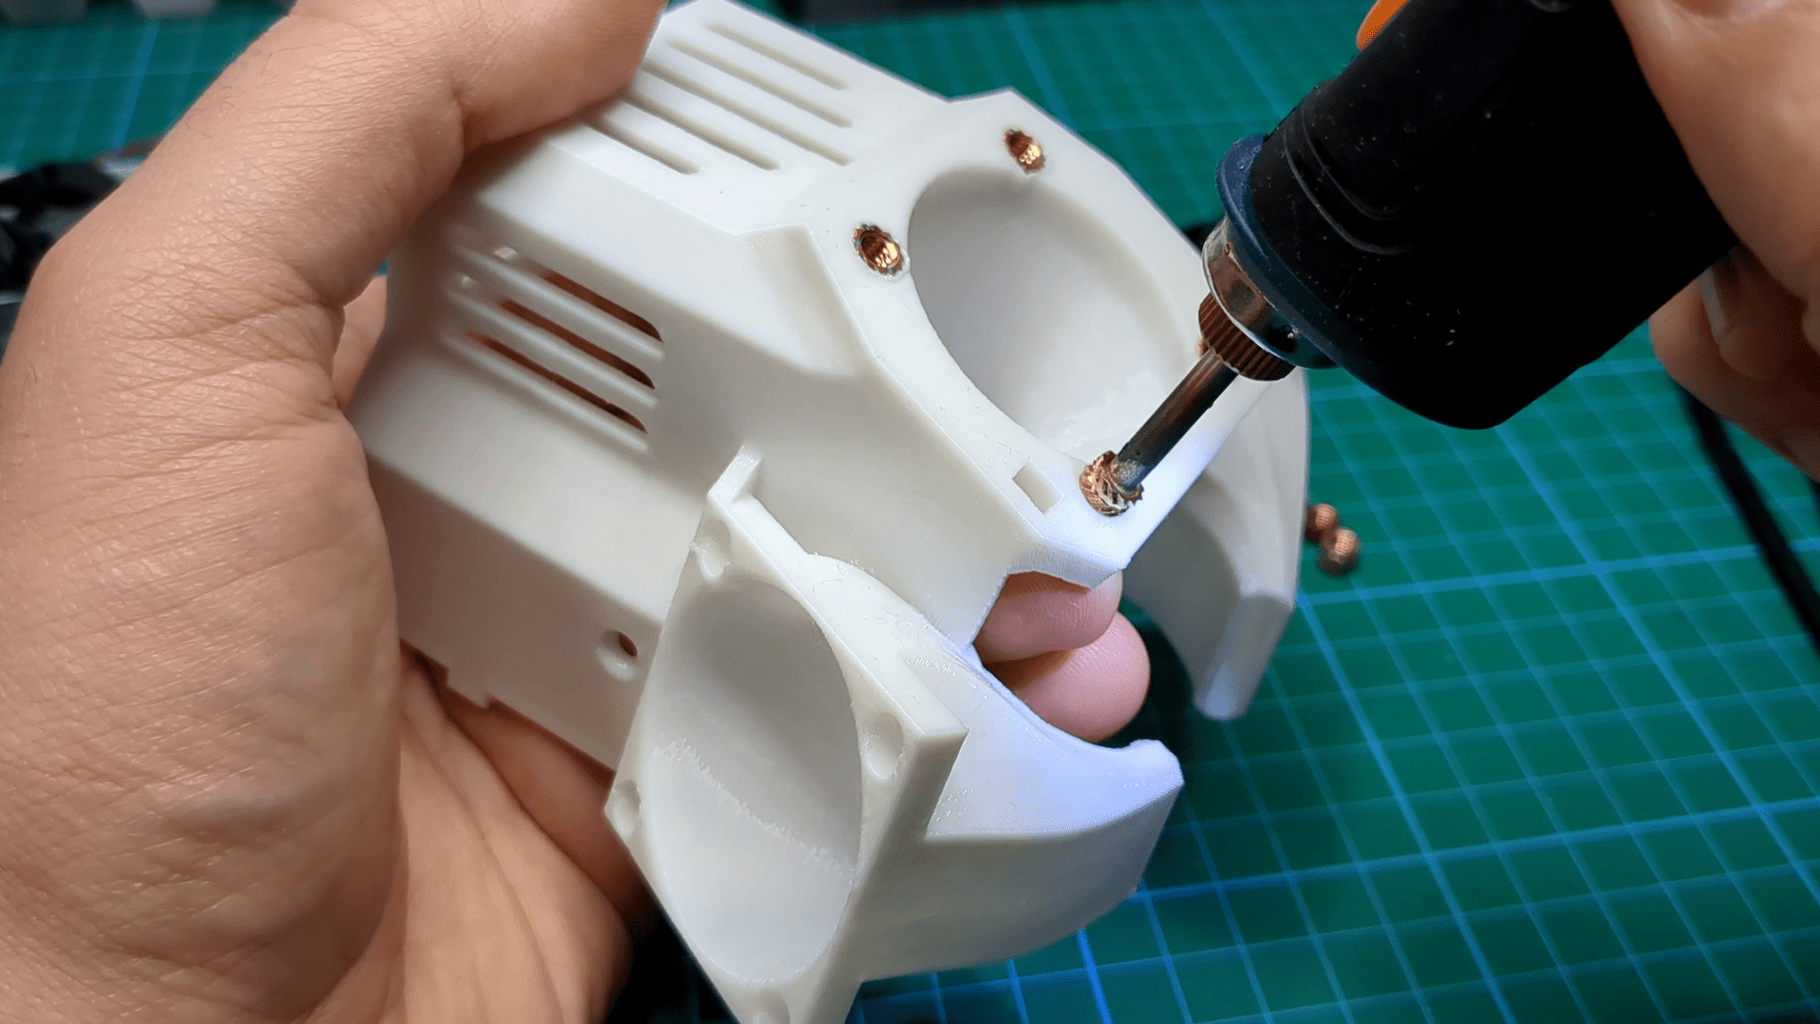
- M4 screws and nuts or heat inserts
- Rubber feet extensions and original rubber feet
Take a moment to familiarize yourself with each component and ensure you have everything you need before proceeding with the upgrade.
Disassembling the Stock Shroud and Preparing the New One
Removing the Stock Fans
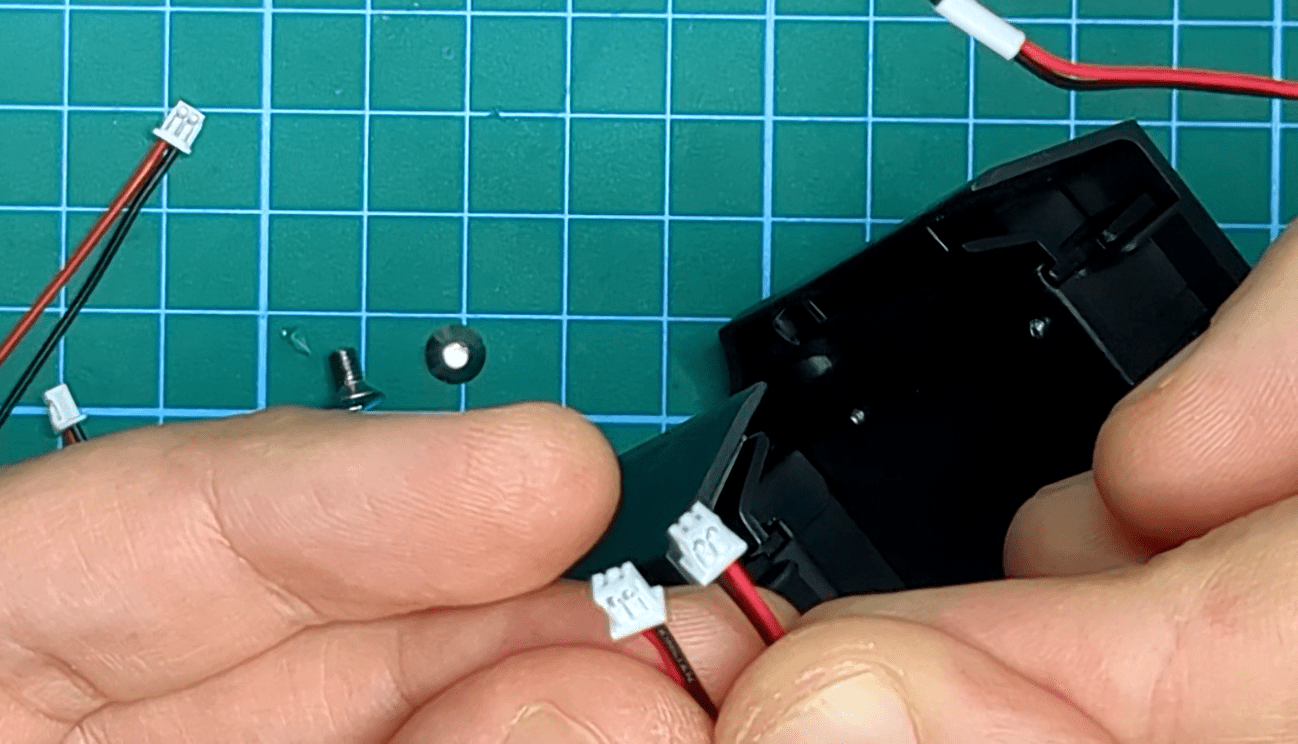
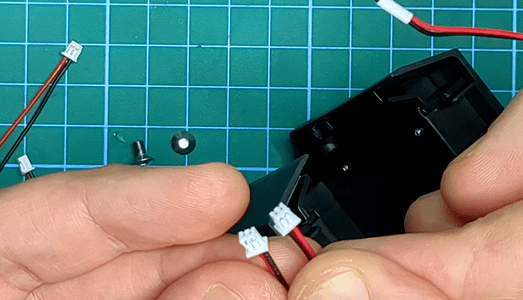
The first step is to disassemble the stock shroud and unplug the stock fans. Take care not to damage any of the components or wiring during this process. You’ll need to remove the screws holding the shroud in place and gently pry it open.
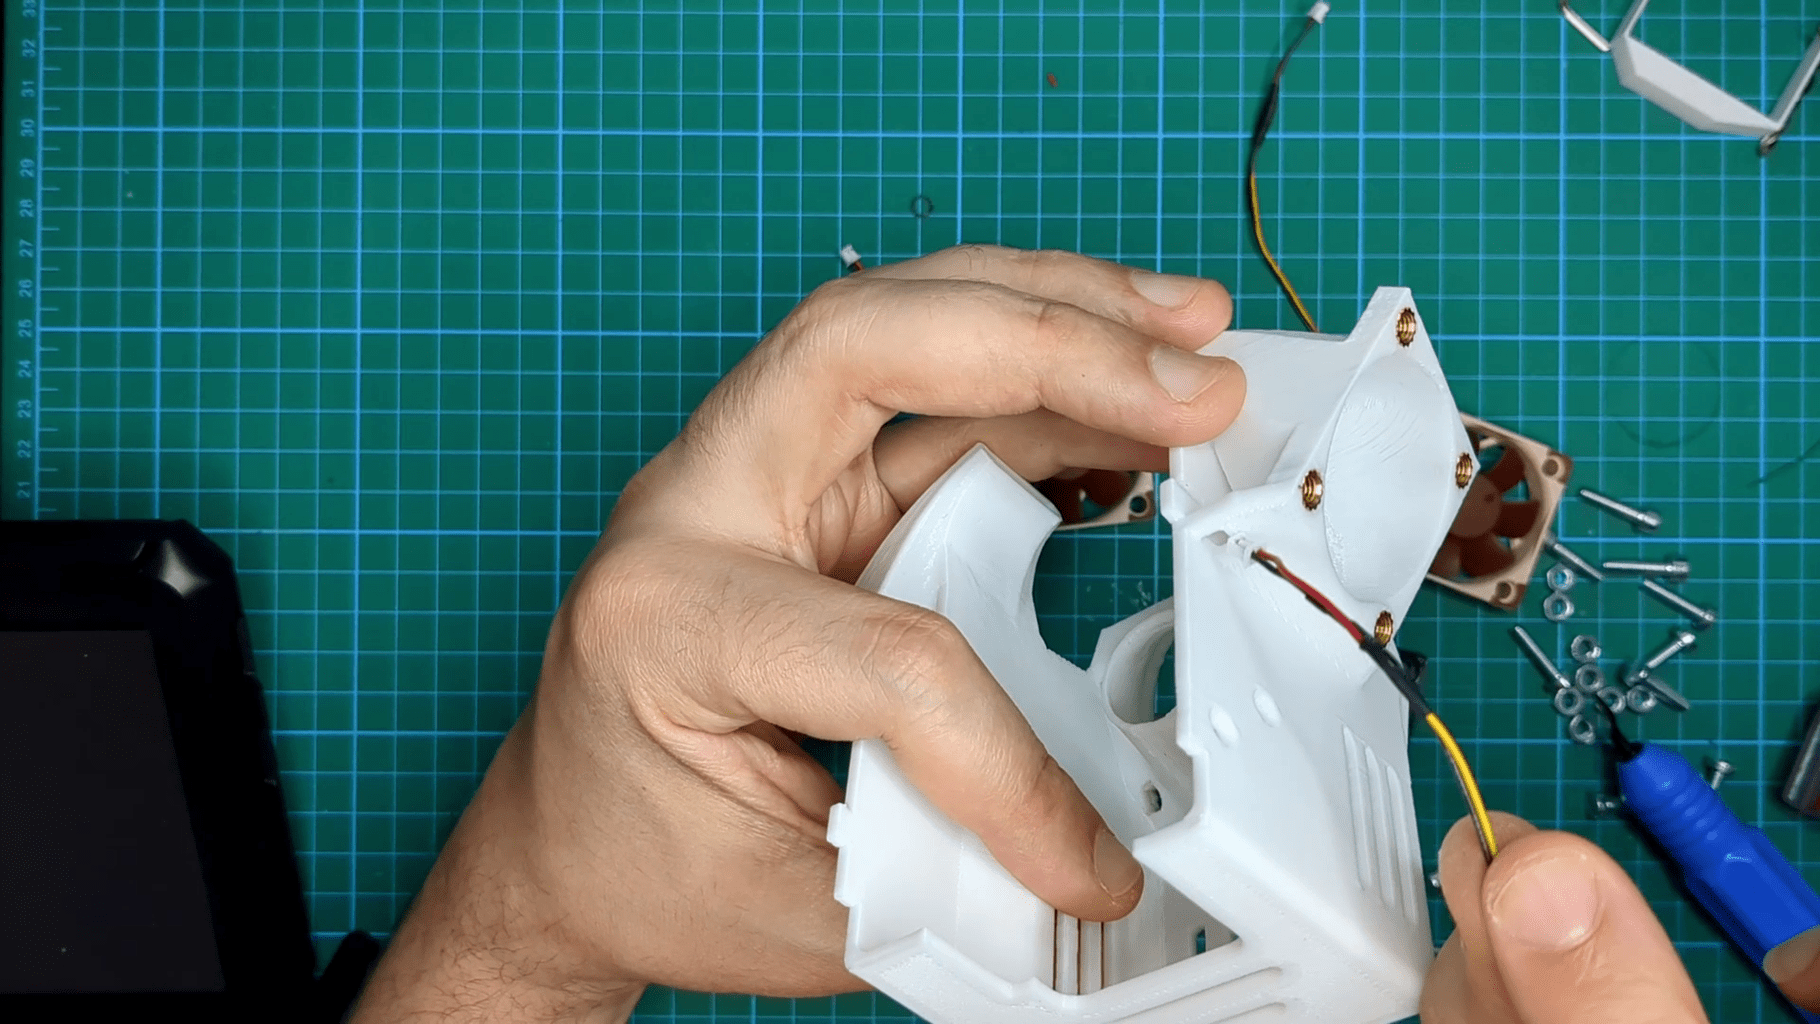
Preparing the New Shroud
Once the stock shroud is removed, prepare the new shroud by attaching the Noctua fans to it. Make sure to align the fans properly and secure them with the provided screws.
Installing the New Shroud and Upgrading the Mainboard and PSU Fans
Installing the New Shroud
Carefully install the new shroud on the printer, ensuring it is properly seated and secured. Double-check that all screws are tightened firmly to avoid any vibrations during printing.
Upgrading the Mainboard and PSU Fans
Next, upgrade the mainboard and PSU fans by replacing them with the new Noctua fans. Open the printer case and drill holes for ventilation and fan mounting. Take care not to damage any of the components or wiring during this process.
Mainboard and PSU Fan Upgrade Steps
| Step | Description |
|---|---|
| Remove Stock PSU Fan | Carefully remove the stock PSU fan and disconnect the wiring. |
| Install New PSU Fan | Install the new PSU fan and reconnect the wiring. Make sure to double-check polarity. |
| Add Buck Converters | Add buck converters to step down voltage from 24V to 12V. |
| Wire Fans and Buck Converters | Wire the fans and buck converters, ensuring proper connections and polarity. |
Finalizing the Upgrade
Closing the Printer Case and Attaching New Feet
Once the upgrade is complete, close the printer case and attach the new feet for improved airflow. Make sure all screws are tightened firmly to avoid any vibrations during printing.
Final Check
Double-check all connections and ensure that the printer is properly assembled. Plug in the printer and test it to ensure that everything is working as expected.
Important Notes
- Opening and manipulating the printer will void the warranty. Proceed with caution and at your own risk.
- Use anti-static precautions when handling the mainboard to avoid damaging components.
- Double-check polarity when soldering wires to avoid damaging components.
With the Ender 3 KE silent fans upgrade, you can enjoy a quieter and more efficient printing experience. By following these steps and taking the necessary precautions, you can transform your printer into a high-performance machine that meets your printing needs.
Anycubic Coupon – $5 off $50+ sitewide with code DIY5OFF
