Entina Mini 3D Printers Tina 2, Fully Assembled and Auto Leveling 3D Printer for Beginners, Removable Magnetic Platform, High Precision Printing with PLA/PLA Pro/TPU, Size 3.9x4.7x3.9 inch
$179.99 (as of May 7, 2025 20:40 GMT +00:00 - More infoProduct prices and availability are accurate as of the date/time indicated and are subject to change. Any price and availability information displayed on [relevant Amazon Site(s), as applicable] at the time of purchase will apply to the purchase of this product.)Are you tired of dealing with overheating issues in your 3D printing setup? Do you want to take your printing game to the next level with a temperature-controlled automation system? Look no further! In this article, we’ll explore how to create an automated cooling system for the Bambu A1 3D printer using a Raspberry Pi Pico and a few other components.

Anycubic Coupon – $5 off $50+ sitewide with code DIY5OFF
Understanding the Problem
The Bambu A1 is a great 3D printer, but it has one major flaw: it doesn’t have an internal cooling fan for the motherboard. This can lead to overheating issues, especially in warm environments or when printing complex models. To solve this problem, we need to create a system that can cool the printer and motherboard effectively.
The Solution: Automated Cooling System
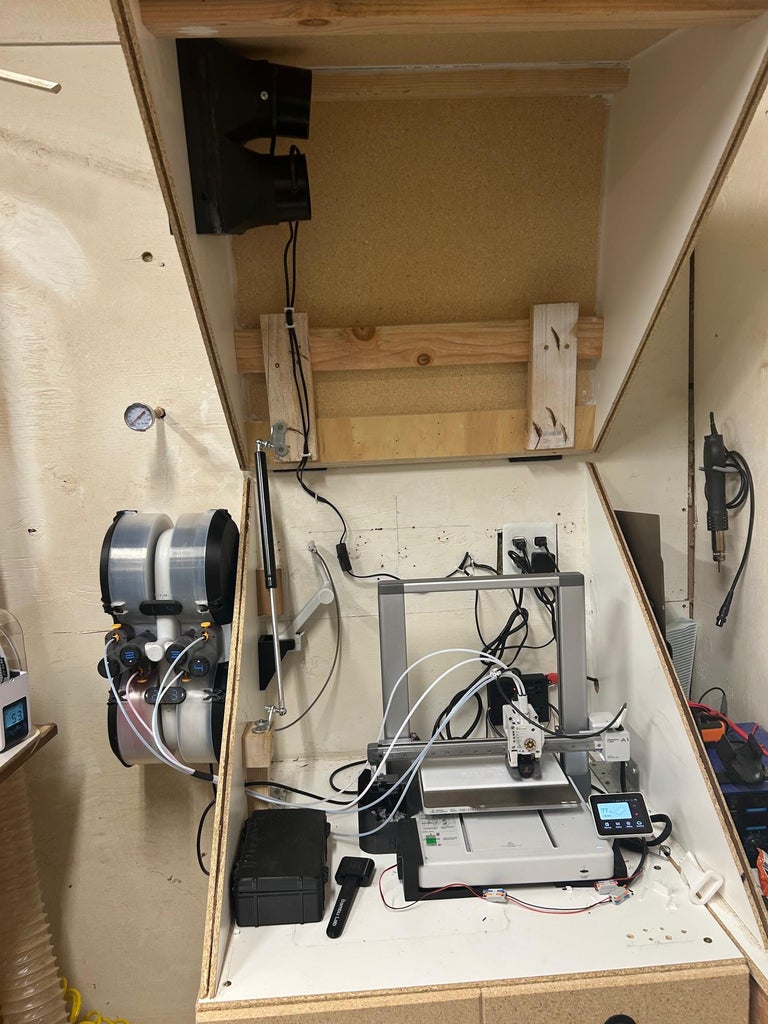
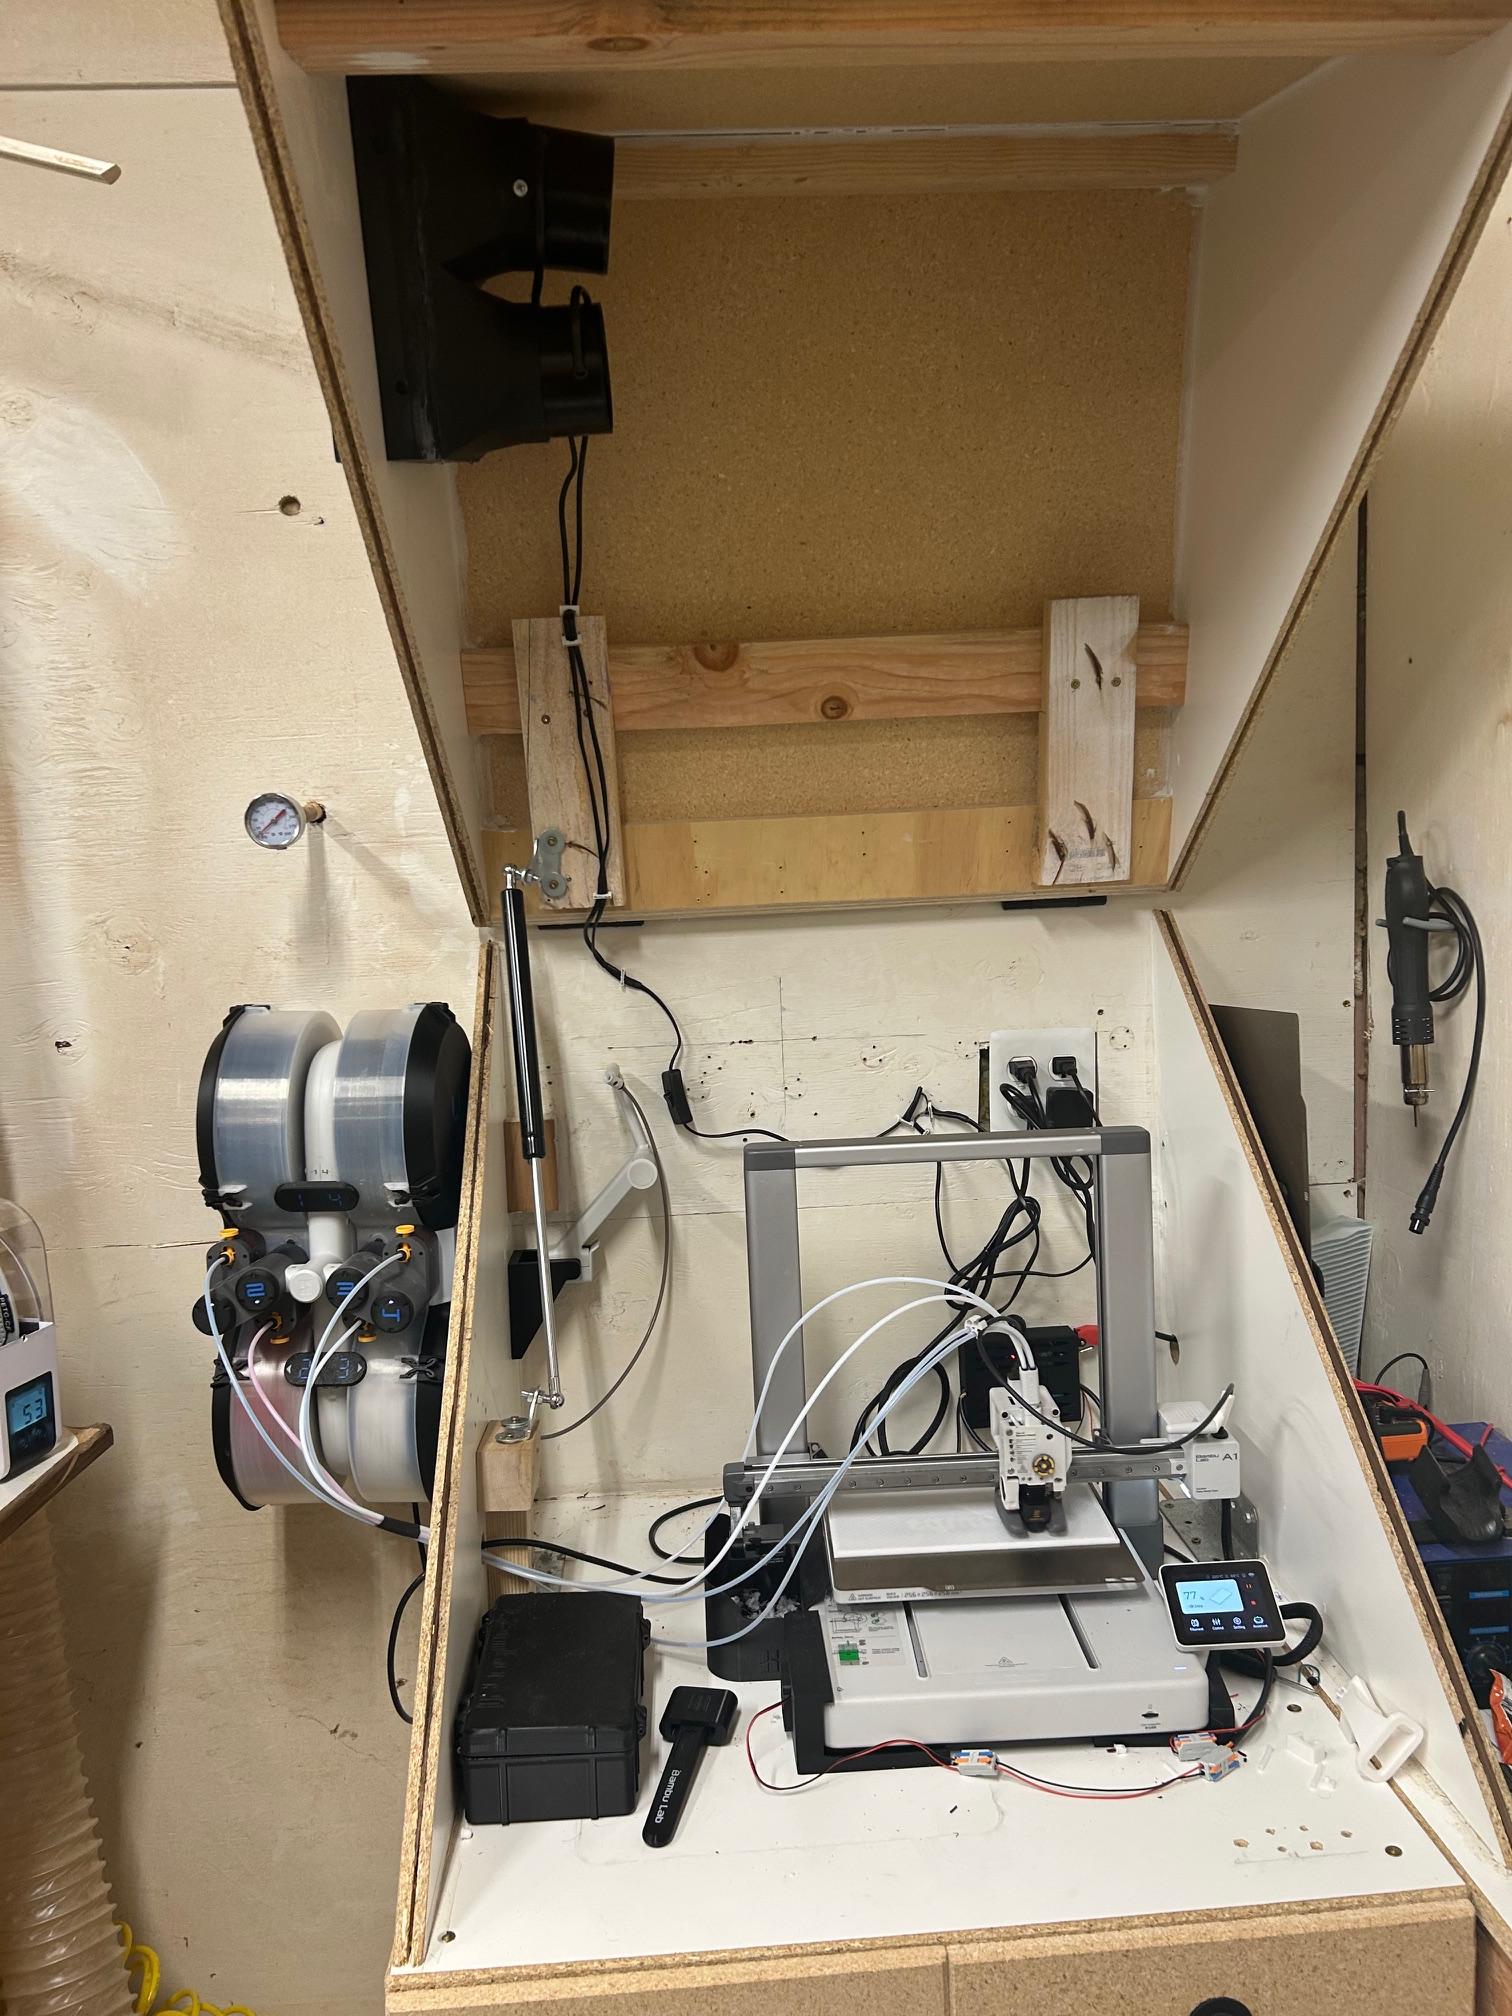
Our solution involves creating a system that uses a Raspberry Pi Pico to control a set of cooling fans and an air filter system. The Pi Pico will monitor the temperature in the enclosure and turn on the cooling fans when it gets too hot. The air filter system will help to keep the enclosure cool by exchanging air from outside the enclosure through a filter.

Anycubic Coupon – $5 off $50+ sitewide with code DIY5OFF
Components Needed
Here are the components you’ll need to create the automated cooling system:
| Component | Description |
|---|---|
| Raspberry Pi Pico | Microcontroller to control the cooling system |
| 2 x 40x40mm 24v fans | Cooling fans for the printer and motherboard |
| 2 x 120v fans | Fans for the air filter system |
| Male molex connector | Connector to pull 24v from the AMS plug |
| Buck converter | Converter to step down 24v to 5v for the Pi Pico |
| DHT11 module | Temperature sensor to monitor the enclosure temperature |
| Relay module | Module to control the cooling fans and air filter fans |
| Air filter | Filter to keep the enclosure clean and cool |
| Grill | Grill to hold the air filter in place |
| Brackets | Brackets to hold the grill in place |
| Screws | Screws to secure the components |
Step 1: Cooling Fans
The first step is to create the cooling fans for the printer and motherboard. We’ll use 40x40mm 24v fans, which can be powered directly from the auxiliary AMS plug. We’ll print the left and right side port fan housings, which will direct the air towards the air inlets on the side and underneath the printer.
Printing the Fan Housings
Print the left and right side port fan housings using the following files:
- Right side port 40mm fan.3mf
- Left side port 40mm fan.3mf
Assembling the Fan Housings
Assemble the fan housings by attaching the fans to the housing using screws. Make sure the fans are securely attached and the housing is closed.

Step 2: Air Filter System
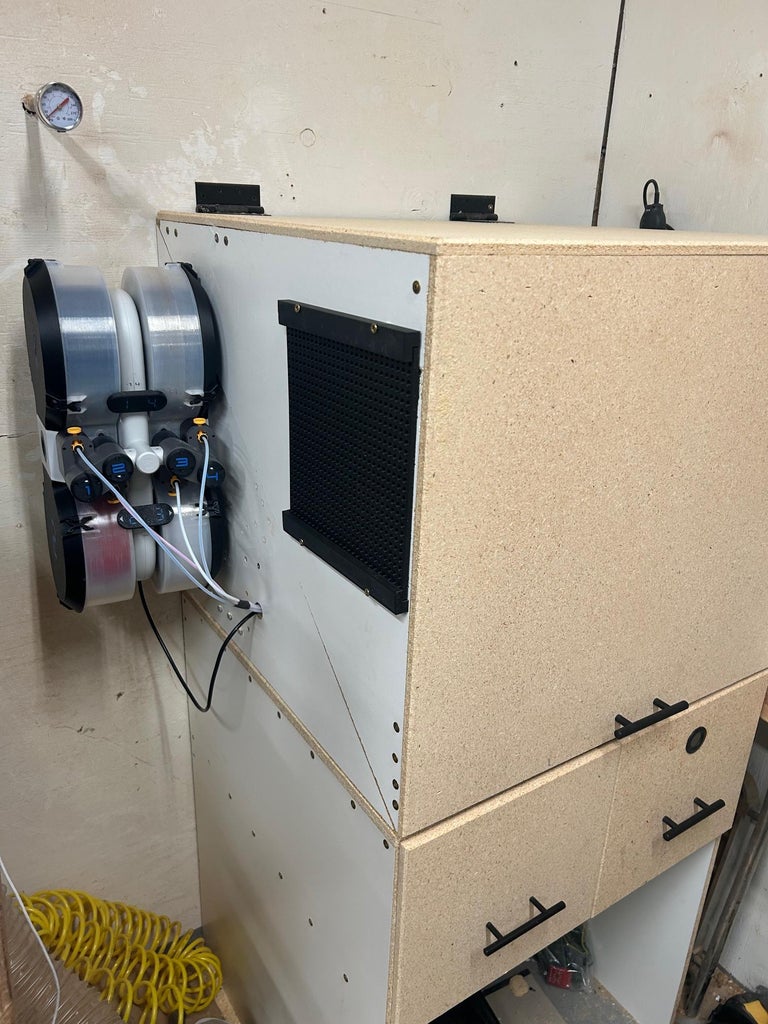
The air filter system is designed to keep the enclosure cool by exchanging air from outside the enclosure through a filter. We’ll create a filter housing and attach it to the side of the enclosure.
Creating the Filter Housing
Cut a 9.5″ x 8″ opening in the side of the enclosure and attach the filter housing to the inside wall of the enclosure. Use the following files:
- Air filter housing – Part 1 (1).3mf
- Air filter housing – Part 2 (1).3mf
Assembling the Air Filter System
Assemble the air filter system by attaching the fans to the split fan duct print. Use the following files:
- Large fans.3mf
- Split fan duct.3mf
Attach the filter housing to the side of the enclosure using screws. Make sure the housing is securely attached and the filter is in place.
Step 3: Temperature-Controlled Automation
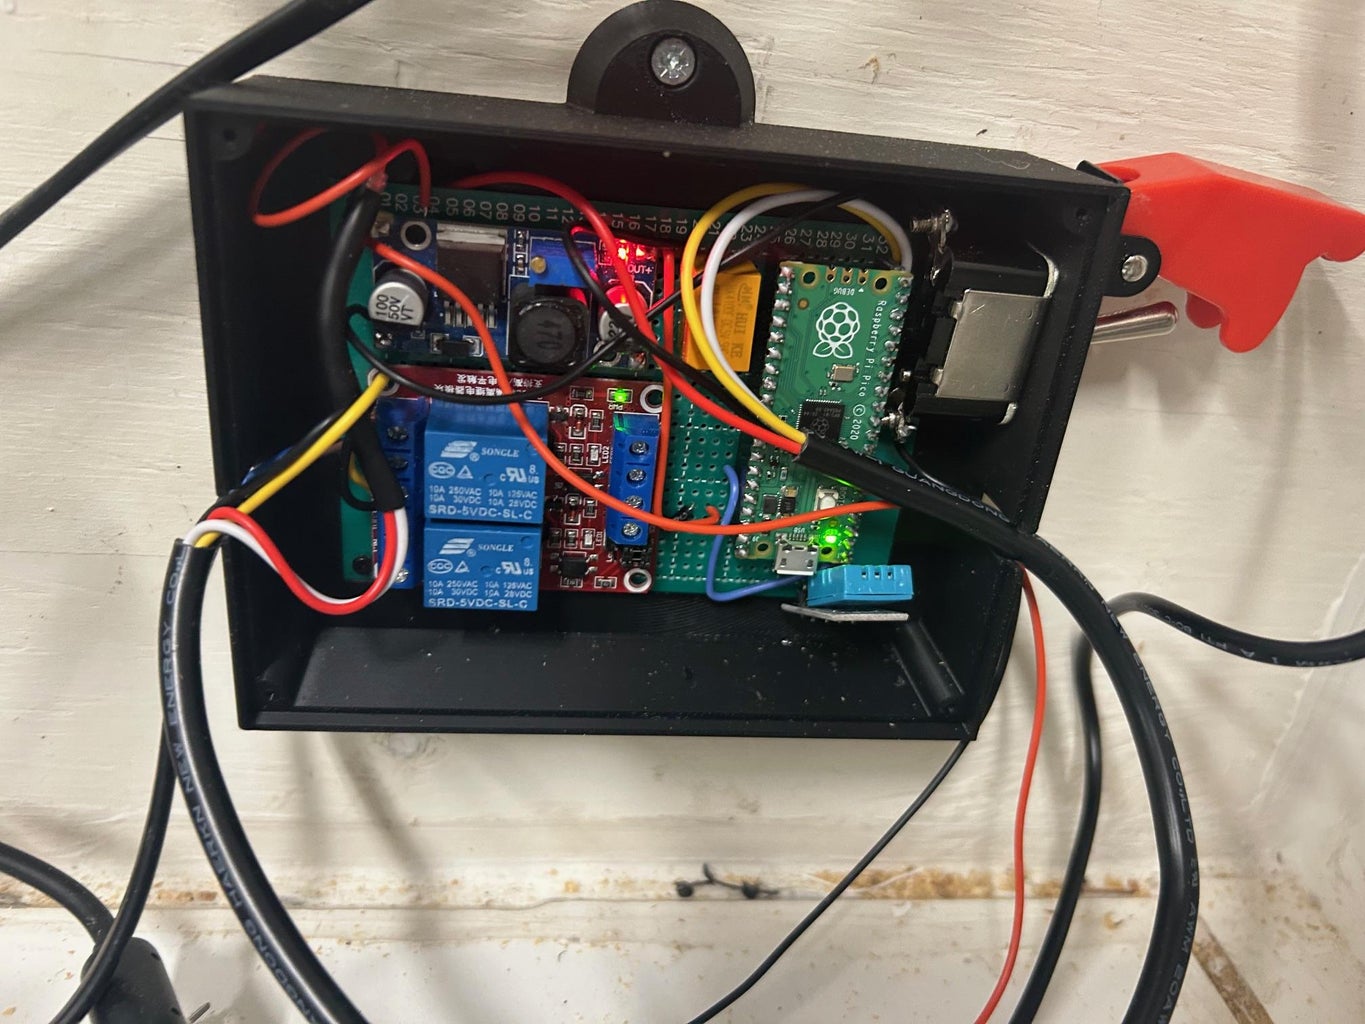
The final step is to create the temperature-controlled automation system using the Raspberry Pi Pico. We’ll use the Pi Pico to monitor the temperature in the enclosure and turn on the cooling fans when it gets too hot.
Setting up the Pi Pico
Set up the Pi Pico by installing the necessary software and libraries. Use the following files:
- A1_V3.0.py
- dht11.py
- temp_sensor.py
Connecting the Components
Connect the components to the Pi Pico using the following diagram:
| Component | Pin |
|---|---|
| DHT11 module | GPIO 0 |
| Relay module | GPIO 27 |
| Cooling fans | GPIO 28 |
| Air filter fans | GPIO 27 |
Writing the Code
Write the code to control the cooling fans and air filter fans based on the temperature reading from the DHT11 module. Use the following code:
import machine import time
Set up the DHT11 module
dht11 = machine.DHT11(machine.Pin(0))
Set up the relay module
relay = machine.Relay(machine.Pin(27))
Set up the cooling fans
cooling_fans = machine.DigitalInOut(machine.Pin(28))
Set up the air filter fans
air_filter_fans = machine.DigitalInOut(machine.Pin(27))
Set the temperature threshold
temperature_threshold = 65
while True: # Read the temperature from the DHT11 module temperature = dht11.temperature()
# If the temperature is above the threshold, turn on the cooling fans if temperature > temperature_threshold: cooling_fans.value(1) # If the temperature is below the threshold, turn off the cooling fans else: cooling_fans.value(0) # Turn on the air filter fans for 3 minutes every hour if time.time() % 3600 


