Sovol SV08 Core-XY 3D Printer Voron 2.4 Open Source, 700mm/s High Speed 3D Printers with 300℃ Clog-Free Hotend & Camera, Auto Leveling with 4 Independent Z Motors, Large Print Size 13.8x13.8x13.6in
$699.99 (as of June 19, 2025 23:45 GMT +00:00 - More infoProduct prices and availability are accurate as of the date/time indicated and are subject to change. Any price and availability information displayed on [relevant Amazon Site(s), as applicable] at the time of purchase will apply to the purchase of this product.)“The Hacker’s Guide to 3D Printing [Tutorial]” is an informative article that explores the world of 3D printing. It covers a wide range of topics, including recommended printers for beginners, how to find and use other people’s designs, scaling and slicing prints, and setting up and running a 3D printer. The article emphasizes the affordability and accessibility of 3D printing, highlighting the Creality Ender 3 as a great option for hackers and makers. It also touches on the importance of proper leveling, filament selection, bed adhesion, and other factors that contribute to successful prints. Whether you’re a beginner or looking to enhance your 3D printing skills, this guide provides all the necessary information to get started and create functional objects and replacement parts with ease.
![Check out the The Hackers Guide to 3D Printing [Tutorial] here.](https://free3dfiles.net/wp-content/uploads/2024/01/check-price-indigo-6.png "Check out the The Hackers Guide to 3D Printing [Tutorial] here.")
Getting Started with 3D Printing
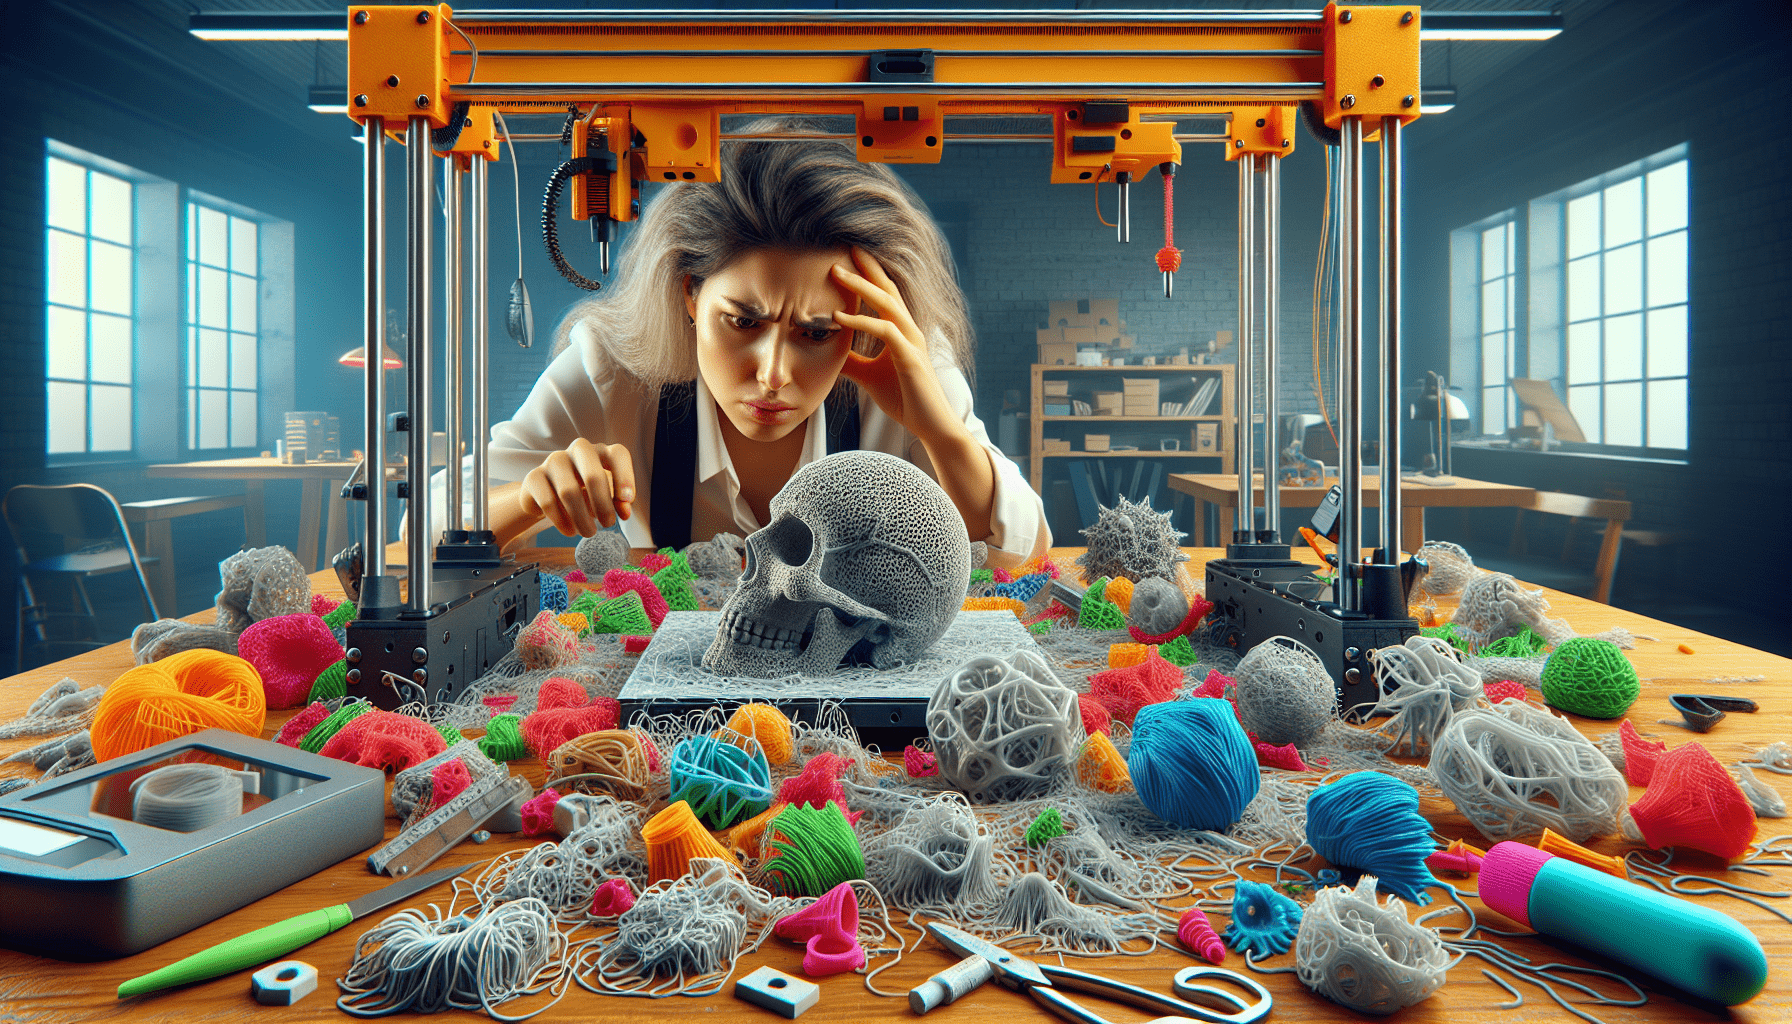
Welcome to the exciting world of 3D printing! Whether you’re a beginner looking to explore this innovative technology or a hacker/maker looking to unleash your creativity, this comprehensive guide will help you get started on your 3D printing journey. From choosing the right printer to troubleshooting printing issues, we’ve got you covered. So, let’s dive in!
Choosing the Right 3D Printer
The first step in your 3D printing journey is selecting the right printer for your needs. There are various options available, but for beginners, we recommend printers like the Creality Ender 3. These affordable, open-source printers offer a great starting point for learning the basics of 3D printing. They are reliable, easy to use, and have a large community of users who can provide support and guidance.
Setting Up Your 3D Printer
Once you have your 3D printer, it’s time to set it up. Follow the manufacturer’s instructions to assemble the printer and ensure it’s in proper working condition. Make sure to level the bed, which is essential for achieving accurate prints. Most printers, including the Creality Ender 3, have an auto-home feature that allows the hot end to reach its home position. Use a piece of paper to level the bed by adjusting the knobs until the hot end is just touching the paper. This ensures that the nozzle is at the correct height for printing.
Preparing Your Workspace
Before you start printing, it’s important to prepare your workspace. Find a clean, well-ventilated area where you can set up your printer. Make sure you have a stable surface to place the printer on and provide enough space for the printer to move without obstruction. Additionally, consider investing in a fire-resistant enclosure or placing the printer on a non-flammable surface to ensure safety during the printing process.
Finding and Using 3D Models
Exploring Online 3D Model Repositories
Now that your printer is set up, it’s time to find 3D models to print. There are several online 3D model repositories where you can browse and download ready-to-print models. One popular platform is Thingiverse, which offers a vast collection of user-created designs. From functional objects to decorative items, you’re sure to find something that sparks your interest. Look for models that have been tested and reviewed by other users to ensure good print quality.
Downloading and Customizing 3D Models
Once you’ve found a 3D model you’d like to print, download the STL file and import it into slicing software. STL files are the standard file format for 3D printing and contain the 3D model’s geometry. Slicing software, such as Ultimaker Cura, is used to prepare the model for printing. In the slicing software, you can customize settings like layer height, infill density, and print speed to achieve the desired print quality.
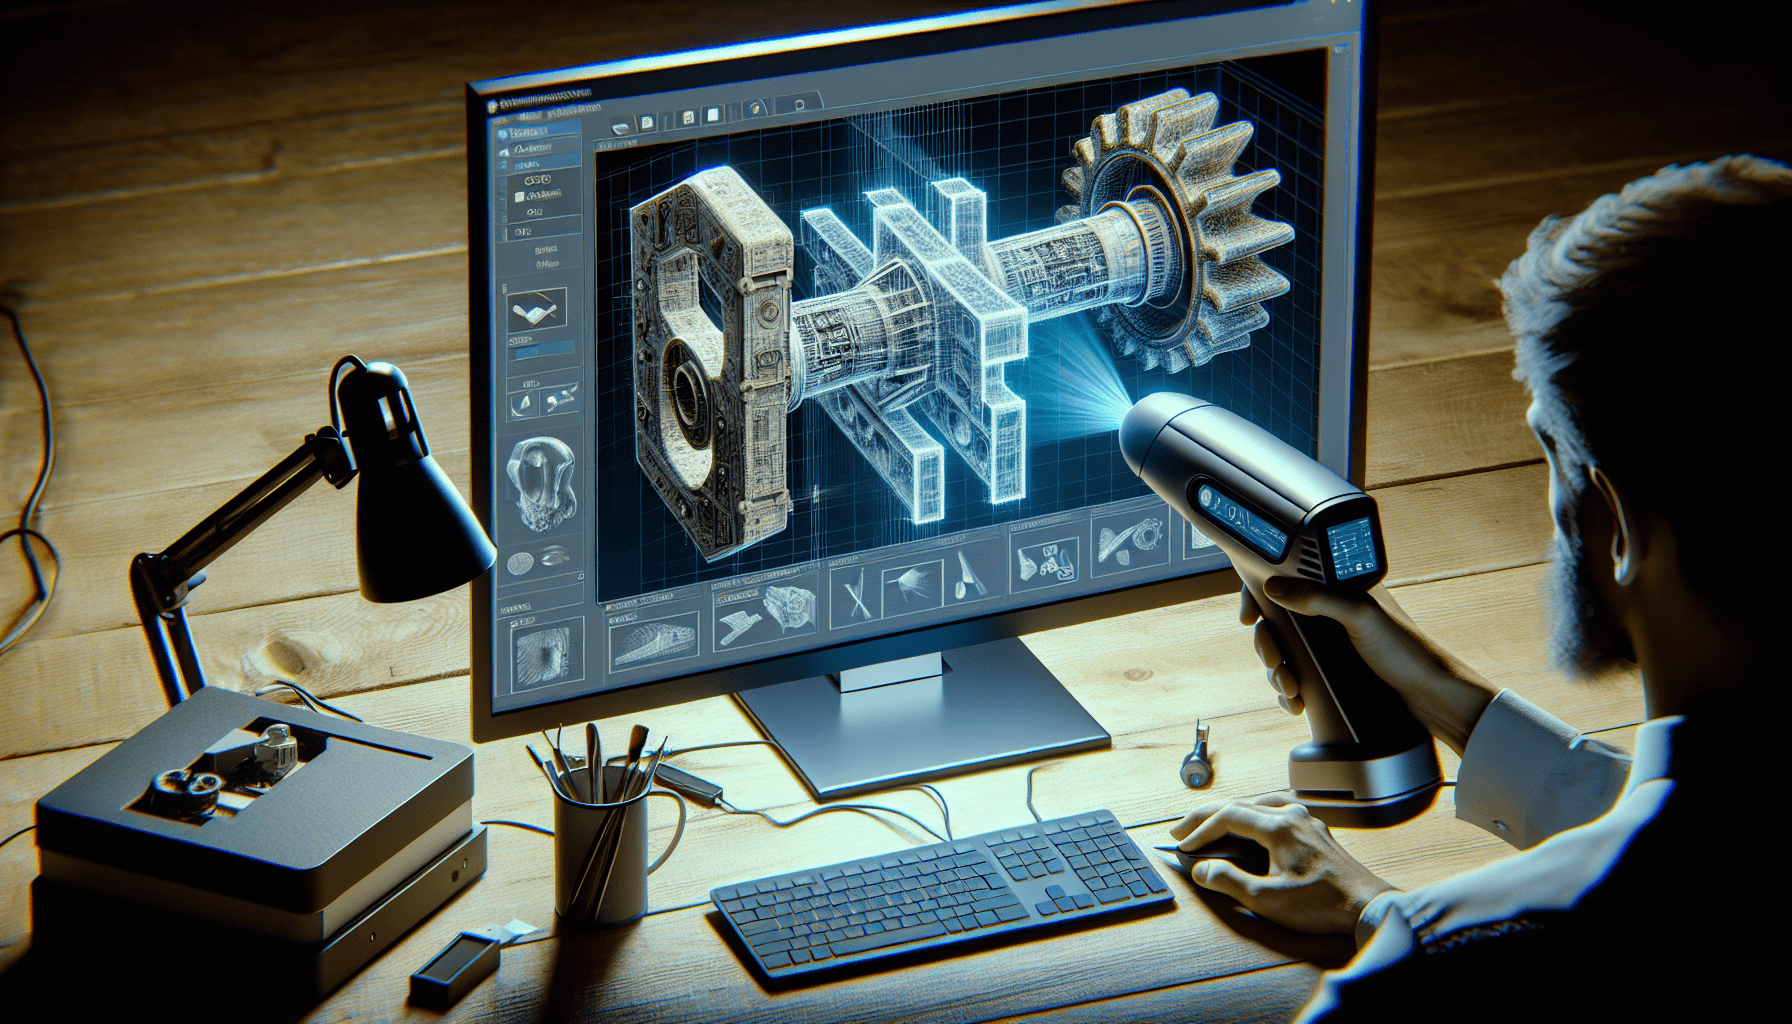
Creating Your Own 3D Models
If you’re feeling more adventurous, you can also try your hand at creating your own 3D models. There are various software options available for designing 3D models, ranging from beginner-friendly tools like TinkerCAD to more advanced software like Fusion 360. Start by learning the basics of 3D modeling and gradually develop your skills. With practice, you’ll be able to bring your unique ideas to life through 3D printing.
![The Hackers Guide to 3D Printing [Tutorial]](https://free3dfiles.net/wp-content/uploads/2024/03/the-hackers-guide-to-3d-printing-tutorial.jpg "The Hackers Guide to 3D Printing [Tutorial]")
![Check out the The Hackers Guide to 3D Printing [Tutorial] here.](https://free3dfiles.net/wp-content/uploads/2024/02/shop-now-indigo-5.png "Check out the The Hackers Guide to 3D Printing [Tutorial] here.")
Slicing and Preparing 3D Models
Understanding the Slicing Process
Once you have your 3D model prepared, it’s time to slice it. Slicing is the process of converting the 3D model into a set of instructions that the 3D printer can understand. The slicing software takes into account parameters such as layer height, infill density, print speed, and support structures to generate the toolpaths for the printer. This step is crucial as it determines the print quality and success of your final object.
Introduction to Slicing Software
There are several slicing software options available, with Ultimaker Cura being a popular choice among 3D printing enthusiasts. It’s a free, open-source software that offers advanced features and a user-friendly interface. Other options include Simplify3D and PrusaSlicer. Experiment with different slicing software to find one that suits your needs and preferences.
Adjusting Slicing Settings
To achieve the best results, spend some time adjusting the slicing settings according to your specific print requirements. Set the layer height to determine the level of detail in your print. Higher layer heights result in faster prints but lower resolution, while lower layer heights produce finer details at the expense of print time. Play around with infill density, print speed, and support structures to find the optimal settings for your prints.
Choosing the Right Filament
Understanding Filament Types
Now let’s discuss filament, the material used for 3D printing. There are several types of filaments available, each with its own unique properties and use cases. The most common types include PLA (polylactic acid), ABS (acrylonitrile butadiene styrene), PETG (polyethylene terephthalate glycol-modified), and TPU (thermoplastic polyurethane). Research the characteristics of each filament type and choose the one that best suits your desired print outcome.
Considering Filament Properties
In addition to filament type, consider other properties such as filament diameter, color, and brand. Filament diameter typically ranges from 1.75mm to 3mm, so make sure to choose the correct diameter for your printer. When it comes to color, select a filament that aligns with your design intent. And don’t forget to research different filament brands to find reliable and high-quality options.
Selecting Filament Colors
One of the exciting aspects of 3D printing is the ability to choose from a wide range of filament colors. Whether you’re printing functional objects or artistic designs, selecting the right filament color can enhance the overall look and feel of your prints. Consider the intended purpose of your print and choose colors that complement your design or suit your personal preference.
![The Hackers Guide to 3D Printing [Tutorial]](https://free3dfiles.net/wp-content/uploads/2024/03/the-hackers-guide-to-3d-printing-tutorial.png "The Hackers Guide to 3D Printing [Tutorial]")
Leveling the Bed and Calibrating Your Printer
Importance of Leveling the Bed
Bed leveling is a critical step in the 3D printing process. A perfectly leveled bed ensures that the first layer of your print adheres properly and prevents issues such as warping or uneven prints. Take the time to properly level your bed before each print to ensure consistent and high-quality results.
Methods for Bed Leveling
There are various methods for leveling the bed, depending on your specific printer model. The Creality Ender 3, for example, uses manual bed leveling with the help of adjustable knobs. Use a piece of paper or a feeler gauge to find the right distance between the nozzle and the bed. Follow the manufacturer’s instructions and refer to online tutorials for specific bed leveling techniques for your printer.
Calibrating the Printer’s Settings
In addition to bed leveling, it’s important to calibrate other settings of your 3D printer. This includes adjusting the extruder steps per millimeter (E-steps), flow rate, and print temperature. Calibration ensures that your printer is accurately depositing the right amount of filament and achieving desired print dimensions. Perform calibration tests and make necessary adjustments to fine-tune your printer’s settings.
Ensuring Successful Prints
Optimizing Print Settings
To ensure successful prints, it’s essential to optimize your print settings. This includes adjusting parameters like layer height, infill density, print speed, and cooling settings according to your specific print requirements. Higher quality prints may require slower print speeds and finer layer heights, while functional prints may require higher infill density for strength. Experiment with different settings to find the optimal balance between print quality and print time.
Addressing Bed Adhesion Issues
Bed adhesion refers to the ability of your print to stick to the bed during the printing process. Poor bed adhesion can result in prints that detach or warp mid-print. To address bed adhesion issues, ensure that the bed surface is clean and free from debris. Using adhesion aids, such as glue stick or hairspray, can also improve adhesion. Experiment with different bed surface materials and adhesion aids to find what works best for your printer.
Avoiding Warping and Curling
Warping and curling are common challenges in 3D printing, especially when printing with certain materials like ABS. These issues occur when the corners of your print lift off the bed, resulting in a warped or uneven surface. To minimize warping and curling, ensure proper bed adhesion, optimize print settings for the specific material, and consider using an enclosure or heated bed to maintain a consistent printing environment.
![The Hackers Guide to 3D Printing [Tutorial]](https://free3dfiles.net/wp-content/uploads/2024/03/the-hackers-guide-to-3d-printing-tutorial-1.png "The Hackers Guide to 3D Printing [Tutorial]")
Monitoring and Fine-tuning Your Prints
Monitoring the First Print
Once you’ve adjusted your print settings and started your print, it’s important to monitor the progress closely. Keep an eye on the first layers of your print to ensure proper adhesion and check for any issues such as underextrusion or over extrusion. This will allow you to catch any problems early and make necessary adjustments for future prints.
Identifying and Troubleshooting Printing Issues
During the printing process, you may encounter various issues, such as layer shifting, stringing, or failed prints. These problems can be frustrating, but they are part of the learning process. Take note of any issues you encounter and research possible causes and solutions. Online communities and forums dedicated to 3D printing can be valuable resources for troubleshooting and finding solutions to common printing problems.
Making Adjustments for Future Prints
With each print, you’ll gain valuable knowledge and experience that will help you improve your printing skills. Use the information gathered from monitoring and troubleshooting your prints to make adjustments for future prints. This can include fine-tuning print settings, recalibrating the printer, or experimenting with different filament types or brands. Continuous learning and iterative improvement are key to becoming a proficient 3D printer user.
Exploring Advanced Techniques
Incorporating Supports and Rafts
Support structures and rafts are important tools when it comes to printing complex and intricate designs. Supports provide additional stability to overhanging parts of a print, preventing them from collapsing during the printing process. Rafts, on the other hand, create a larger base for a print, enhancing bed adhesion for difficult-to-print objects. Experiment with using supports and rafts to expand your printing capabilities and achieve better results with challenging designs.
Utilizing Different Printing Modes
Modern 3D printers offer different printing modes that can be used to achieve specific effects or optimize prints for different purposes. For example, the vase mode allows you to print hollow, vase-like objects with only a single perimeter, resulting in fast and lightweight prints. Other modes, like the ironing mode, improve the surface finish of your prints by gently smoothing the top layers. Explore these different printing modes to unlock new possibilities and enhance your print quality.
Experimenting with Multi-color Printing
While most 3D printers are single-extruder machines, it is still possible to achieve multi-color prints with some creative techniques. This can be done through techniques like filament swapping, where different colored filaments are manually changed during the print, or by using a multi-extruder printer. Experiment with different techniques and software tools to create stunning multi-color prints that showcase your creativity.
Creating Functional Objects and Replacement Parts
Understanding the Applications of 3D Printing
One of the great advantages of 3D printing is its ability to create functional objects and replacement parts. From custom phone cases to practical tools, 3D printing allows you to bring your ideas to life and solve real-world problems. Before you start designing and printing functional objects, it’s important to understand the limitations of 3D printed parts and choose suitable materials that provide the required strength and durability.
Designing Functional Objects
When designing functional objects, consider factors such as ergonomics, structural integrity, and ease of assembly. Use CAD software to create precise and parametric designs that can be easily modified and adapted to different use cases. Don’t forget to test your designs through prototyping and iteratively improve them based on feedback and practical testing. With practice, you’ll be able to produce functional objects that are both aesthetically pleasing and highly functional.
Producing Replacement Parts
One of the most practical applications of 3D printing is the ability to produce replacement parts for various objects and appliances. Instead of buying a new item or waiting for a replacement part to be shipped, you can 3D print the required component and get your device back in working order. Take accurate measurements of the broken part, recreate it in a 3D modeling software, and print it using suitable materials. This not only saves you time and money but also helps reduce waste.
Conclusion
Congratulations on completing this comprehensive guide to getting started with 3D printing! Throughout this journey, you’ve learned about choosing the right printer, preparing your workspace, finding and customizing 3D models, slicing and preparing models, selecting the right filament, leveling the bed and calibrating your printer, ensuring successful prints, monitoring and fine-tuning your prints, exploring advanced techniques, and creating functional objects and replacement parts.
3D printing opens up endless possibilities for creativity and innovation. Embrace the opportunities it offers and continue to learn and experiment with new techniques and materials. Whether you’re a hobbyist, a professional, or an enthusiast, 3D printing has something for everyone. So, unleash your creativity, bring your ideas to life, and continue to push the boundaries of this exciting technology. Happy printing!

Magigoo - MO2016 All-in-One 3D Printer Adhesive Glue - ABS, PLA, PETG, HIPS, and TPU Flex Filament on Glass, Flex Plate, PEI, Buildtak, Kapton - 3D Printing Accessories, Supplies, and Materials (50mL)
$19.95 (as of June 19, 2025 23:45 GMT +00:00 - More infoProduct prices and availability are accurate as of the date/time indicated and are subject to change. Any price and availability information displayed on [relevant Amazon Site(s), as applicable] at the time of purchase will apply to the purchase of this product.)
Capricorn Bowden PTFE Tubing 1M XS Series 1.75MM Filament with 2X PC4-M6 & 2X PC4-M10 Pneumatic Fittings & Tube Cutter for Creality Ender 3 V2/ Ender 3/ Ender 3 Pro/Ender 5/ CR-10/10S 3D Printer
$11.99 (as of June 19, 2025 23:45 GMT +00:00 - More infoProduct prices and availability are accurate as of the date/time indicated and are subject to change. Any price and availability information displayed on [relevant Amazon Site(s), as applicable] at the time of purchase will apply to the purchase of this product.)
AOSEED 3D Printer for Kids, Beginner 3D Printer with 8 PLA Filament Set, Huge Toy Library & Modify, Wi-Fi & App Control, Create STEM Toys, High Precision, W/ 15+ Mini 3D Design Module, X-Maker Joy
$254.98 (as of June 19, 2025 23:45 GMT +00:00 - More infoProduct prices and availability are accurate as of the date/time indicated and are subject to change. Any price and availability information displayed on [relevant Amazon Site(s), as applicable] at the time of purchase will apply to the purchase of this product.)
Creality CR-Scan Ferret Pro 3D Scanner, Wireless Scanning with 24-Bit Full-Color & Anti-Shake Tracking, Fast High-Quality Scanning, Compatible with Windows, Mac, iOS & Android
$449.00 (as of June 19, 2025 23:45 GMT +00:00 - More infoProduct prices and availability are accurate as of the date/time indicated and are subject to change. Any price and availability information displayed on [relevant Amazon Site(s), as applicable] at the time of purchase will apply to the purchase of this product.)