
Official Creality Ender 3 3D Printer Fully Open Source with Resume Printing Function DIY Printers Build Volulme 8.66x8.66x9.84 inch
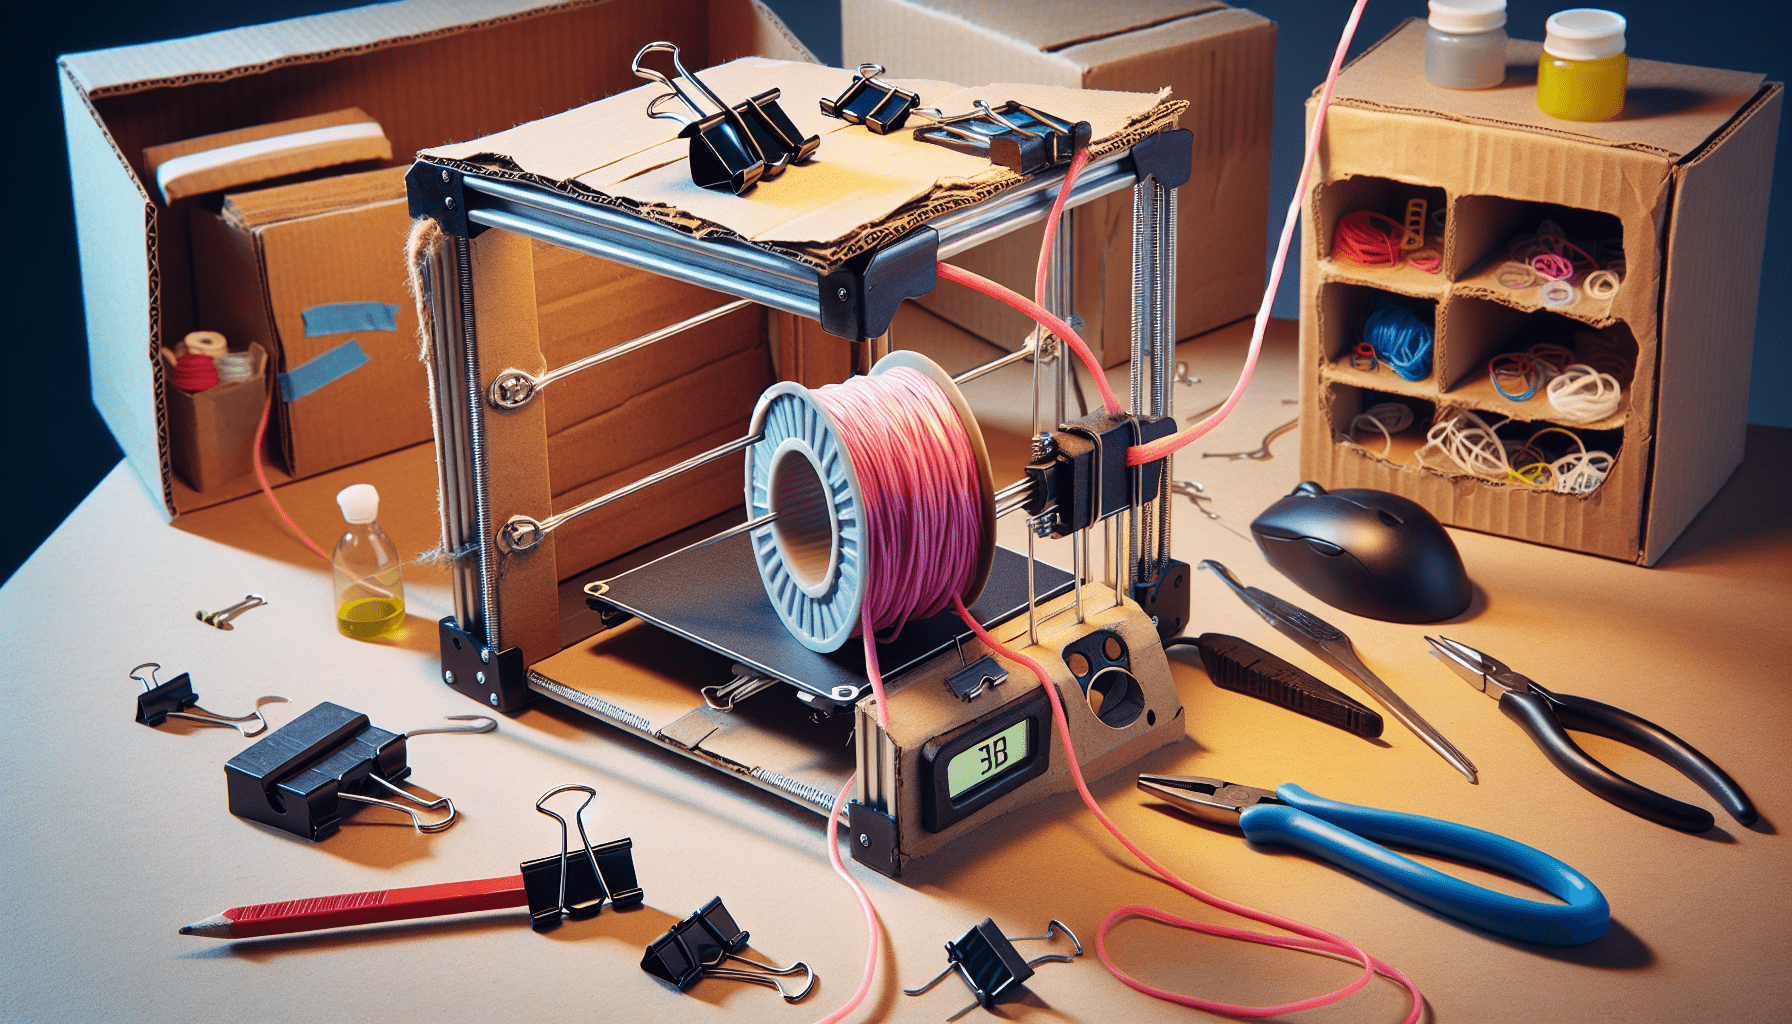
$179.00 (as of June 19, 2025 23:45 GMT +00:00 - More info)Painting 3D printed parts can make them look amazing! But before you start painting, there’s an important step called priming. Priming helps create a smooth surface for paint and makes the final result look flawless. Beginners might skip this step, but experienced model builders always do it. To prime your 3D prints, you can use tools like flush cutters and hand files to remove any excess material. Then, sand the surface with fine grit sandpaper to make it nice and smooth. Remember to wet the sandpaper to keep the dust down. Next, mount your part on a dowel so you don’t leave fingerprints on it. Now you’re ready to start priming! Use short, quick strokes to spray the primer on the part, and make sure to rotate the part slowly for even coverage. After the first coat, take a close look and see if any touch-ups are needed. Once the second coat of primer is dry, your 3D print is ready for painting!


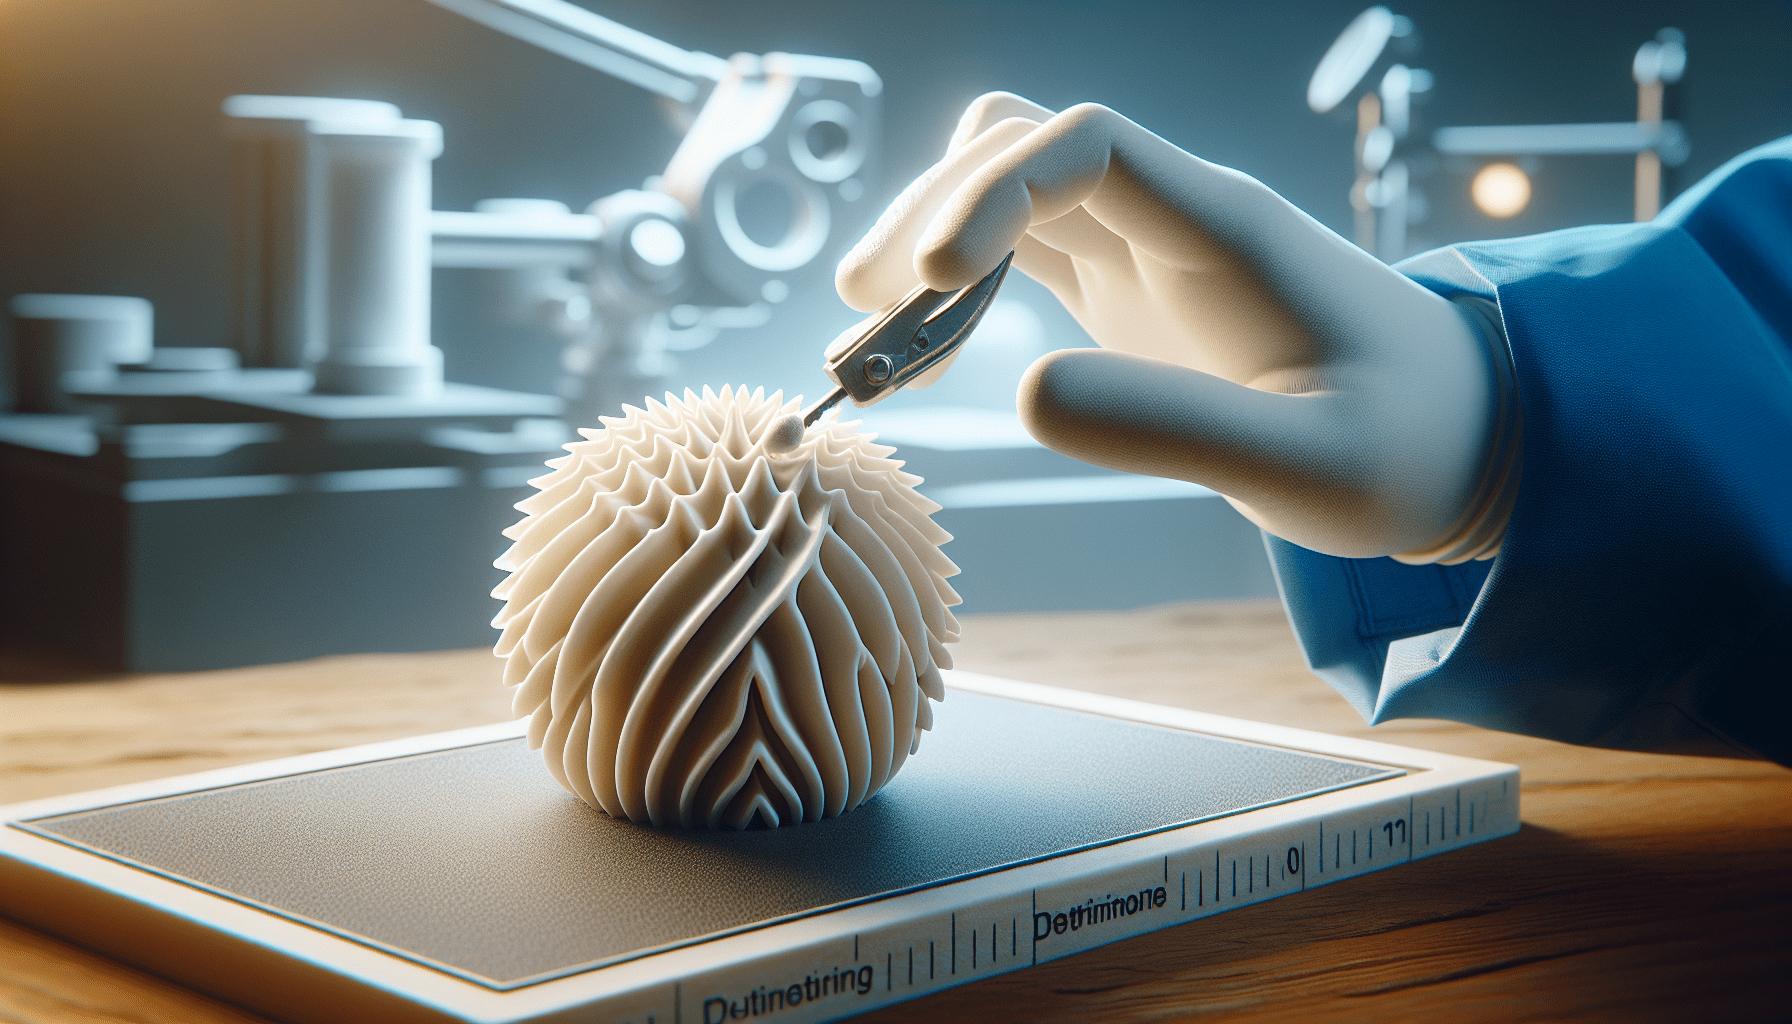
Step 1: Priming
The importance of priming
Priming is a crucial step in the process of painting 3D printed parts. Many beginners may overlook this step, but experienced model builders understand its importance. Priming helps create a flawless final surface by preparing the part for paint and ensuring a smooth and professional finish.
Materials needed for priming
Before you begin priming your 3D printed part, it’s essential to gather the necessary materials. Here’s what you’ll need:
- Primer spray paint: Choose a primer specifically designed for use on 3D printed parts.
- Protective gloves: Wear gloves to protect your hands from chemicals and paint.
- Safety goggles: Shield your eyes from any potential splashes or debris.
- Respirator mask: Protect your lungs by wearing a mask to avoid inhaling any harmful fumes.
- Drop cloth or newspaper: Cover your workspace with a cloth or newspaper to catch any drips or spills.
- Dowel or stand: Use a dowel or stand to mount the part and prevent fingerprints during priming.
Preparing the 3D printed part for priming
Before you can start priming, it’s essential to prepare your 3D printed part. Here’s what you need to do:
- Removing support material: If your 3D printed part has any support material, carefully cut it off using flush cutters or peel it off by hand. Make sure to remove all support marks without damaging the main part.
- Cleaning the part: Use a mild detergent or isopropyl alcohol to clean the part thoroughly. This will remove any dirt, dust, or oils from the surface.
- Drying the part thoroughly: After cleaning, let the part air dry completely. Ensure there is no moisture remaining before proceeding to the next step.
Sanding the support marks
To achieve a smooth and even surface, you’ll need to sand down any remaining support marks on your 3D printed part. Follow these steps:
- Using flush cutters or peeling off by hand: If the support marks are easily accessible, you can use flush cutters to remove them. Gently cut away the excess material, taking care not to damage the main part. Alternatively, you can peel off the support material by hand if it can be easily detached.
- Using a rotary tool and hand files for precision: If the support marks are in hard-to-reach areas, you can use a rotary tool with a fine-grit sanding attachment or hand files to carefully sand them down. Take your time to ensure you remove all traces of support marks.
- Removing any rough edges or imperfections: After sanding the support marks, inspect the part for any remaining rough edges or imperfections. Use sandpaper or files to smooth out these areas and create a clean surface.
Using fine grit sandpaper for a smooth finish
Once you have removed the support marks and any rough edges, it’s time to sand the entire surface of your 3D printed part. Follow these guidelines for a smooth finish:
- Choosing the appropriate grit size: Select a fine grit sandpaper, such as 400 to 600 grit, for this step. Finer grits will help achieve a smoother surface.
- Sanding the entire surface of the part: Using the fine grit sandpaper, gently sand the entire surface of your 3D printed part. Use long, even strokes and apply light pressure. This will help remove any visible layer lines or roughness.
- Removing any visible layer lines or roughness: Pay close attention to areas with visible layer lines or rough texture. Continue sanding until these imperfections are smoothed out, and the surface feels even to the touch.
Wetting the sandpaper to reduce dust
Sanding can create a lot of dust, which can affect the quality of your primer. Here’s how you can wet the sandpaper to reduce the amount of dust produced:
- Dampening the sandpaper with water: Before starting to sand, wet the sandpaper by spraying a small amount of water onto it. Ensure the sandpaper is evenly damp but not soaking wet.
- Wiping away any excess moisture: Use a clean cloth or paper towel to wipe away any excess moisture from the sandpaper. The goal is to have slightly damp sandpaper, not dripping wet.
- Reducing dust particles during sanding: By using wet sandpaper, you can minimize the amount of dust produced when sanding, allowing for a cleaner and smoother priming process.
Mounting the part to prevent fingerprints
To prevent fingerprints on your 3D printed part during the priming process, it’s best to mount it on a dowel or stand. Follow these steps:
- Using a dowel or stand to hold the part: Place a dowel or stand securely in a stable position so that it can hold the part during priming.
- Avoiding direct contact with hands: Handle the part by holding onto the dowel or stand, rather than touching it directly with your hands. This will help maintain a clean and pristine surface, free from any fingerprints or smudges.
- Ensuring a clean and pristine surface: By mounting the part, you can ensure that it remains untouched and free from any potential blemishes, allowing for a more professional-looking finish.
Applying primer with short, rapid strokes
Now that your 3D printed part is properly prepped, it’s time to apply the primer. Follow these steps for a successful priming process:
- Holding the can of primer at a proper distance: Read the instructions on the primer can to determine the recommended distance for spraying. Hold the can at this distance to ensure an even coat.
- Using back and forth or circular motions: Start spraying the primer on the part using short, rapid strokes. You can use either back and forth motions or circular motions, depending on your preference and the shape of the part.
- Applying thin and even coats: Apply the primer in thin, even coats, making sure not to overspray in any one area. This will prevent the primer from pooling or creating uneven texture. Allow each coat to dry before applying additional coats, if needed.
Rotating the part for even coverage
To achieve even coverage and ensure every surface of your 3D printed part is primed properly, it’s recommended to rotate the part while spraying. Follow this step:
- Slowly rotate the part: As you apply the primer, rotate the part slowly to ensure that all angles and sides receive an even coat. This will help prevent any areas from being missed or under-primed.
Inspecting for touch-ups
Once you have finished applying the primer, it’s important to inspect the part for any touch-ups that may be needed. Follow these steps:
- Do a close inspection: Allow the primer to dry completely before inspecting the part. Check for any areas that may require additional sanding or primer, such as spots with visible imperfections or uneven coverage.
- Touching up as needed: Use sandpaper or hand files to smooth out any rough areas or imperfections that you may have missed during the initial sanding. Apply a thin coat of primer to any spots that require touch-ups.

Conclusion
Priming is an essential step in painting 3D printed parts. It helps create a smooth and professional surface, making the painting process effortless. By following the step-by-step guide outlined above, you can achieve a flawless finish on your 3D printed parts before moving on to painting. Remember to prepare the part, sand the support marks, and apply primer with care. By doing so, you can ensure that your finished product looks professional and polished. Happy painting!
ELEGOO PLA Filament 1.75mm Black 1KG, 3D Printer Filament Dimensional Accuracy +/- 0.02mm, 1kg Spool(2.2lbs) Fit Most FDM 3D Printers
$13.99 (as of June 19, 2025 23:45 GMT +00:00 - More info)
ELEGOO 5PCS PFA Release Liner Film for Saturn 2/8K/3/4/4 Ultra/4 Ultra 16K Resin 3D Printer 273x176mm, 0.127mm Thickness with Stronger Release Functionality and 92% Light Transmittance
$30.99 (as of June 20, 2025 23:47 GMT +00:00 - More info)