ELEGOO Mars 5 Ultra 9K Resin 3D Printer, 150mm/h High Speed Printing, Smart Automatic Leveling, Intelligent Detection, WiFi-Transfer, Printing Size of 6.04 x 3.06 x 6.49 inch
$284.99 (as of June 21, 2025 23:57 GMT +00:00 - More infoProduct prices and availability are accurate as of the date/time indicated and are subject to change. Any price and availability information displayed on [relevant Amazon Site(s), as applicable] at the time of purchase will apply to the purchase of this product.)Are You Ready to Transform Your Plastic 3D Prints?
The world of 3D printing is full of endless possibilities, but one thing that often hinders the aesthetic appeal of a plastic print is the visible layer lines. Fortunately, there’s a way to transform these prints into something that looks like it’s forged from clay, and it’s relatively simple. In this article, we’ll explore how to use teracotta air dry clay to give your plastic 3D prints a unique look and feel.
Anycubic Coupon – $5 off $50+ sitewide with code DIY5OFF
What You’ll Need to Get Started
| Supply | Description |
|---|---|
| Air-drying clay | We recommend using DAS red terracotta clay for its rich color and workability. |
| Paint primer | A spray primer is ideal for this project, and it should be the same color as your clay. |
| Clear sealant | A clear gloss spray can will help protect your piece and give it a glossy finish. |
| Water-based paints | You can use any water-based paint for this project, but make sure it’s suitable for air-dry clay. |
| Disposable brushes | You’ll need these for applying the primer, paint, and clay. |
| Bowl or container | This is necessary for mixing your clay and water. |
| Water | You’ll need water to thin out your clay and create a more liquid consistency. |
| Glue | This is necessary if you’re combining multiple prints. |
| Newspaper or protective surface | This will protect your work surface from any mess or spills. |
Anycubic Coupon – $5 off $50+ sitewide with code DIY5OFF
The Process: A Step-by-Step Guide
Step 1: 3D Print Your Model
The first step is to create your 3D printed model. You can use any FFF 3D printer for this project, and the model can be anything you like. For our example, we used a design that resembles an old Indian artifact. If you want to create something similar, you can download the printable files from Thingiverse.
Step 2: Prime Your Model
Once your model is printed, it’s time to prime it. This is an essential step, as it will ensure that the clay adheres to the plastic. Use a spray primer and make sure it’s fully dry before moving on to the next step. Remember to work in a well-ventilated area and wear a respirator to avoid inhaling any fumes.
Step 3: Apply the First Layer of Clay
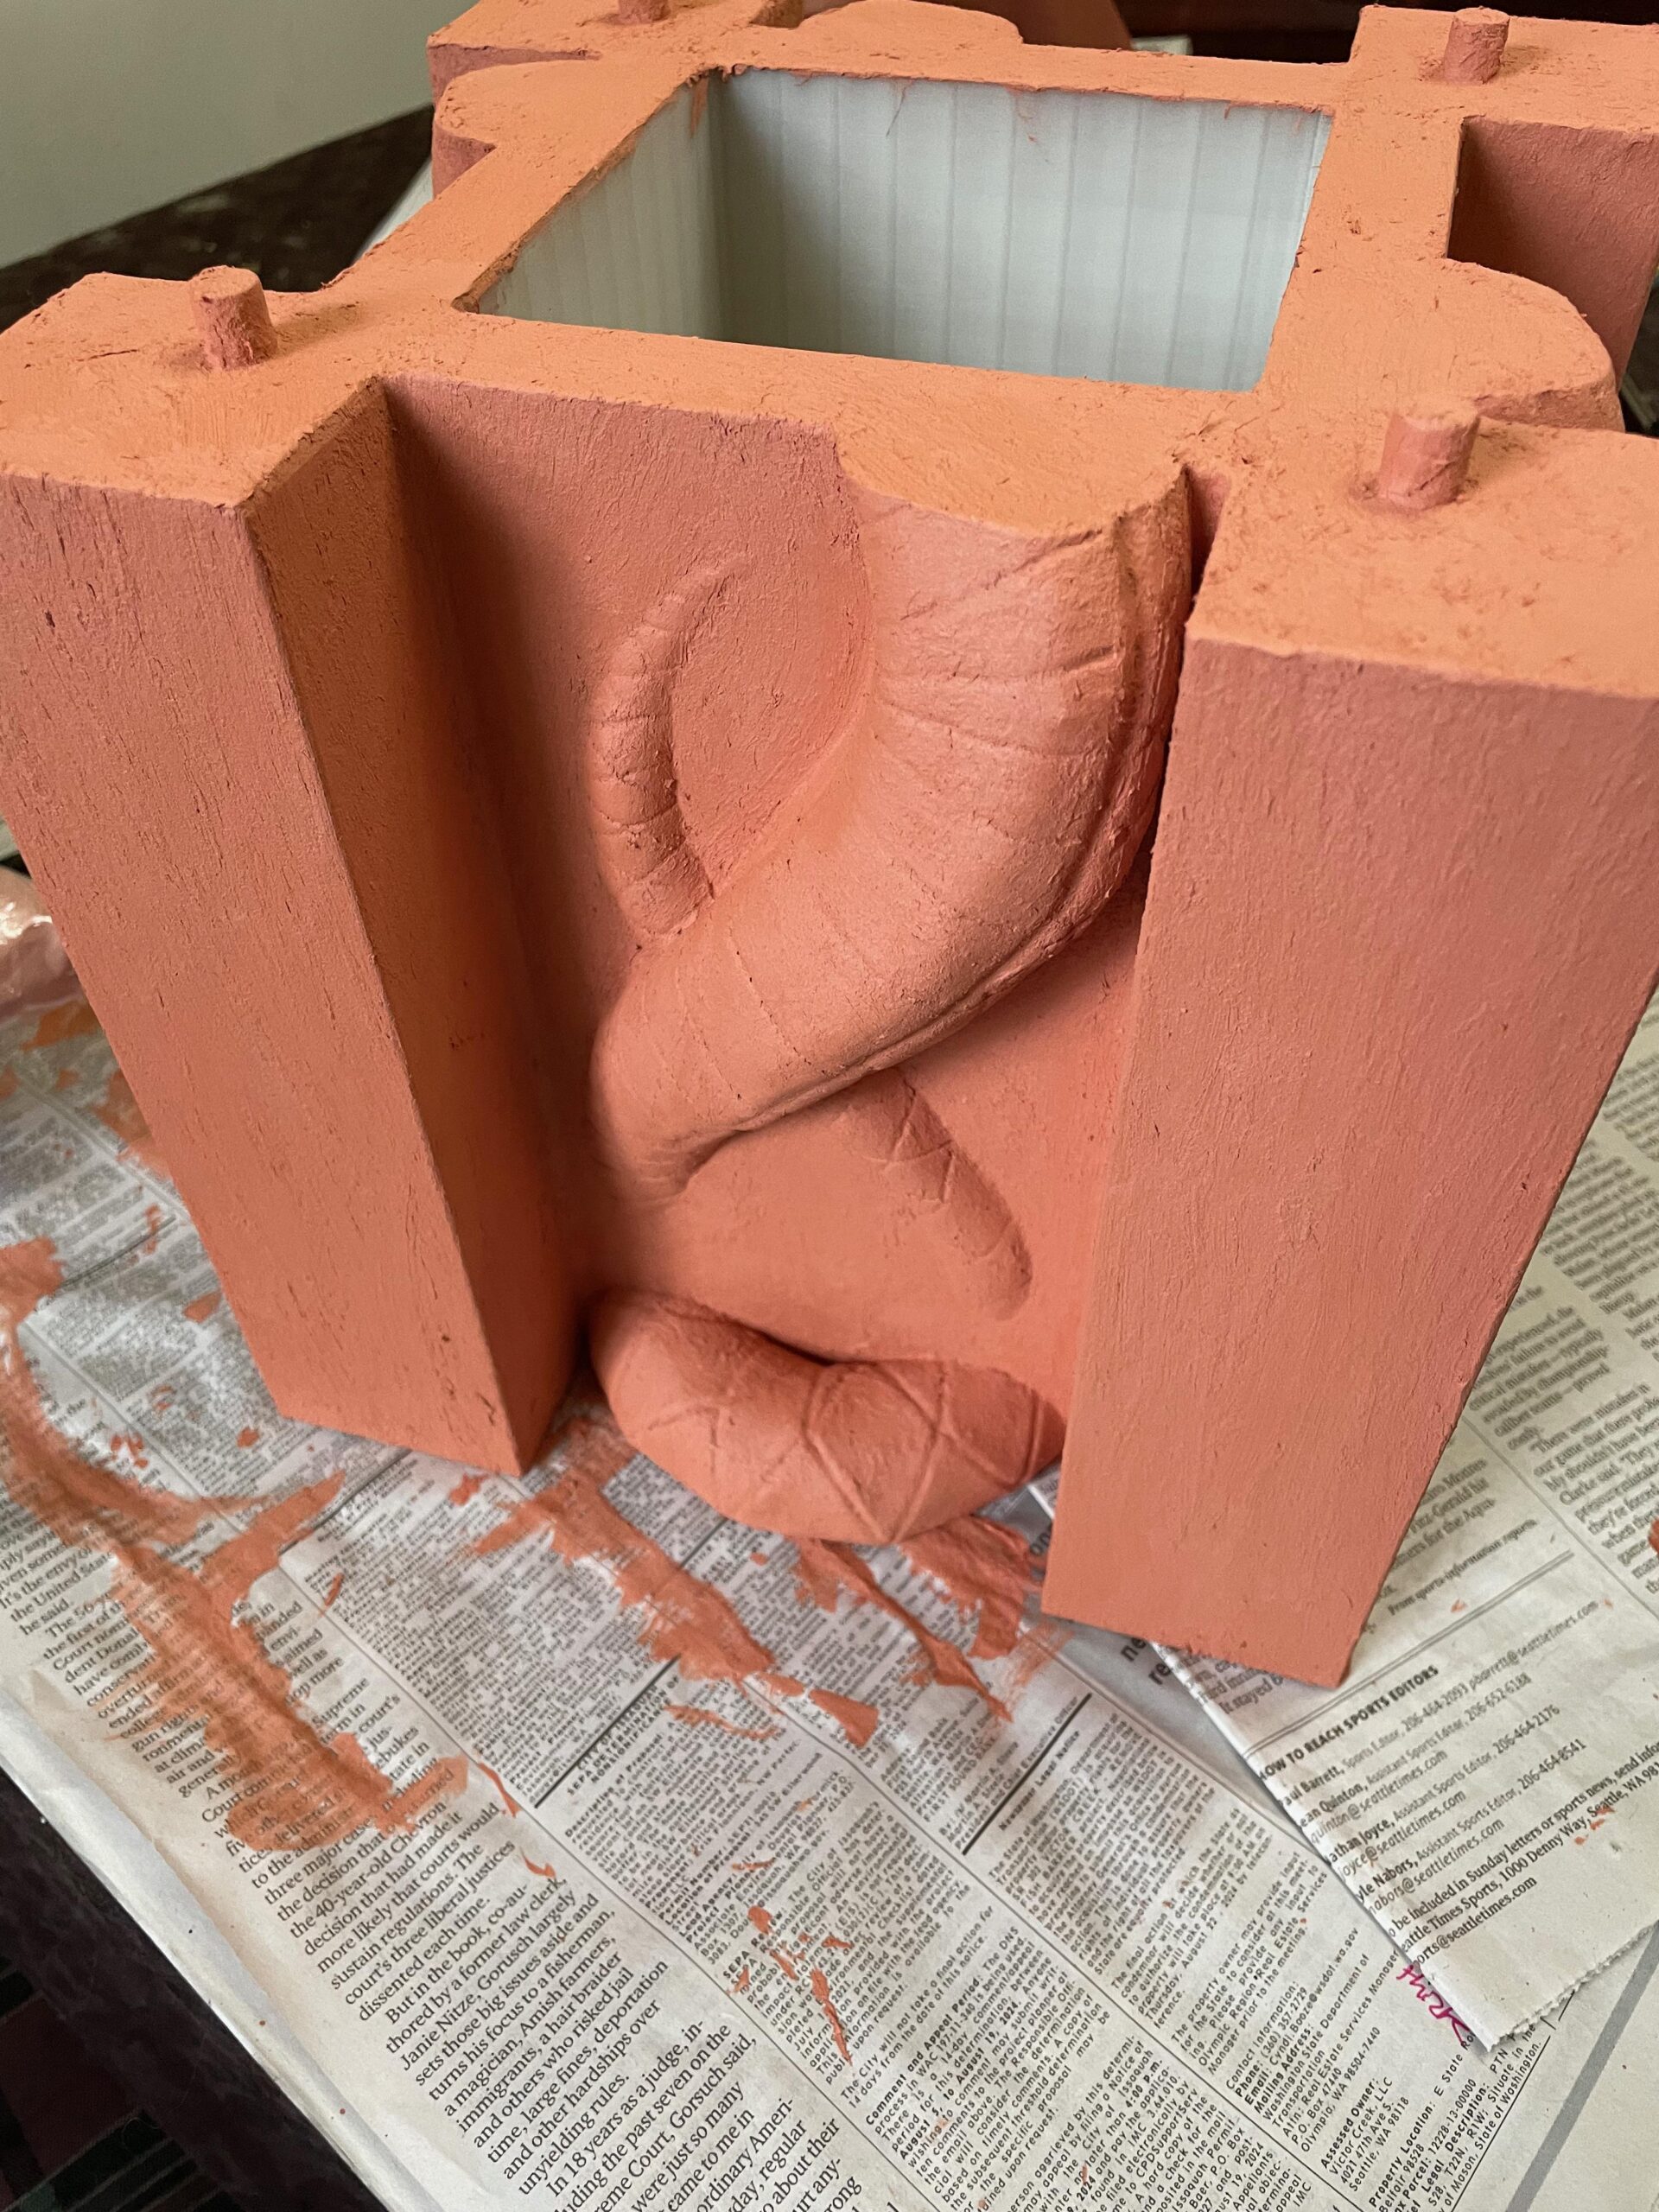
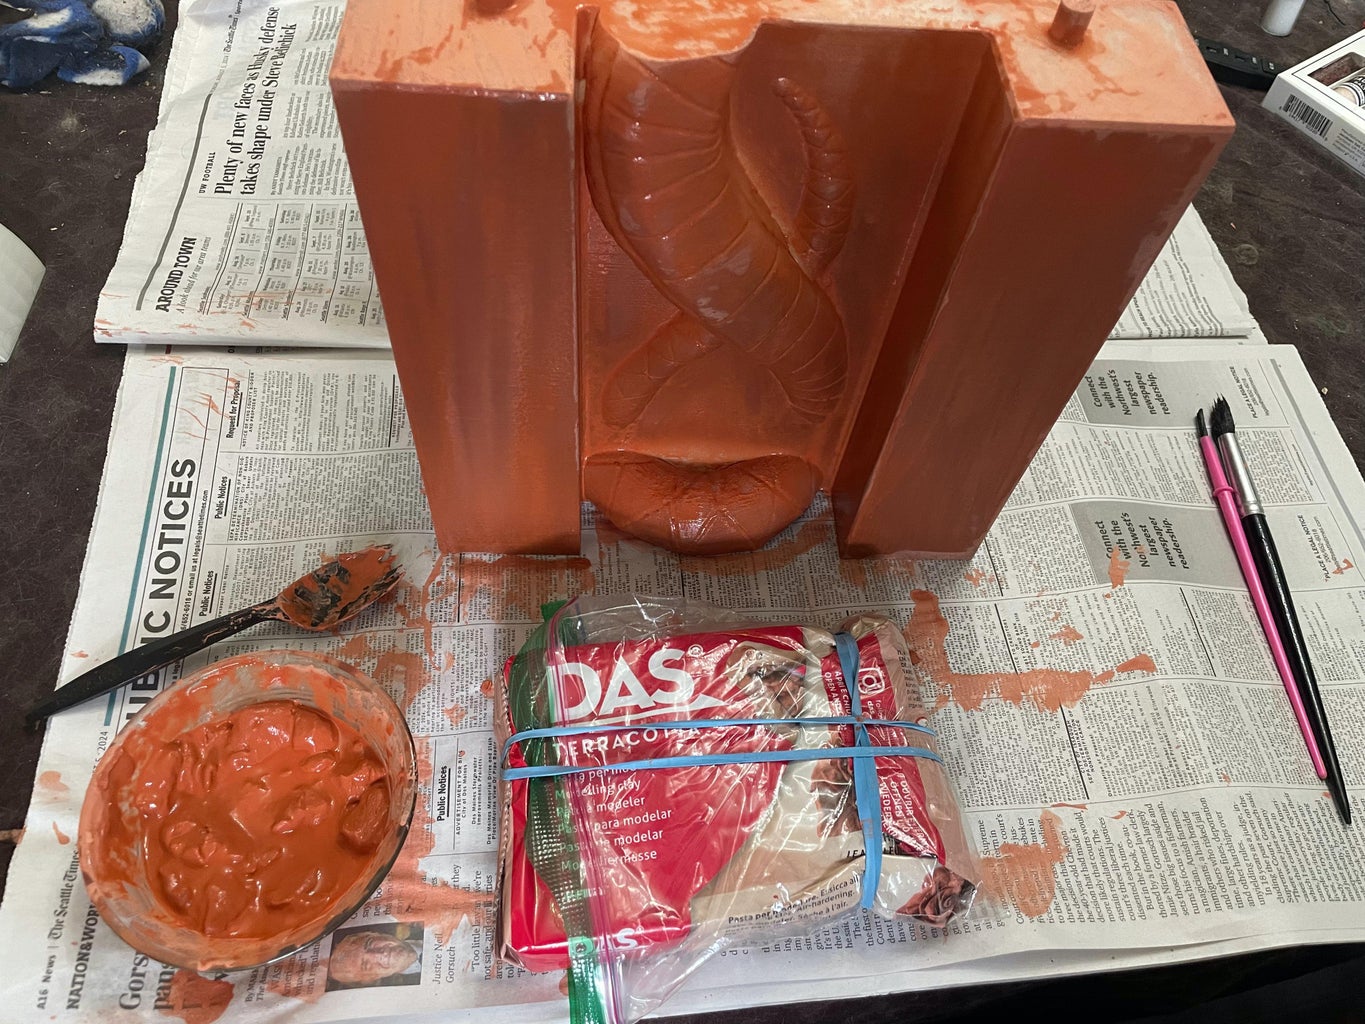
Now it’s time to apply the first layer of clay. Start by mixing a small amount of clay with water until you get a thin consistency. This will help the clay penetrate into the details and crevices of your model. Use a disposable brush to apply the clay, and don’t worry if it doesn’t cover evenly. Let it dry completely before moving on to the next step.
Step 4: Add Additional Layers of Clay
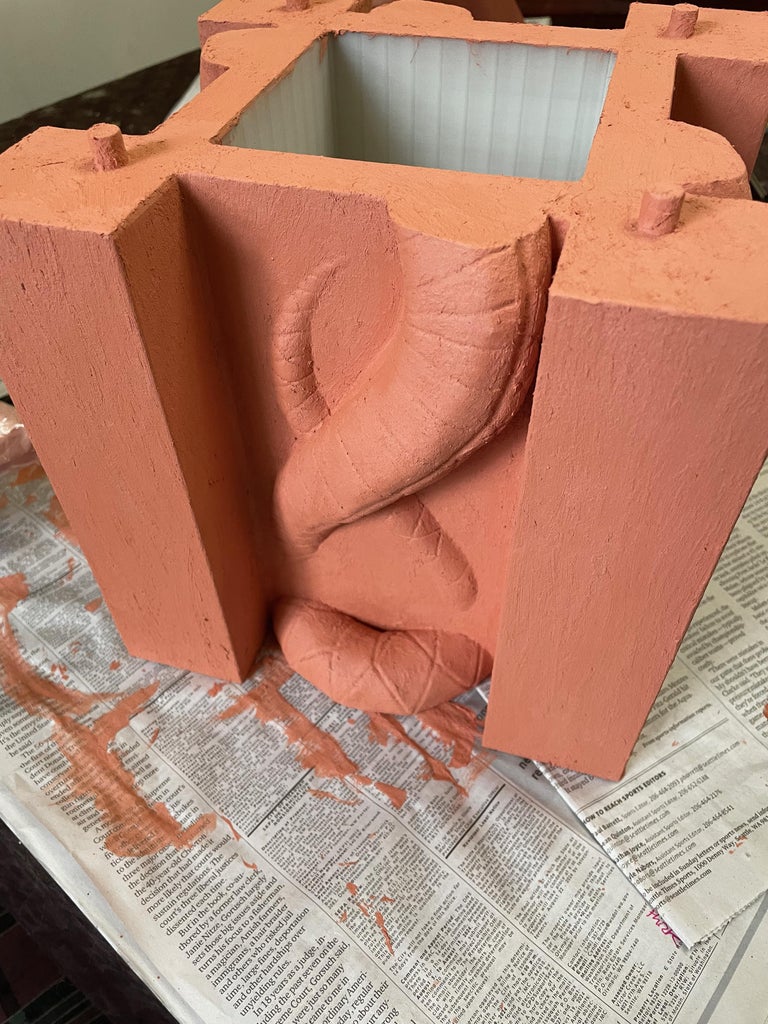
After the first layer is dry, you can start adding additional layers. Gradually thicken the consistency of the clay by adding more clay and less water. This will help you achieve a more textured look. Allow each layer to dry completely before applying the next one. You can apply up to four layers of clay, depending on the desired texture and look.
Step 5: Combine Parts (Optional)
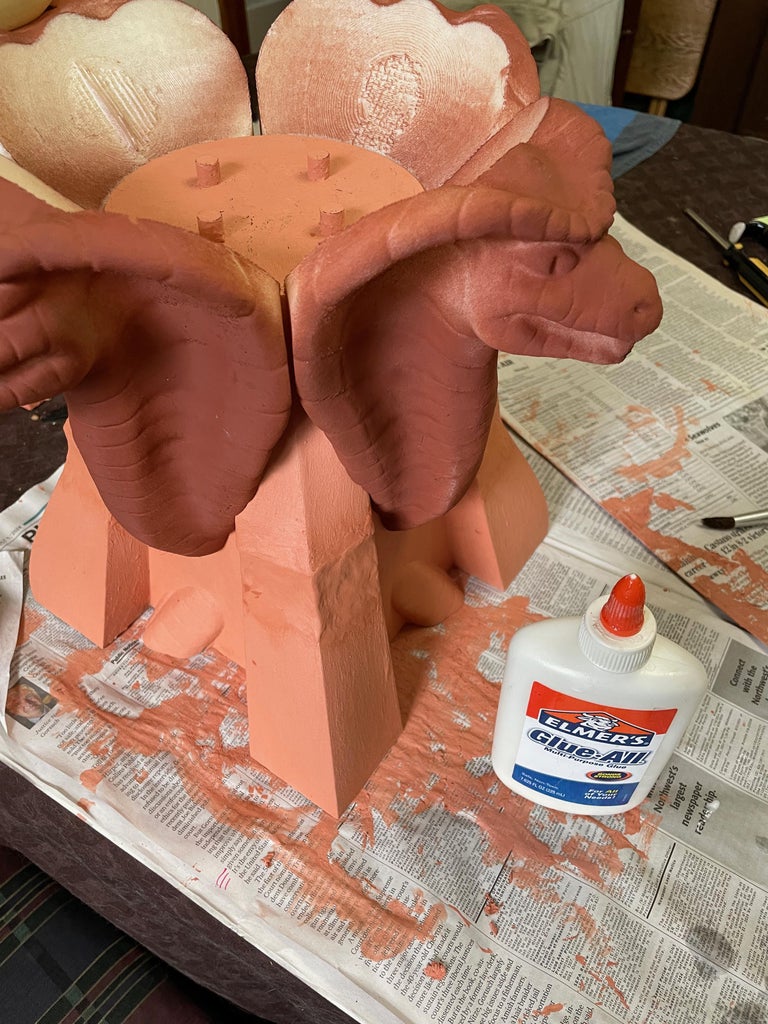
If you’re working with multiple prints, you can use this technique to combine them. Simply apply a small amount of glue to the parts you want to combine and cover the seam with additional layers of clay. This will create a seamless look and feel.
Step 6: Add Color to Your Clay
If you want to add color to your clay, now is the time to do it. You can add acrylic paint to your clay mixture and apply it to your model. This will give your piece a more realistic and aged look.
Step 7: Weathering and Final Painting
To give your piece a weathered look, you can use a wet-wash paint technique. Simply mix water with dark paint and apply it to your model. Immediately wipe off the excess paint, leaving behind a weathered look. You can also add any additional paint details at this stage.
Step 8: Seal Your Piece
Once your piece is dry, it’s time to seal it. Use a clear gloss spray can to protect your model and give it a glossy finish. This will ensure that your piece lasts for a long time and doesn’t get damaged by water or moisture. Remember to work in a well-ventilated area and wear a respirator to avoid inhaling any fumes.
Step 9: Enjoy Your Masterpiece
You’re now done with the transformation process. Stand back and admire your unique piece of art. With a little patience and creativity, you’ve transformed a plain plastic 3D print into a stunning piece that looks like it’s forged from clay.
Conclusion
Transforming plastic 3D prints with teracotta air dry clay is a fun and rewarding process. With these simple steps, you can create unique pieces of art that resemble ancient artifacts or rustic sculptures. Remember to be patient and take your time, as each layer of clay needs to dry completely before moving on to the next step. Happy crafting!
Anycubic Coupon – $5 off $50+ sitewide with code DIY5OFF
