“What I Wish I Knew Before I Started Learning Blender 3D” is a video by Brad Colbow that delves into his experiences and insights gained from learning Blender, a free 3D modeling and animation application. Colbow highlights the challenges of learning Blender, describing it as one of the most difficult programs he has encountered. The video provides an overview of the content covered, including various Blender tutorials and learning experiences, such as 2D/3D animation, beginner tutorials, character modeling, and grease pencil animation. Colbow emphasizes the importance of familiarizing oneself with the interface and shortcuts, as well as the satisfaction and progress experienced throughout the learning journey.
In the video, Colbow shares his journey of learning Blender, noting the difficulty he encountered in grasping the software. He explains that he initially underestimated the complexity of Blender and recommends approaching it by first understanding the three different components: 3D modeling, rendering and texturing, and animation. Colbow also discusses the significance of following tutorials, particularly the influential “Blender Guru” series on creating a donut. He highlights the necessity of using a mouse and having a keyboard with a number pad for optimal functionality, as well as encourages learners not to stress out if they miss certain aspects or encounter challenges during the modeling process. Overall, the video serves as a valuable resource for individuals venturing into the world of Blender.
Importance of Understanding the Interface and Shortcuts
Familiarizing Yourself with the Blender Interface
When starting to learn Blender, one of the first things you should prioritize is familiarizing yourself with the interface. Blender’s interface can appear complex and overwhelming at first glance, but taking the time to understand its various components will significantly enhance your learning experience.
The Blender interface consists of different panels, menus, and buttons that allow you to access the software’s extensive range of tools and features. It is essential to understand how to navigate through these different elements to effectively work on your projects. Becoming familiar with the interface will provide a solid foundation for your journey into 3D modeling and animation.
Learning the Essential Shortcuts
In addition to understanding the interface, learning the essential shortcuts in Blender is crucial for efficient workflow and productivity. Blender offers a wide range of shortcuts that can significantly speed up your work and improve your overall experience.
Shortcuts allow you to access tools and perform actions quickly, without the need to navigate through menus and panels manually. They can help streamline your workflow and save you valuable time, especially when working on complex projects.
By investing time in learning and memorizing the most commonly used shortcuts in Blender, you can greatly enhance your productivity and efficiency while using the software.
Understanding the Benefits of Knowing the Interface and Shortcuts
Understanding the Blender interface and effective shortcuts can have numerous benefits throughout your learning journey. Here are a few key advantages:
-
Improved Efficiency: Familiarity with the interface and shortcuts enables you to navigate through Blender’s tools and features more quickly, allowing you to work more efficiently on your projects.
-
Streamlined Workflow: With knowledge of shortcuts, you can perform actions and access tools with fewer clicks, reducing the time spent on repetitive tasks. This helps maintain a smooth and uninterrupted workflow.
-
Enhanced Productivity: By using shortcuts, you can accomplish tasks at a faster pace, thus increasing your overall productivity. This becomes particularly useful when working on complex projects with tight deadlines.
-
Better Focus on Creativity: When you no longer have to waste time searching for tools or performing actions manually, you can devote more attention to your creative process. This allows you to focus on bringing your ideas to life and achieving your desired results.
Investing time and effort into understanding the Blender interface and learning shortcuts will undoubtedly pay off in the long run. It will empower you to navigate the software with confidence, enabling you to fully utilize its vast array of features and unleash your creativity.
Finding Reliable Tutorials and Resources
Researching Reputable Blender Tutorial Channels
When starting your journey with Blender, it is crucial to find reliable tutorial channels that can provide comprehensive and accurate guidance. There are numerous tutorial channels available on platforms like YouTube, where experienced Blender users share their knowledge and expertise.
Researching reputable Blender tutorial channels can help you identify reliable sources of information and ensure that you are receiving accurate instructions. Look for channels that have a strong community following and positive feedback from viewers. These channels often cover a wide range of topics, from beginner tutorials to more advanced techniques.
Exploring Tutorials on Blender Guru
Blender Guru is one of the most popular and respected tutorial channels dedicated to Blender. The channel, run by Andrew Price, offers a comprehensive range of tutorials that cater to various skill levels. From beginner-friendly tutorials, such as the famous “Blender Guru Donut Tutorial,” to more advanced projects, Blender Guru provides a wealth of valuable resources.
Exploring tutorials on Blender Guru can help you gain a solid foundation in Blender and understand its capabilities. The tutorials cover a wide range of topics, including modeling, texturing, lighting, and rendering. By following Blender Guru’s tutorials, you can acquire essential skills and knowledge that will set you on the path to mastering Blender.
Utilizing Tutorials from Moon Knight and Blender 3D
In addition to Blender Guru, there are other tutorial channels like Moon Knight and Blender 3D that provide valuable resources for learning Blender.
Moon Knight offers tutorials that delve into various aspects of Blender, including character modeling, texturing, rigging, and animation. Following Moon Knight’s tutorials can provide insights into specific Blender workflows and techniques.
Blender 3D, as the name suggests, focuses on Blender-related content and tutorials. This channel covers a wide range of topics, from basic tutorials for beginners to more advanced techniques. Exploring Blender 3D’s tutorials can expose you to different perspectives and approaches in using Blender.
Identifying Other Reliable Resources
Apart from tutorial channels, there are additional resources you can explore to further enhance your learning experience with Blender. Online forums and communities dedicated to Blender can provide valuable insights, tips, and solutions to common challenges faced by learners.
Official Blender documentation, available on the Blender website, offers in-depth explanations of various tools and features. It serves as a comprehensive reference guide that you can consult throughout your learning journey.
Additionally, books and online courses dedicated to Blender are abundant and can provide structured learning paths for those who prefer a more guided approach. When selecting resources outside of tutorial channels, ensure that they are reputable and up-to-date with the current version of Blender.
By utilizing reliable tutorials and resources, you can access comprehensive guidance and invaluable insights from experienced users. This will enable you to progress effectively in your Blender learning journey and acquire the necessary skills to create stunning 3D models and animations.
Challenges Faced When Starting to Learn Blender
Understanding the Complexity of the Software
One of the main challenges beginners face when starting to learn Blender is understanding the complexity of the software. Blender is a feature-rich application that offers a wide range of tools and options, making it initially overwhelming for newcomers.
The complexity of Blender arises from its extensive capabilities in 3D modeling, animation, rendering, and more. Learning to navigate through the various menus, panels, and settings can be challenging, as the software offers numerous possibilities for customization and fine-tuning.
To overcome this challenge, it is crucial to approach learning Blender with patience and a willingness to invest time in understanding its intricacies. Breaking down the learning process into manageable chunks and focusing on specific aspects at a time can help in gradually grasping the software’s complexity.
Find 3D Printing Accessories Here
Dealing with a Steep Learning Curve
Learning Blender is often considered to have a steep learning curve. The software’s vast array of tools and the need to understand their interconnections can make it feel daunting for beginners.
While Blender’s learning curve may seem challenging at first, it is important to remember that mastery comes with practice and persistence. Taking a systematic approach to learning, starting with the basics, and gradually building upon that foundation can help in overcoming the initial difficulties.
Engaging with tutorials, practicing regularly, and seeking help from the Blender community can significantly aid in reducing the learning curve. It is essential to embrace the learning process as a journey and not be discouraged by initial struggles.
Overcoming Frustration and Discouragement
Learning Blender, like any complex software, can be frustrating at times. It is common to encounter difficulties, face roadblocks, and feel discouraged during the learning process. However, it is crucial to persevere and push through these challenges.
Overcoming frustration and discouragement requires a mindset shift towards viewing difficulties as opportunities for growth and learning. Recognizing that mistakes and setbacks are natural parts of the learning journey can help in maintaining motivation and resilience.
Seeking support from fellow learners, joining online communities or forums, and celebrating small achievements can all contribute to a positive learning experience. By embracing challenges as learning opportunities and maintaining a growth mindset, you can navigate through the initial struggles and unlock the vast potential of Blender.
Understanding the Basics of 3D Modeling
Learning About Vertices, Edges, and Faces
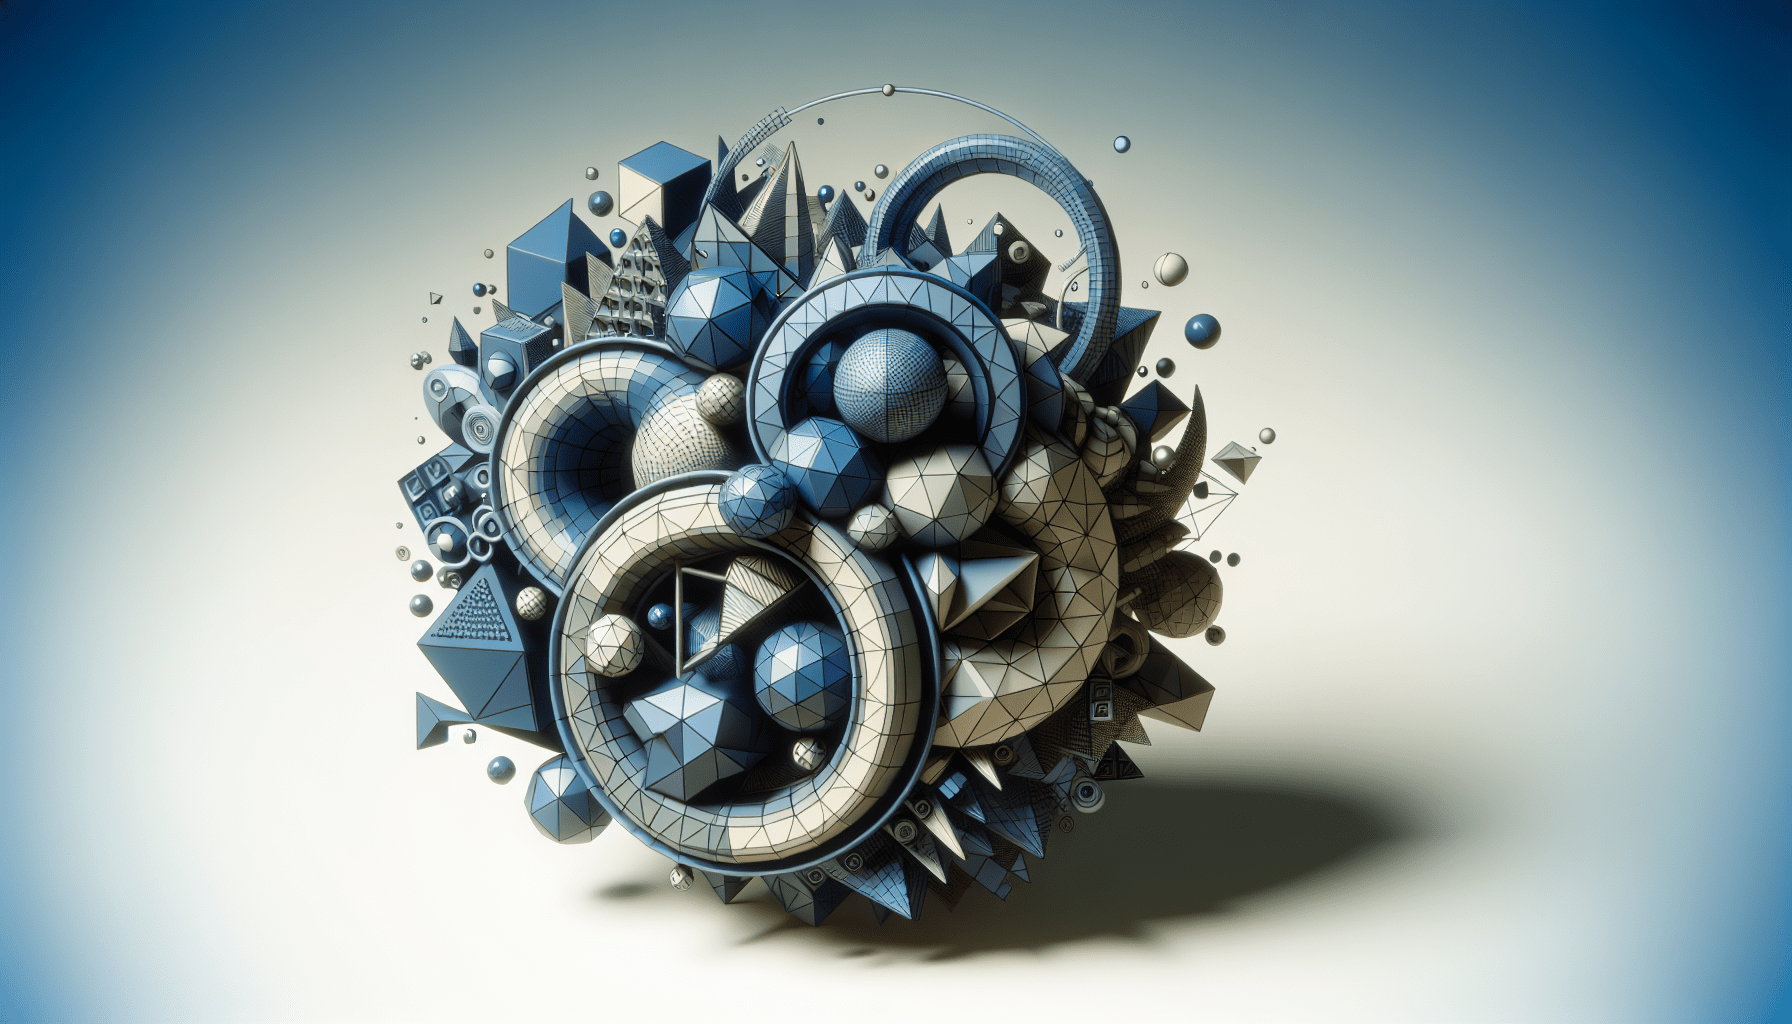
3D modeling is a fundamental aspect of working with Blender. Understanding the basics of 3D modeling starts with familiarizing yourself with vertices, edges, and faces, the building blocks of 3D objects.
Vertices are the individual points that define the shape of an object. Edges connect vertices and form lines. Faces are the flat surfaces formed by connecting edges together to enclose a specific area.
By manipulating these vertices, edges, and faces, you can create and shape 3D objects in Blender. Learning how to select, move, scale, and rotate these components is crucial for effective 3D modeling.
Exploring Different Modeling Techniques
Blender offers various modeling techniques that cater to different needs and preferences. Some commonly used modeling techniques include:
-
Extrusion: This technique involves duplicating a selection of vertices, edges, or faces and extending them along a specified direction. Extrusion allows you to create more complex shapes by building upon existing geometry.
-
Subdivision Surface Modeling: Subdivision surface modeling involves creating a basic mesh structure and subdividing it to achieve smoother and more detailed surfaces. It allows for the creation of organic and curved shapes.
-
Box Modeling: Box modeling involves starting with a basic shape, such as a cube or a cylinder, and refining it by adding, deleting, or manipulating vertices, edges, and faces. It offers flexibility and control in shaping objects.
-
Sculpting: Sculpting allows you to digitally sculpt models by using brushes to push, pull, and manipulate the geometry. It is particularly useful for creating organic and detailed models.
Each modeling technique has its strengths and limitations, and exploring different techniques will expand your creative possibilities and help you develop a diverse skill set.
Understanding the Importance of Topology
Topology refers to the arrangement of vertices, edges, and faces in a 3D model. It plays a crucial role in creating models that are visually appealing, deform well during animation, and behave predictably during simulations.
Good topology ensures that the geometry flows smoothly and evenly across the model, with evenly distributed edge loops and minimal distortion. It allows for easier texture mapping, rigging, and animation.
Understanding the importance of topology involves learning about edge loops, pole vertices, and the concept of quadrilateral and n-gon faces. By ensuring clean, efficient topology, you can produce high-quality models that are easier to work with and yield more satisfactory results.
Mastering the basics of 3D modeling will provide a strong foundation for exploring more advanced modeling techniques and creating intricate and detailed 3D objects in Blender. With practice, patience, and a thorough understanding of these fundamentals, you can embark on your journey towards becoming a proficient 3D modeler.
Mastering the Art of 2D and 3D Animation
Learning Keyframe Animation
Keyframe animation is an essential concept to grasp when diving into the world of 2D and 3D animation. Keyframes are specific points in time where you define certain properties or attributes in an animation, such as position, rotation, scale, or visibility.
Blender allows you to set keyframes for various objects, allowing you to animate them over time. By specifying keyframes at different intervals, you can create smooth and fluid motion in your animations.
Understanding how to set keyframes, manipulate animation curves, and use the Graph Editor in Blender is crucial for creating captivating and dynamic animations.
Exploring the Animation Timeline
The Animation Timeline in Blender serves as a visual representation of your animation over time. It allows you to manage and modify keyframes, manipulate animation curves, and control the overall timing of your animation.
The Timeline provides various tools and features that enable precise control over your animations. From adjusting the timeline range to setting keyframe interpolation, the Timeline offers a comprehensive set of tools to help you perfect your animations.
Exploring and familiarizing yourself with the Animation Timeline in Blender is essential to effectively manage and refine your animations.
Discovering the Principles of Animation
To create believable and visually compelling animations, it is crucial to understand and apply the principles of animation. These principles provide guidelines for creating animation that appears natural and captures the essence of movement.
Some of the key principles of animation include:
-
Squash and Stretch: This principle adds a sense of weight and flexibility to objects as they move. It involves distorting and deforming objects to match the motion being portrayed.
-
Anticipation: Anticipation is about preparing the viewer for what is about to happen. By having objects or characters show a brief movement or reaction before the main action occurs, the animation becomes more engaging.
-
Timing and Spacing: Timing and spacing refer to the rhythm and spacing of motion. It involves determining the appropriate speed and distance between keyframes to create a smooth and realistic sense of motion.
-
Follow-through and Overlapping Action: These principles describe how different parts of an object or character can continue moving even after the main action has stopped. It adds a sense of fluidity and realism to the animation.
Understanding and applying these principles can greatly enhance the quality and impact of your animations. By studying and practicing these principles, you can elevate your animations to a professional level.
Understanding the Concept of Rigging
Rigging is the process of creating a digital skeleton or structure that allows for realistic movement and deformation of 3D models. It is a crucial step for animating characters, as it enables you to control their movements and expressions.
In Blender, rigging involves creating a hierarchy of bones and assigning them to specific parts of the character’s mesh. These bones act as controllers that allow you to manipulate the character’s movements.
Understanding the basics of rigging, such as creating bones, setting up constraints, and weight painting, is essential for character animation. Rigging empowers you to bring your characters to life and create captivating animations with realistic movement.
By mastering keyframe animation, exploring the Animation Timeline, discovering the principles of animation, and understanding the concept of rigging, you can unlock the full potential of animating in Blender. These skills will enable you to create dynamic and captivating animations that impress and engage your audience.
Getting Started with Character Modeling
Learning the Anatomy of a Character
Character modeling involves creating a 3D representation of a character, whether it be a human, animal, or fantastical creature. Before diving into character modeling, it is crucial to have a solid understanding of human anatomy.
Studying human anatomy allows you to create realistic and anatomically correct characters. It provides an understanding of the proportions, structure, and movements of the human body, enabling you to accurately model and pose characters.
Familiarize yourself with the basic anatomical features, such as the skeletal structure, muscles, and proportions of the human body. Learning about different body types, facial features, and expressions will further enhance your character modeling skills.
Exploring the Different Modeling Tools
Blender offers a wide range of modeling tools that are specifically designed for character modeling. These tools allow you to create, shape, and refine the geometry of your characters.
Some essential modeling tools to explore for character modeling include:
-
Extrusion: Extrusion allows you to create new geometry by extending existing faces or edges. It is useful for building up the basic structure of the character.
-
Sculpting: Sculpting tools enable you to digitally sculpt the surface of the character, adding intricate details and organic shapes. It allows for more artistic and expressive modeling.
-
Retopology: Retopology tools help you create clean and efficient topology on your character’s mesh. It involves creating new geometry that follows the contours and shape of the character while maintaining good edge flow.
By familiarizing yourself with these and other modeling tools in Blender, you can effectively bring your character concepts to life.
Understanding the Process of Sculpting
Sculpting is an artistic process that allows you to digitally mold and shape the surface of your characters. It is a powerful tool for adding fine details, refining forms, and achieving organic and natural-looking shapes.
Blender’s sculpting mode provides various brushes and settings that enable you to manipulate the geometry of your models. Brushes like Clay, Smooth, and Inflate can be used to sculpt and refine different areas of the character.
Mastering the art of sculpting requires practice, patience, and a keen eye for detail. By experimenting with different brushes and techniques, you can create captivating and lifelike characters.
Character modeling in Blender is a rewarding process that allows you to bring your unique characters to life. By learning about human anatomy, exploring different modeling tools, and understanding the process of sculpting, you can create characters that are visually appealing, anatomically accurate, and highly expressive.
Exploring the Capabilities of Grease Pencil Animation
Understanding the Basics of Grease Pencil Animation
Blender’s Grease Pencil is a powerful tool that combines 2D and 3D animation techniques. It allows you to draw directly in the 3D viewport, creating 2D animations on a 3D canvas.
Understanding the basics of Grease Pencil animation involves learning how to create strokes, manipulate keyframes, and control the timing and playback of your animations. Blender provides a dedicated workspace for Grease Pencil animation, making it accessible and intuitive.
The Grease Pencil toolset offers a wide range of brushes, layers, and effects that allow for dynamic and expressive animation. By combining the flexibility of drawing with the three-dimensional capabilities of Blender, Grease Pencil animation opens up exciting creative possibilities.
Learning to Draw and Animate with Grease Pencil
Drawing and animating with Grease Pencil requires a combination of traditional drawing skills and a basic understanding of animation concepts. By utilizing the drawing tools and animation features provided by Grease Pencil, you can create captivating 2D animations within the Blender environment.
To create smooth and fluid animations, it is essential to learn how to animate and manipulate keyframes in the Grease Pencil Timeline. This allows you to control the movement, timing, and transitions of your drawn elements.
Experimenting with different brushes, stroke styles, and layering techniques in Grease Pencil will help you develop your own unique artistic style and bring your ideas to life.
Exploring the Creative Possibilities of Grease Pencil
Grease Pencil animation offers a wide range of creative possibilities in both 2D and 3D spaces. The ability to combine drawings with 3D objects and environments allows for unique and visually appealing animations.
Some creative applications of Grease Pencil animation include:
-
Storyboarding and Animatics: Grease Pencil can be used to create storyboards and animatics that help visualize and plan out scenes before final production.
-
2D Character Animation: By drawing and animating characters with Grease Pencil, you can create traditional-style 2D animations with a modern twist.
-
Visual Effects: Grease Pencil allows for the creation of unique visual effects, such as animated textures, stylized motion graphics, and dynamic particle effects.
Exploring the creative possibilities of Grease Pencil animation will open doors to new and innovative ways of storytelling and visual expression. By leveraging the power of both 2D and 3D animation techniques, you can elevate your animations to new heights.
Integrating Other Software with Blender
Utilizing Adobe Illustrator for Creating Assets
Adobe Illustrator is a popular vector graphics software that can be used in conjunction with Blender to create assets for your projects. Blender supports the import of vector files from software like Illustrator, allowing you to incorporate high-quality, scalable graphics into your 3D scenes.
Utilizing Illustrator for creating assets offers several advantages. The vector-based nature of Illustrator allows for the creation of crisp, clean graphics that can be scaled to any size without loss of quality. This is particularly beneficial when working on projects that require high-resolution output or printing.
By exporting assets from Illustrator as SVG or AI files and importing them into Blender, you can seamlessly integrate 2D elements into your 3D scenes and enhance the visual appeal of your projects.
Importing and Exporting Files Between Blender and Other Software
Blender supports various file formats, allowing for seamless import and export between Blender and other software. This interoperability enables you to incorporate assets and data from other software into your Blender projects and export your work for use in other applications.
When collaborating with artists who specialize in different software, the ability to import and export files becomes crucial. Blender provides compatibility with common file formats such as FBX, OBJ, and Alembic, allowing for efficient exchange of assets between different software packages.
Understanding the import and export capabilities of Blender and other software you work with will facilitate a smooth integration of assets and streamline your production pipeline.
Understanding the Benefits of Using Multiple Software
Integrating other software with Blender offers several benefits that can enhance your workflow and expand your creative possibilities. Some advantages of using multiple software include:
-
Specialized Functionality: Different software packages excel in specific areas. By utilizing software like Blender for 3D modeling and animation and other specialized software for tasks such as sculpting, texturing, or compositing, you can leverage the best features of each software and create more complex and refined projects.
-
Seamless Asset Workflow: Importing assets from other software allows you to incorporate diverse elements into your Blender projects. By using software tailored for specific asset creation, you can ensure high-quality and efficient production.
-
Collaborative Opportunities: Integrating other software with Blender enables collaboration with artists who may work with different tools. By exchanging files and assets seamlessly, you can combine the skills and expertise of multiple artists to create a more comprehensive and polished final product.
Understanding the benefits of using multiple software and learning how to integrate them effectively will broaden your creative horizons and enable you to tackle projects with increased versatility and efficiency.
Experiencing Satisfaction and Progress Throughout the Learning Journey
Celebrating Small Achievements
Learning Blender can be challenging, but it is essential to recognize and celebrate your small achievements along the way. As you progress through tutorials, develop new skills, or create your own projects, take the time to acknowledge and appreciate the progress you have made.
Whether it is successfully completing a tutorial, creating a model that meets your expectations, or mastering a new animation technique, each achievement brings you closer to your goals. By acknowledging and celebrating these milestones, you can stay motivated, inspired, and encouraged to continue learning and improving.
Embracing the Iterative Process of Learning
Learning Blender, like any skill, is an iterative process. It involves constant experimentation, refinement, and learning from both successes and failures. Embracing this iterative process allows you to continually grow and improve your skills.
Don’t be afraid to make mistakes or try new techniques. Through trial and error, you can learn valuable lessons and discover creative solutions to challenges you encounter. Embrace the learning process as a continuous journey, and view each setback as an opportunity to learn, adapt, and refine your approach.
Appreciating the Growth in Skills
As you progress in your Blender learning journey, take the time to reflect on the growth you have achieved. Compare your early works to your more recent creations and observe the improvement in your skills and understanding of Blender.
Appreciating your growth and development will not only boost your confidence but also motivate you to push further and continue honing your skills. Recognize that learning Blender is a long-term endeavor, and each step forward brings you closer to becoming a proficient 3D artist.
By celebrating small achievements, embracing the iterative process of learning, and appreciating your growth, you can find satisfaction and motivation throughout your Blender learning journey. Remember that learning is a continuous process, and every step forward is an accomplishment worth recognizing.
Conclusion
Reflecting on the key takeaways from your learning experience with Blender is essential for personal growth and continued improvement. Here are some key points to consider:
- Familiarizing yourself with the Blender interface and mastering essential shortcuts are crucial for efficient workflow and overall productivity.
- Researching reputable tutorial channels like Blender Guru, Moon Knight, and Blender 3D provides valuable resources and guidance throughout your learning journey.
- Challenges faced when starting to learn Blender, such as understanding the complexity of the software and overcoming frustration, are normal and can be overcome with perseverance and a growth mindset.
- Understanding the basics of 3D modeling, mastering animation techniques, and diving into character modeling are foundational steps in becoming proficient with Blender.
- Grease Pencil animation opens up new creative possibilities by combining the artistic expression of 2D drawing with the 3D capabilities of Blender.
- Integrating other software, such as Adobe Illustrator, with Blender expands your creative options and allows for seamless asset workflows.
- Celebrating small achievements, embracing the iterative process of learning, and appreciating your growth throughout the learning journey are crucial for personal satisfaction and progress.
In conclusion, learning Blender is a challenging yet rewarding process. By understanding the importance of the interface and shortcuts, exploring reliable tutorials and resources, overcoming challenges, mastering animation techniques, diving into character modeling, and embracing the creative possibilities of grease pencil animation, you can unlock the full potential of Blender and become a proficient 3D artist. Remember to celebrate your achievements, embrace the learning process, and appreciate your growth. The journey of learning Blender is one filled with discovery, creativity, and personal satisfaction, and with dedication and perseverance, you can achieve your goals.
Maintain Your 3D Printer with these Tools

