3D Printed Rotating Drying Station for Fishing Lures
Creality K1C 3D Printer, 2024 New Version 3D Printers with 600mm/s Fast Printing Speed, Support Carbon Fiber Filament 300℃ High-Temp Print, Auto Leveling and Clog-Free Direct Extruder
$559.00 (as of June 25, 2025 00:08 GMT +00:00 - More info)Are you tired of manually drying your fishing lures, waiting for what feels like an eternity for them to be ready for their next adventure? Do you wish there was a way to make the process easier, faster, and more efficient?
Anycubic Coupon – $5 off $50+ sitewide with code DIY5OFF
Introducing the 3D Printed Rotating Drying Station for Fishing Lures
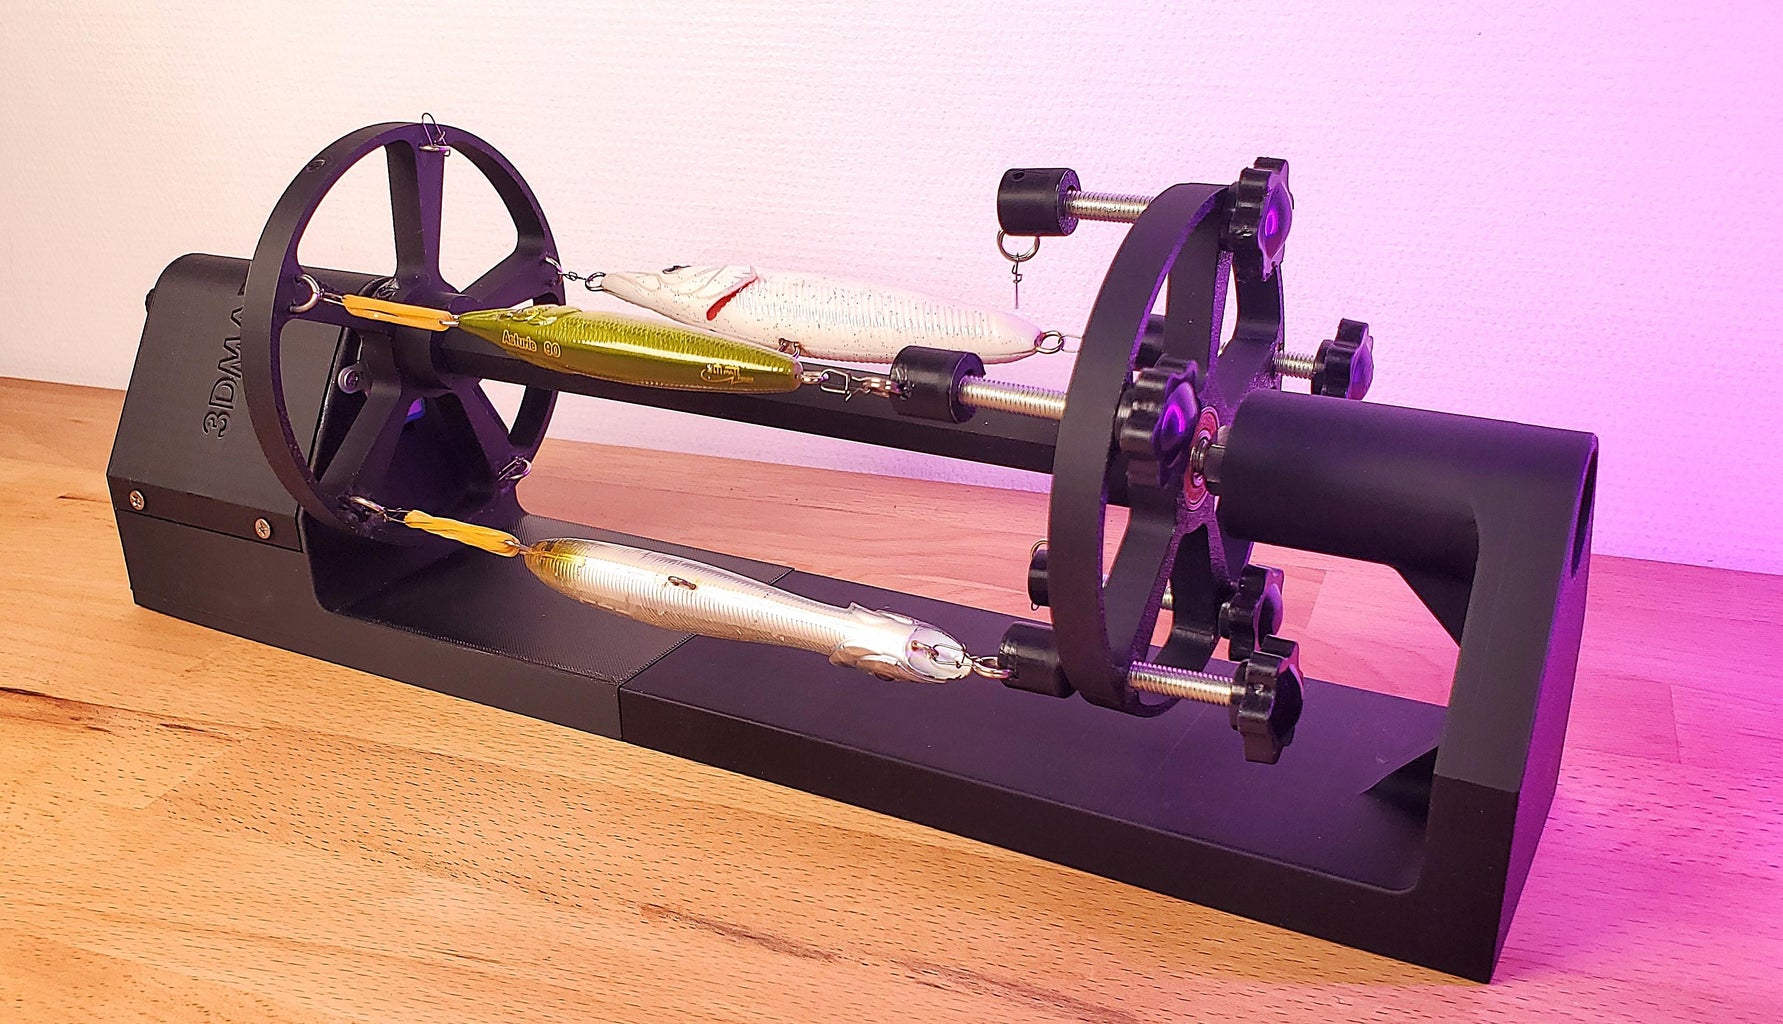
This innovative tool is designed to make the lives of lure makers and fishing enthusiasts easier. With its compact design and rotating mechanism, it ensures even drying of your fishing lures after painting or coating. Whether you’re a seasoned angler or just starting out, this device is perfect for anyone looking to streamline their lure preparation process.
The Benefits of a Rotating Drying Station
A rotating drying station offers several advantages over traditional drying methods. For one, it allows for even drying, reducing the risk of lures becoming warped or discolored. Additionally, it saves time and effort, as you no longer need to manually turn each lure to ensure it dries properly. With this device, you can simply load up your lures and let it do the work for you.
Anycubic Coupon – $5 off $50+ sitewide with code DIY5OFF
The Project Overview
This project is a fun and rewarding DIY endeavor that combines 3D printing and electronics. It’s perfect for those with some experience in these areas, but also accessible to beginners looking to learn and expand their skills. The project requires a range of materials, including a 3D printer, PLA filament, and various electronic components.
The Hardware and Software Requirements
To build this project, you’ll need the following hardware and software:
| Hardware | Description |
|---|---|
| 3D printer | For printing the device’s components |
| PLA filament | For creating the device’s structure |
| Cutter, pliers, and deburring tool | For cleaning and preparing the printed parts |
| Screwdrivers | For assembling the device |
| Soldering iron | For soldering electronic components |
| Hot glue gun | For securing the electronic components |
| Software | Description |
|---|---|
| SolidWorks CAD software | For designing the device’s components |
| Arduino IDE | For uploading the device’s code |
| Breadboard | For testing the device’s electronics |

Step-by-Step Instructions
Step 1: Hardware and Software Overview
Before we begin, let’s take a closer look at the device’s hardware and software components. The drying station consists of two main parts: the drum and the chassis. The drum is responsible for rotating the lures, while the chassis houses the electronic components. We’ll also be using an Arduino Nano to control the device’s motor.
Step 2: 3D Printing the Parts
Now it’s time to start printing! You can find the STL files for the device’s components online. Make sure to print all the parts using black PLA material. Only one part requires support material, so be sure to add borders to prevent parts from becoming unstuck during printing.
Step 3: Preparing the Drum Wheels
Use your soldering iron to heat up the M6x10mm brass inserts while pressing them into the part. To ensure the inserts stay flush, use a flat tool to hold them in place as they cool down. Once the inserts are secure, screw M6x40mm hand knobs into each insert to help deburr any excess plastic and ensure a clean fit.
Step 4: Assembly of the Drum
Press-fit the bearing into the part; if needed, apply a small amount of glue to the outer ring of the bearing for a secure fit. Next, perform a test assembly of the wheels and shaft—there is only one correct position where the holes in each wheel align perfectly. Once everything fits correctly, apply glue to each wheel and press-fit the shaft into place.
Step 5: Assembly of the Chassis
Simply join the two chassis parts using the joint piece. Apply superglue to secure everything in place, and use clamps to hold the parts tightly together while the glue hardens.
Step 6: Installing the Drum onto the Chassis
First, mount the motor onto the chassis by tightening two M3x8mm screws. Next, insert the drum onto the motor’s shaft and secure it on the opposite side using an M8x25mm bolt and nut. Use size 13 flat and pipe wrenches to tighten the M8 bolt securely.
Step 7: Preparing for the Cover Mount
Position the M3 nuts that will be used to mount the electronic cover in later steps. Simply use an M3 bolt to pull each nut into its designated 3D-printed slot. If desired, you can apply a small amount of glue to the nuts to ensure a permanent fit within the part.
Step 8: Preparing the Electronic Components
Prepare the wires for the switch and the potentiometer, and solder them to the pins of each component. Once soldered, use heat-shrink sleeves to secure and insulate each electrical connection.
Step 9: Building the PCB
Time for the fun part! If you’re new to making PCBs, don’t worry—this one is easier than you might think. The most important step is to carefully position the components on the PCB before proceeding further. Taking the time to plan this step will help you optimize your soldering paths and ensure a cleaner, more efficient build.
Step 10: Installing the Electronic Components
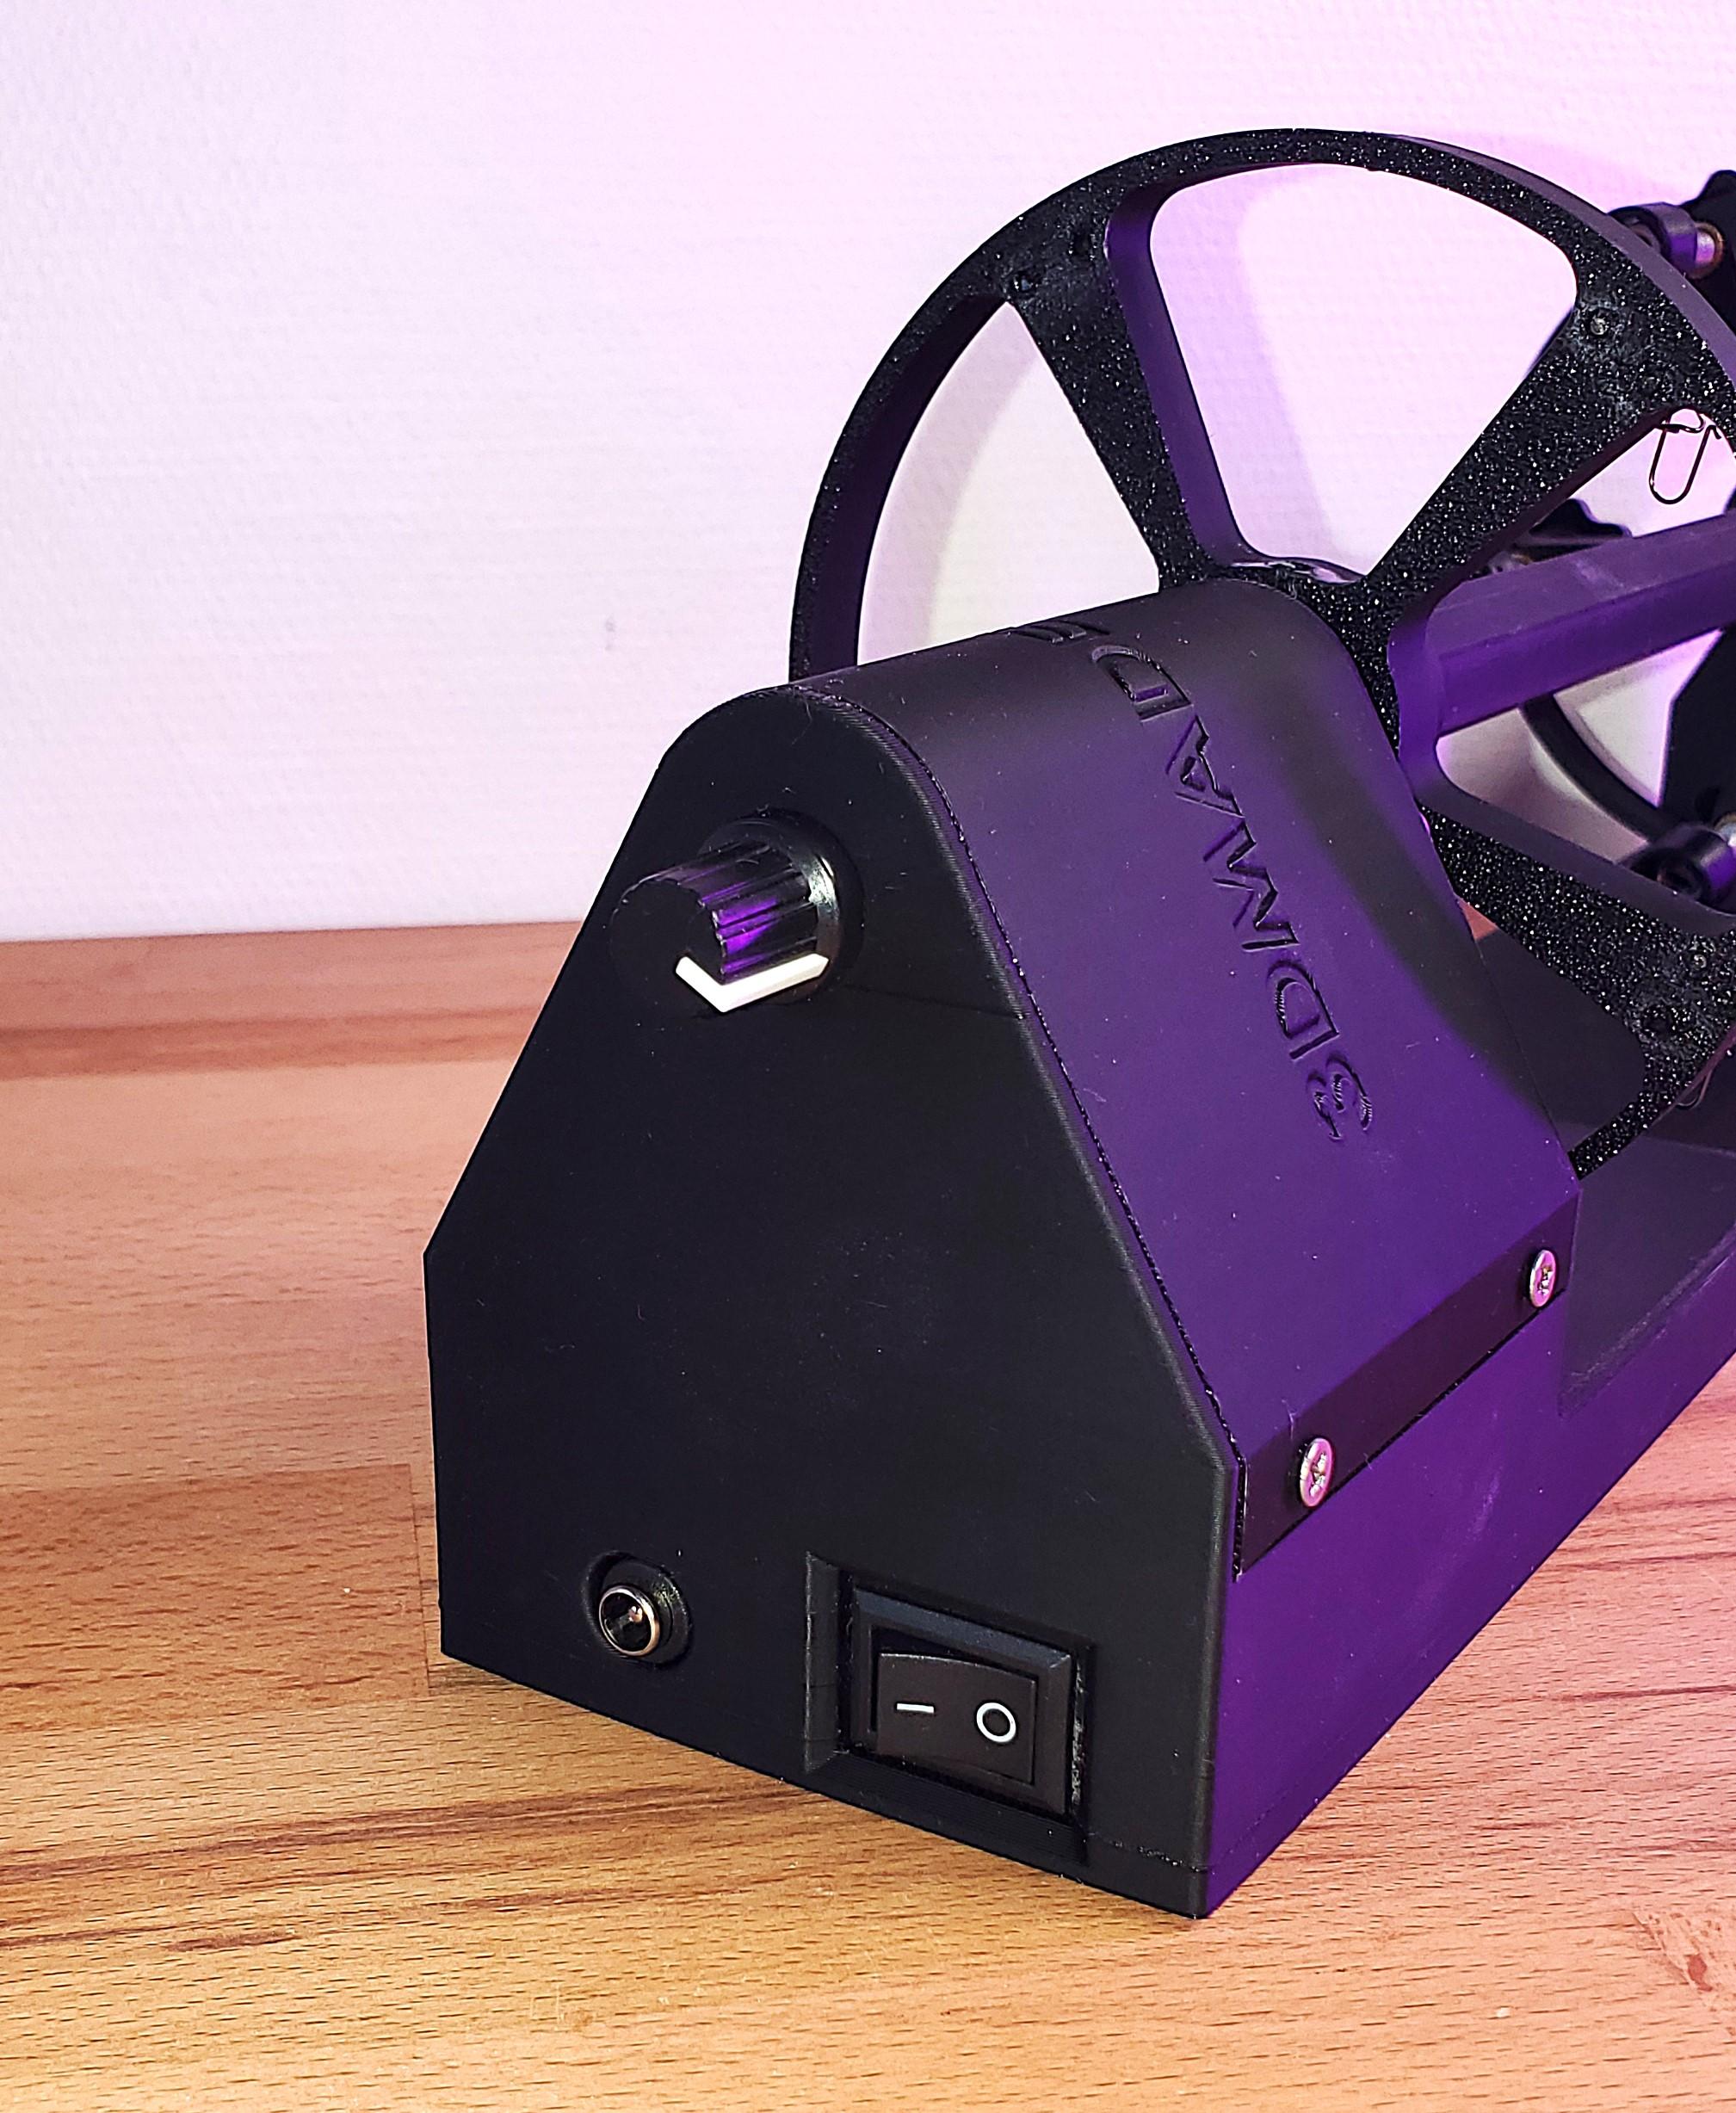
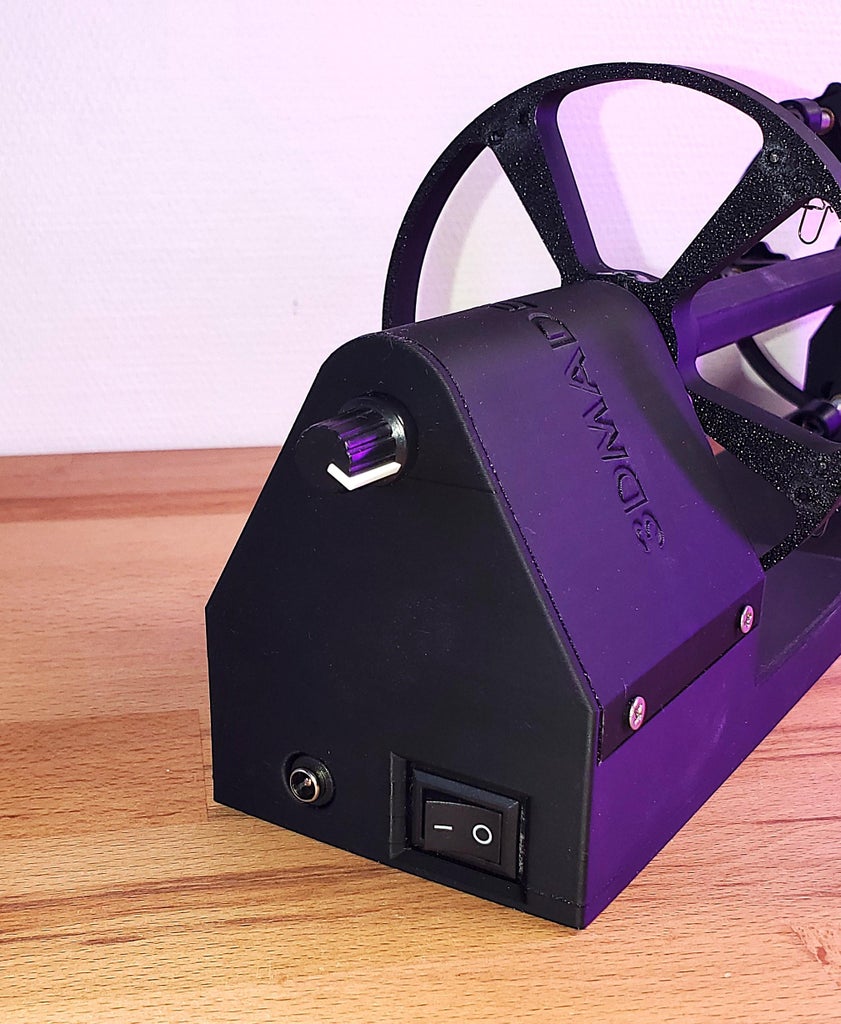
With all the electronics ready, it’s time to install the components in place. Use a hot glue gun to secure the power plug to the chassis, clip the switch into its slot, and tighten the potentiometer using its nut.
Step 11: Wiring Everything Up
Start by connecting the power supply to the common pin of the switch. Next, install the PCB in place and secure it using either glue or four screws. Finally, wire the terminal block pins according to the electrical diagram to ensure proper connections, and plug the motor into its module.
Step 12: Preparing the Lure Mounts
Finalize the assembly by shaping some U-shaped wires using different pliers. Insert them into the holes of the Motor_Side_Wheel.STL part, and secure them in place with superglue. Next, insert M6 nuts into the Lure_Screw_Coupler.STL parts, screw the M6 hand knobs into the Motor_Opposite_Side_Wheel.STL, and attach the assembled Lure_Screw_Coupler.STL with its nut.
Step 13: Enjoy the Result
Well done, you’ve made it! This project can help you expand your knowledge in the areas of 3D printing and electronics. We hope this tutorial has been helpful and inspiring. Don’t hesitate to share your own drying stations with us. If you have any questions, feel free to ask, and we will try to answer them. Happy making!
Anycubic Coupon – $5 off $50+ sitewide with code DIY5OFF


