Blender 3.0 Beginner Tutorial – Part 1


Creality K1 SE 3D Printer, 2024 New Version 600mm/s High-Speed Hands-Free Auto Leveling Flagship-Level Direct Extruder Quick-swap Tri-Metal Nozzle K1 Upgrade 3D Printer
$279.00 (as of June 21, 2025 23:57 GMT +00:00 - More infoProduct prices and availability are accurate as of the date/time indicated and are subject to change. Any price and availability information displayed on [relevant Amazon Site(s), as applicable] at the time of purchase will apply to the purchase of this product.)In the article titled “Blender 3.0 Beginner Tutorial – Part 1,” created by Blender Guru, the tutorial is introduced as a guide for beginners learning Blender 3.0. The tutorial is divided into parts, with Part 1 being the focus of this article. The tutorial covers various common features of Blender, such as modeling, lighting, materials, geometry nodes, and rendering. It emphasizes the creation of a donut project while learning these features and encourages learning through practical application. Additionally, the tutorial introduces keyboard shortcuts and provides a PDF guide for reference. The article highlights that one does not need to learn every aspect of Blender to achieve their goals and emphasizes the importance of hands-on learning.
The first part of the tutorial explores fundamental aspects of Blender, such as understanding the 3D Viewport, moving objects, using axis snapping, rotating and scaling, orbiting the view, scaling the interface, panning and zooming, focusing on objects, aligning the view to axis, and switching between orthographic and perspective views. It also covers topics like exploring properties, using the outliner, and camera view. The tutorial aims to provide beginners with a comprehensive understanding of Blender’s essential features and equip them with the necessary skills to create their own projects. The article concludes by mentioning that the tutorial series includes building a donut project, and by completing the series, one can create an image similar to the donut image provided.

Understanding the 3D Viewport
The 3D Viewport is the main window in Blender where users spend the majority of their time. It is where all visualization and animation take place. When opening Blender, the 3D Viewport is the first thing you see. It contains three default objects: a cube, a lamp, and a camera. These objects can be manipulated and positioned within the scene to create various visualizations. The final rendering of the objects is done from the camera view, which captures the scene’s lighting, shadows, textures, and materials. The 3D Viewport provides a simplified representation of the scene, which can be further refined and rendered for a final output.
Navigating the 3D Viewport
Navigating the 3D Viewport is essential to explore different parts of the scene and view objects from various angles. There are two primary navigation actions: orbiting and panning.
Orbiting allows you to rotate the view around a specific point of interest. This action is performed by clicking and dragging the middle mouse button. Alternatively, for users without a middle mouse button, there is the option to use a gizmo or enable the “emulate three button mouse” feature in the Preferences menu. Orbiting allows for a dynamic exploration of the scene, providing different perspectives and angles.
Panning, on the other hand, allows you to move the view laterally or vertically. By holding the Shift key and dragging the middle mouse button, the view can be panned in any direction. This action enables users to navigate around the scene without changing the camera’s position or orientation. Panning is useful for focusing on specific objects or areas of interest within the scene.
Find 3D Printing Accessories Here
Viewing and Manipulating Objects
In the 3D Viewport, objects can be selected, moved, rotated, and scaled according to the user’s needs. Selecting an object is done by left-clicking on it. Multiple objects can be selected by holding the Shift key while clicking on each object.
Moving an object in the scene can be accomplished using either the move tool in the toolbar or the “g” hotkey. With the move tool activated or by pressing “g,” the object can be dragged along the desired axis. Snapping the object to specific locations can be achieved by holding down the Ctrl key while moving the object.
Rotating objects in the scene is done using the rotate tool or the “r” hotkey. When the rotate tool is active or “r” is pressed, the object can be rotated along the chosen axis. Scaling objects to desired dimensions is accomplished using the scale tool or the “s” hotkey. Scaling can be performed uniformly or along specific axes based on the user’s preferences.
Changing Viewpoints
Blender allows users to change viewpoints to focus on different parts of the scene. The camera view is utilized when rendering the final output, capturing the scene’s lighting, shadows, textures, and materials. To switch to the camera view, users can press “0” on the numpad or use the Viewport Shading dropdown menu.
Additionally, the view can be aligned to specific axes to have a better view of objects from different perspectives. By pressing “Ctrl + NumPad 1” for aligning with the X-axis, “Ctrl + NumPad 3” for alignment with the Y-axis, or “Ctrl + NumPad 7” for alignment with the Z-axis, users can easily align their viewpoint accordingly.
Using Axis Snapping
Axis snapping allows for precise object placement along specific axes. It is a valuable tool when working with symmetrical or precise models. Objects can be snapped to specific axes by pressing the associated letter while moving the object. The X-axis is represented by the letter “x,” the Y-axis by the letter “y,” and the Z-axis by the letter “z.” Additionally, users can hold down the middle mouse button while moving an object to snap it to the nearest axis automatically.
Orbiting the View
Orbiting the view in Blender is a fundamental navigation feature that allows users to rotate the view around a specific point of interest. By clicking and dragging the middle mouse button, users can smoothly rotate the view to view objects from different angles. Orbiting provides flexibility in exploring the scene and finding the desired viewpoint for modeling, animation, or rendering purposes.
Scaling the Interface
Blender provides users with the option to customize the size and layout of the interface according to their preferences. This feature is particularly useful for users working on different screen sizes or with specific visual requirements. By going to the Preferences menu and adjusting the resolution scale, users can increase or decrease the size of buttons, icons, and text within the interface. Finding a comfortable interface layout enhances user experience and efficiency when working in Blender.
Panning and Zooming
In addition to orbiting, panning and zooming are vital navigation actions for exploring the scene. Panning allows users to move the view laterally or vertically without changing the camera’s position or orientation. By holding the Shift key and dragging the middle mouse button, users can pan the view and focus on specific objects or areas of interest. Zooming in and out can be done by scrolling the middle mouse button or by using the zoom tool in the toolbar. These navigation actions enable users to have complete control over their view in the 3D Viewport.
Focusing on Objects
Focusing on objects is crucial when working with intricate details or specific parts of the scene. Blender provides options for centering the view on selected objects and zooming in for detailed work. By pressing the period key on the numpad or using the “View” dropdown menu, users can focus the view on the currently selected object. This action brings the selected object to the center of the viewport, allowing for convenient manipulation and examination. Zooming in on objects can be done by using the scroll wheel on the mouse or by using the zoom tool in the toolbar.
Aligning the View to Axis
Blender offers the functionality to align the view to specific axes. This feature ensures a clear and focused view of objects from different orientations. By pressing “Ctrl + NumPad 1” for aligning with the X-axis, “Ctrl + NumPad 3” for alignment with the Y-axis, or “Ctrl + NumPad 7” for alignment with the Z-axis, users can instantly adjust the view according to their requirements. Aligning the view to axes enhances precision and accuracy during modeling and animation tasks.
PDF Guide for Reference
To assist users in their learning journey, Blender provides a downloadable PDF guide for quick reference. The guide includes keyboard shortcuts, tips, and essential information about various features and functions in Blender. The PDF guide serves as a handy resource for beginners and experienced users alike, allowing for easy access to important information while working on projects. It is recommended to keep the guide readily available for quick consultation and efficient workflow.
In conclusion, understanding the 3D Viewport and mastering the navigation tools in Blender is essential for efficient and productive work in the software. Moving objects, utilizing axis snapping, rotating and scaling objects, and exploring different viewpoints all contribute to effective modeling, animation, and visualization. By familiarizing oneself with these functionalities and utilizing the PDF guide for reference, users can confidently navigate and manipulate objects in the 3D Viewport, ultimately achieving their desired creative outcomes.
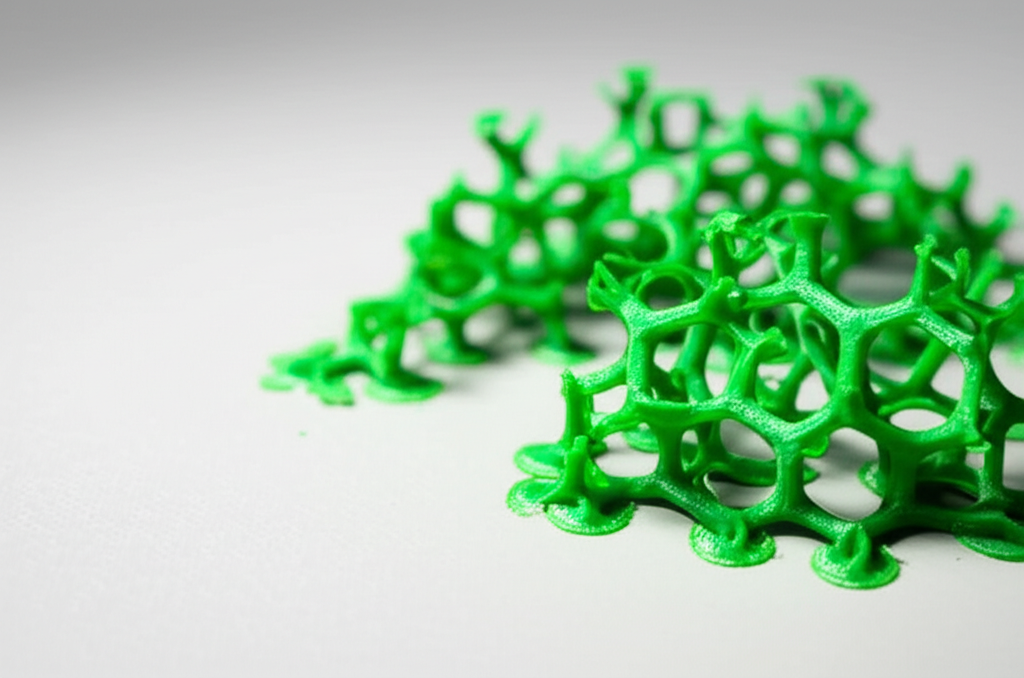
Maintain Your 3D Printer with these Tools

Ender 3 V3 KE PEI Spring Steel 235x235mm, Texture PEI Sheet Magnetic Flexible Heated Bed, Ender 3 V3 SE Build Plate for Creality K1C/K1/Ender 3 V3/Ender 3/Ender 3 Pro/Ender 3 V2/Ender 3 V2 Neo
$14.99 (as of June 22, 2025 23:52 GMT +00:00 - More infoProduct prices and availability are accurate as of the date/time indicated and are subject to change. Any price and availability information displayed on [relevant Amazon Site(s), as applicable] at the time of purchase will apply to the purchase of this product.)