Blender Tutorial: Quick and Easy 3D Modeling Method
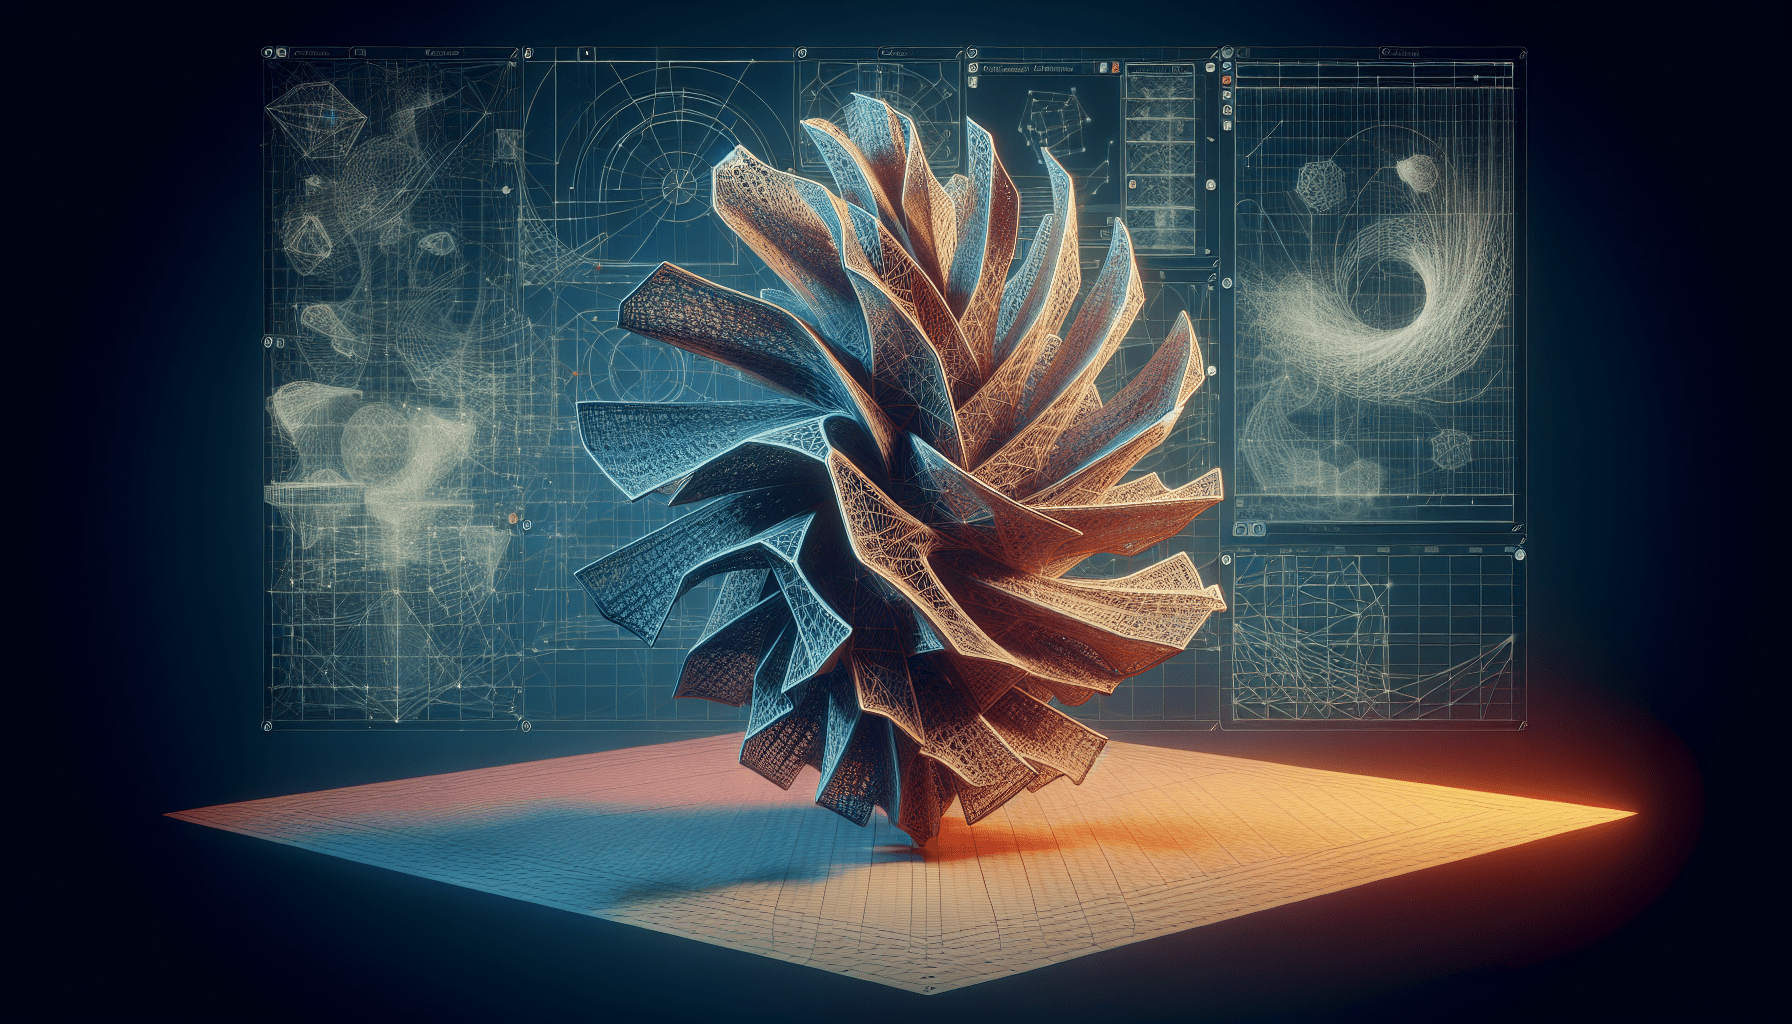

In this article titled “Blender Tutorial: Quick and Easy 3D Modeling Method,” the video by tutor4u demonstrates a method to create complex 3D models quickly and easily using Blender version 3.3. The tutorial specifically focuses on creating a water valve without utilizing the subdivision surface modifier or smooth shading. The article provides step-by-step instructions on creating the valve, including techniques like beveling, adding materials, and joining separate objects into a single object. The use of the Bolt Factory add-on to add bolts to the model is also explained. Furthermore, the article mentions techniques for manipulating objects, such as rotating, moving, and duplicating them, as well as applying modifiers, remeshing, and adjusting textures and lighting to achieve a polished appearance in the final rendered image. The tutorial encompasses various aspects of 3D modeling using Blender and aims to provide a quick and efficient method for creating complex objects.
By following this tutorial, users will be able to create intricate 3D models in Blender using a simplified approach. The tutorial focuses on eliminating the use of subdivision surface modifiers and smooth shading, allowing for quicker and easier modeling while avoiding unwanted artifacts. The demonstration includes detailed instructions on manipulating objects, using nodes, adding materials and textures, as well as setting up the scene with lighting and background images. Throughout the tutorial, the tutor4u video showcases every step, providing a visual aid to enhance the learning experience. With the knowledge gained from this tutorial, users will be able to effectively create their own 3D models in Blender.
Introduction
In this Blender tutorial, we will explore a quick and easy method to create complex 3D models without using the subdivision surface modifier or smooth shading. By utilizing a specific node, we can make separate meshes appear as if they are fused together into a single mesh. We will be creating a water valve in Blender version 3.3, following step-by-step instructions and utilizing various techniques such as rotation, duplication, scaling, extrusion, and more. Additionally, we will add text, materials, and textures to enhance the appearance of the model. Finally, we will position and prepare the scene, including setting up lighting and background images, before rendering the final image.
Step 1: Create the Water Valve
To begin, let’s create the water valve using Blender’s modeling tools. Follow the steps below:
Rotate the Object 30 Degrees
- Select the object and press R, X, 30, then Enter to rotate it 30 degrees on the X-axis.
Move the Object to the End
- Move the object to the desired position at the end of the valve assembly.
Duplicate the Object and Move it on the X-Axis
- Duplicate the object by pressing Shift + D, then move it along the X-axis using G and X.
Duplicate and Rotate the Object
- Duplicate the object again and rotate it 90 degrees on the Y-axis by pressing Shift + D, then R, Y, 90, and Enter.
Scale the Object
- Scale the object down by a factor of 0.5 using the Scale tool (Shortcut: S). This will ensure the proportions of the valve are maintained.
Move the Object to the Center and Then Up
- Move the object to the center of the valve assembly using the Grab tool (Shortcut: G). Then, move it up on the Z-axis to align it with the other components.
Delete the Threads and Make the Top Surface Larger
- Delete unnecessary threads by selecting them and pressing Delete. Then, adjust the size of the top surface to make it larger, if desired.
Select the Linked Faces and Delete Them
- Select the linked faces that are not needed and delete them using the Delete tool (Shortcut: Delete or X).
Select the Edge and Scale it Until it Almost Touches the Center Cylinder
- Select the edge that needs to be scaled, and press S to scale it until it is close to touching the center cylinder. This will create the desired shape for the valve.
Extrude the Edge Down on the Z-Axis
- Extrude the edge downward on the Z-axis to create depth and volume for the valve using the Extrude tool (Shortcut: E, then Z).
Duplicate and Move the Object on the Z-Axis
- Duplicate the object by pressing Shift + D, then move it along the Z-axis using G and Z.
Rotate the Object 30 Degrees
- Rotate the duplicated object 30 degrees on the Z-axis using R, Z, 30, and Enter.
Join the Objects Together and Name It ‘Valve’
- Select both objects and join them into a single object by pressing Ctrl + J. Finally, give the object a meaningful name, such as ‘valve,’ for ease of reference.
Find 3D Printing Accessories Here
Step 2: Add Text to the Object
Now that we have created the base of the water valve, let’s add some text to enhance its visual appeal. Follow these steps:
Add Text to the Object and Rotate It
- Select the object and add text to it using the Text tool (Shortcut: Shift + A, then Text). Enter the desired text and adjust other properties as needed.
Change the Text and Set the Extrude Value
- Modify the text as desired, such as changing the font, size, or characters. Additionally, set the extrude value to give the text depth and make it stand out in the final render.
Convert the Text to Mesh and Apply a Remesh Modifier
- Convert the text to a mesh by selecting it and then pressing Alt + C, followed by Mesh from Curve/Meta/Surf/Text. Apply a remesh modifier to the text to further enhance its appearance.
Scale the Mesh and Apply the Modifier
- Scale the mesh to the desired size, and then apply the remesh modifier to finalize the changes.
Select Edges and Scale Them Up
- Select the edges of the text and scale them up slightly to improve visibility and add emphasis.
Center the Text and Move It to the Front
- Center the text within the valve assembly and move it to the front to ensure it is prominently displayed.
Join the Text and Valve Objects
- Select both the text and valve objects and join them together into a single object using the join tool (Shortcut: Ctrl + J).
Recalculate the Normals
- Finally, recalculate the normals of the model to ensure proper shading and lighting in the final render. This can be done by entering edit mode, selecting all vertices, and accessing the Normals menu from the Mesh menu.
Step 3: Add Materials and Textures
To enhance the visual appearance of the water valve, we will add materials and textures to the model. Follow these steps:
Add a Material and Set the Base Color, Metallic, and Roughness Values
- Select the valve object and add a new material to it. Set the base color, metallic, and roughness values to achieve the desired appearance. Experiment with different settings to achieve the desired look.
Add a Bevel Modifier and Connect Nodes
- Apply a bevel modifier to the valve object to give it smoother edges. Connect the nodes within the material editor to create a seamless material workflow.
Add a Bump Texture and Connect Nodes
- Add a bump texture to the valve object to add detail and depth. Connect the nodes within the material editor to properly incorporate the bump texture.
Adjust the Scale and Strength of the Texture
- Adjust the scale and strength of the bump texture to achieve the desired effect. Fine-tune these settings until the texture appears as desired.
Create Another Material for Areas without Texture
- Create a separate material for areas of the valve that do not have a texture or need a different appearance. Apply this material to the relevant areas to differentiate them from textured regions.
Apply the Smooth Material to the Stem and Threads
- Finally, apply a smooth material to the stem and threads of the valve to give them a polished appearance. Adjust the material settings to achieve the desired effect.

Step 4: Position and Prepare the Scene
Now that we have completed the modeling and material work on the water valve, let’s position and prepare the scene for rendering. Follow these steps:
Unhide and Position the Handle
- Unhide any hidden elements, such as the handle, and position it correctly within the scene. Ensure it aligns properly with the valve assembly.
Set Up the Scene with a Plane and Camera
- Create a plane to serve as the ground or surface beneath the water valve. Position it accordingly to achieve the desired composition. Then, set up a camera to capture the scene from the desired angle.
Move the Light to Below the Valve
- Move the light source below the valve to create appropriate lighting and shadows in the scene. Adjust the light radius and power settings to achieve the desired effect.
Add an HDR Image for the Background
- Add an HDR image as the background to create a realistic environment for the water valve. Choose an HDR image that complements the overall composition and lighting.
Adjust the Strength of the Background Image
- Fine-tune the strength of the background image to ensure it blends well with the rest of the scene. Adjust this setting until it appears natural and balanced.
Step 5: Render the Final Image
Finally, it’s time to render the final image of our water valve. Ensure you have set up the scene, lighting, materials, and camera correctly before proceeding. Follow these steps:
Render the Final Image
- Access the rendering settings and choose the desired resolution, image format, and quality settings. Then, initiate the render process to create the final image.
Conclusion
In this tutorial, we have explored a quick and easy method to create complex 3D models in Blender without relying on subdivision surface modifiers or smooth shading. By utilizing specific techniques and tools, we were able to create a detailed water valve with precision and efficiency. Adding text, materials, and textures further enhanced the appearance of the model, improving its visual appeal. Through proper positioning and scene preparation, we were able to create a realistic rendering of the water valve. This tutorial highlights the benefits of this quick and easy 3D modeling method in Blender, showcasing the possibilities and efficiency of the software.
Maintain Your 3D Printer with these Tools

eSUN PLA Basic Filament 1.75mm, 3D Printer Filament High Speed PLA for Fast Printing, 1KG Spool (2.2 LBS) 3D Printing Filament for High Speed 3D Printers, White
$11.99 (as of June 25, 2025 00:05 GMT +00:00 - More info)