Build A Resin Cure Light: Cure The Inside Of Your Models

Sovol SV06 Plus ACE 3D Printer Open Source, 500mm/s Max High Speed 3D Printers, Fully Auto Leveling, with Camera Upgraded Structure Planetary Dual Gear Direct Drive Large Volume 11.8x11.8x13.8 inch
$329.00 (as of June 25, 2025 00:08 GMT +00:00 - More infoProduct prices and availability are accurate as of the date/time indicated and are subject to change. Any price and availability information displayed on [relevant Amazon Site(s), as applicable] at the time of purchase will apply to the purchase of this product.)Have you ever wondered why your resin prints sometimes crack or leak after a few months? If you’ve experienced this issue, you’re not alone. Many resin 3D printing enthusiasts face similar challenges. What’s often overlooked is curing the inside of your resin models effectively. You can solve this problem by building your own resin cure light. This guide will walk you through why it’s necessary, what you need, and how to make and use your own resin cure light.
Anycubic 3D Materials Sale: Resin & PLA from $9.49/kg
Why Do You Need to Cure the Inside of a Resin Print?
Curing the Inside Prevents Cracking and Leaking
When you 3D print with resin, washing and curing are standard post-processing steps. Most people focus on cleaning and curing the exterior of their models while neglecting the interior. Even cutting-edge wash and cure stations often fail to clean the inner cavities effectively. Over time, any uncured resin can cause the model to crack or leak. Imagine spending hours perfecting a model only to have it ruined a few months later because of uncured resin inside.
Prolong the Lifespan of Your Models
Curing the inside of your resin models ensures that every drop of resin is solidified. This extra step will significantly improve the durability and strength of your prints. You don’t want your hard work to go to waste over something so easily preventable.
Anycubic 3D Materials Sale: Resin & PLA from $9.49/kg
What Do You Need to Build a Resin Cure Light?
Fortunately, the list of materials is relatively short if you’re already into DIY or making. Here’s what you’ll need:
| Item | Purpose | Where to Find |
|---|---|---|
| UV LEDs | Emits UV light necessary for curing resin | AliExpress, Amazon |
| 12V Power Supply | Powers the UV LEDs | Spare from old devices, Amazon, AliExpress |
| Soldering Iron | For connecting wires | DIY stores, Amazon |
| Electrical Tape | Insulating the wires after connection | Any hardware store |
| Optional Items: | ||
| Crimping Tool | Making secure connections | DIY stores, Online |
| Ferrules | Easier wire connections | DIY stores, Online |
| Solder Heat Shrink Tubes | For ease and insulation | DIY stores, Online |
Why These Materials?
- UV LEDs: The LEDs emit the specific wavelength of light needed to cure resin. They are efficient and effective.
- 12V Power Supply: It’s a versatile voltage that most small electronics can use. An old charger from a defunct device works perfectly.
- Soldering Iron & Electrical Tape: Essential for any electrical project, these tools help you connect and secure the components.
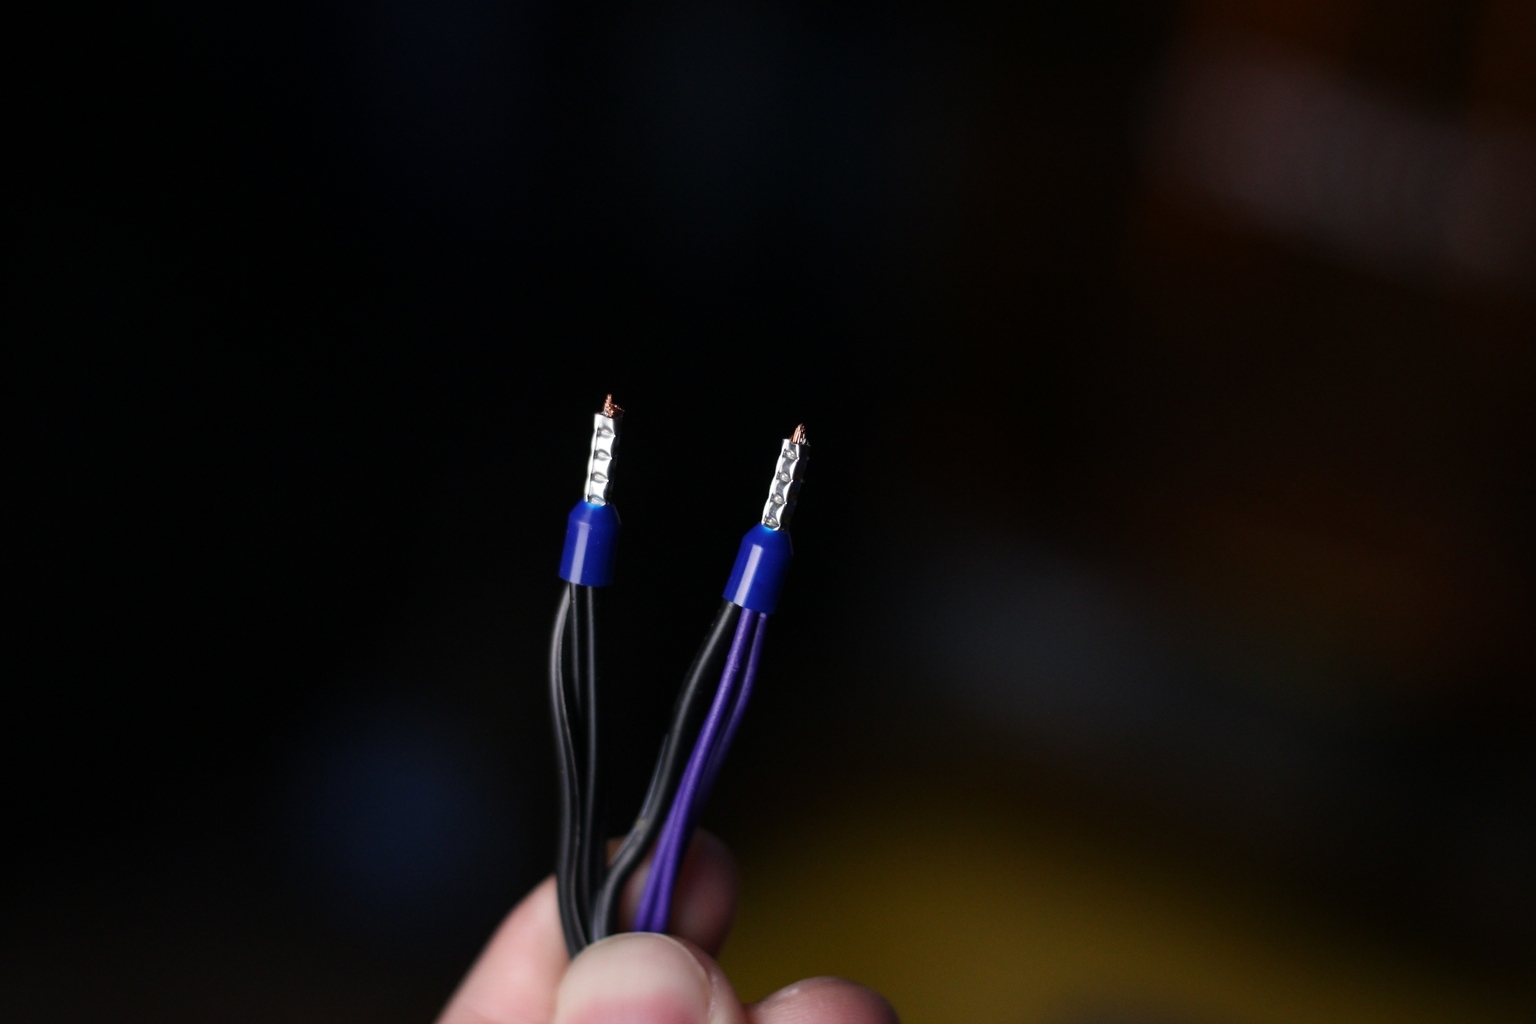
- Additional Tools: Crimping tools and ferrules or solder heat shrink tubes can make your job easier, although they are not strictly necessary.
Steps to Make a Resin Cure Light
Creating your own curing light is simpler than you might think. Here’s a step-by-step guide to building it:
Step 1: Prepare the Power Adapter
First, cut the connector off your power adapter and split the wires. This will give you two exposed leads, one positive and one negative. Do the same for your UV LED lights.
Step 2: Pair the Wires
Next, pair the wires from the power adapter with the wires from the UV LEDs. Typically, LEDs have two leads—one longer (positive) and one shorter (negative). Make sure to pair positive to positive and negative to negative.
Step 3: Connect the LEDs
I recommend using three LED lights for your curing setup, although adding an extra LED or two wouldn’t hurt. Ensure you check the polarity before soldering or crimping the wires together. If you’re unsure, use a multimeter to confirm which wire is positive.
Step 4: Insulate the Connections
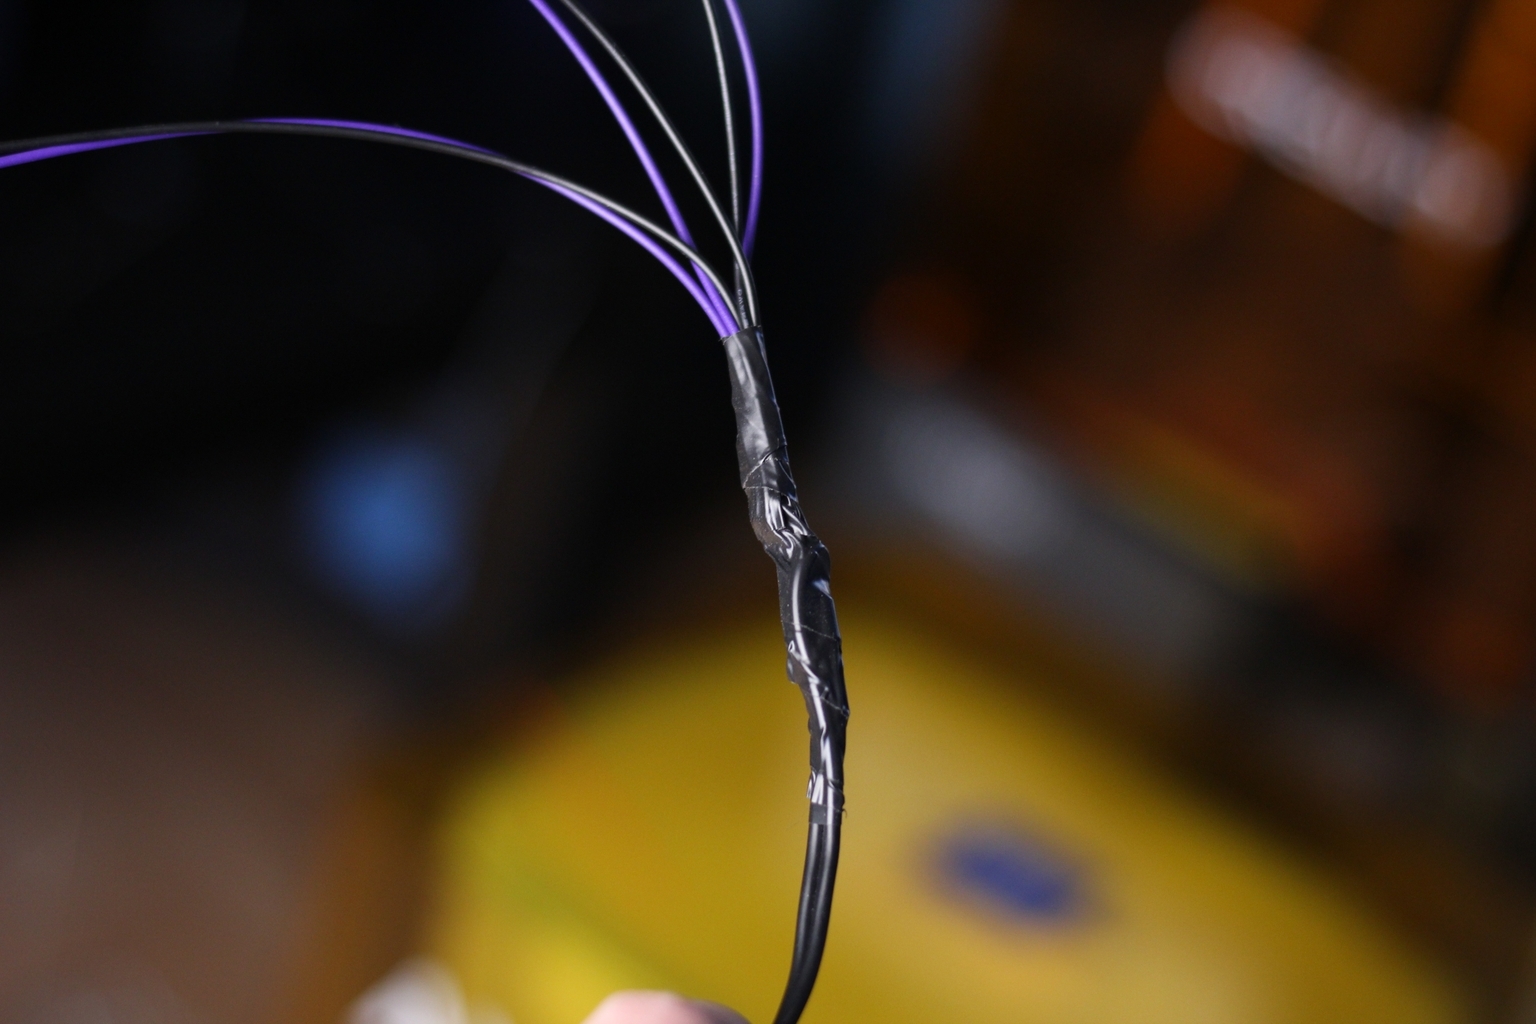
Once connected, use electrical tape to insulate the wires and make the setup look a bit more presentable. If you’re using ferrules or heat shrink tubes, this step will be much quicker and aesthetically better. Double-check that everything is secure and well insulated before proceeding.
It’s Also Worth Noting
Using a power adapter instead of batteries is more sustainable. Batteries can be wasteful and costly in the long run. By opting for an adapter, you’re also simplifying your setup and avoiding frequent replacements.
How to Use the Resin Cure Light?
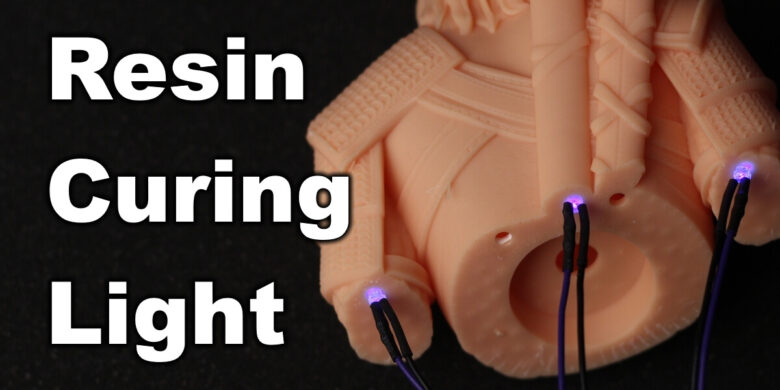
Once you’ve built your resin cure light, using it is straightforward. Here’s how:
Step 1: Wash and Cure the Exterior
First, go through your usual post-processing steps for the exterior of your model. Wash it with isopropyl alcohol (IPA) and cure it under your regular UV curing light.
Step 2: Insert the UV LEDs
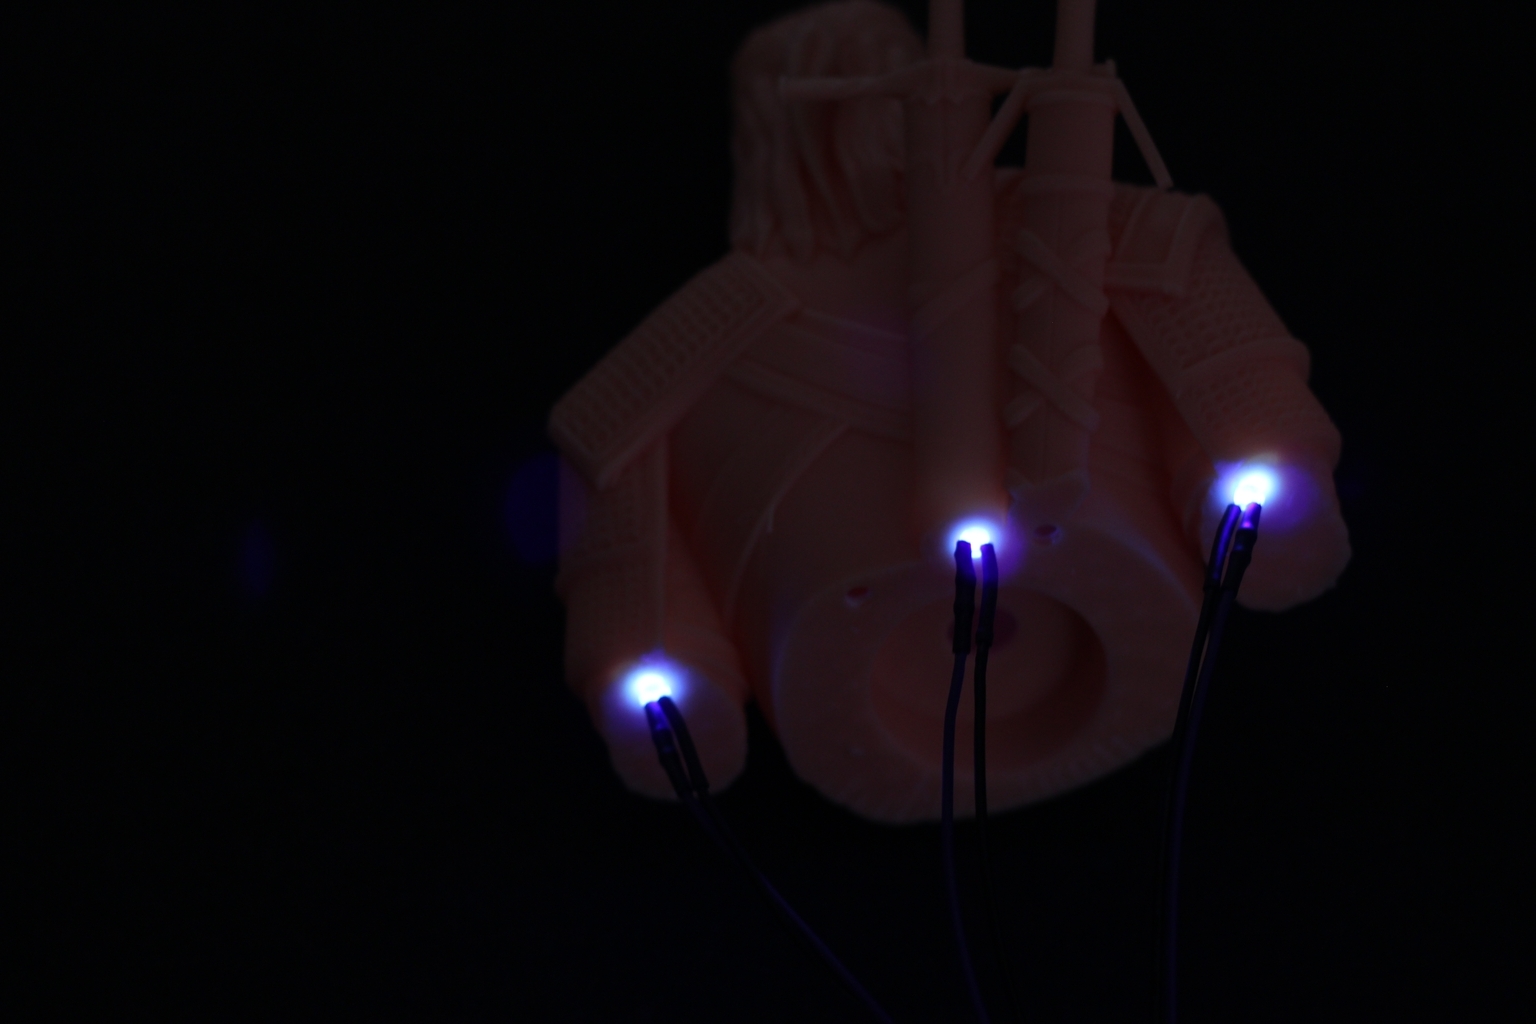
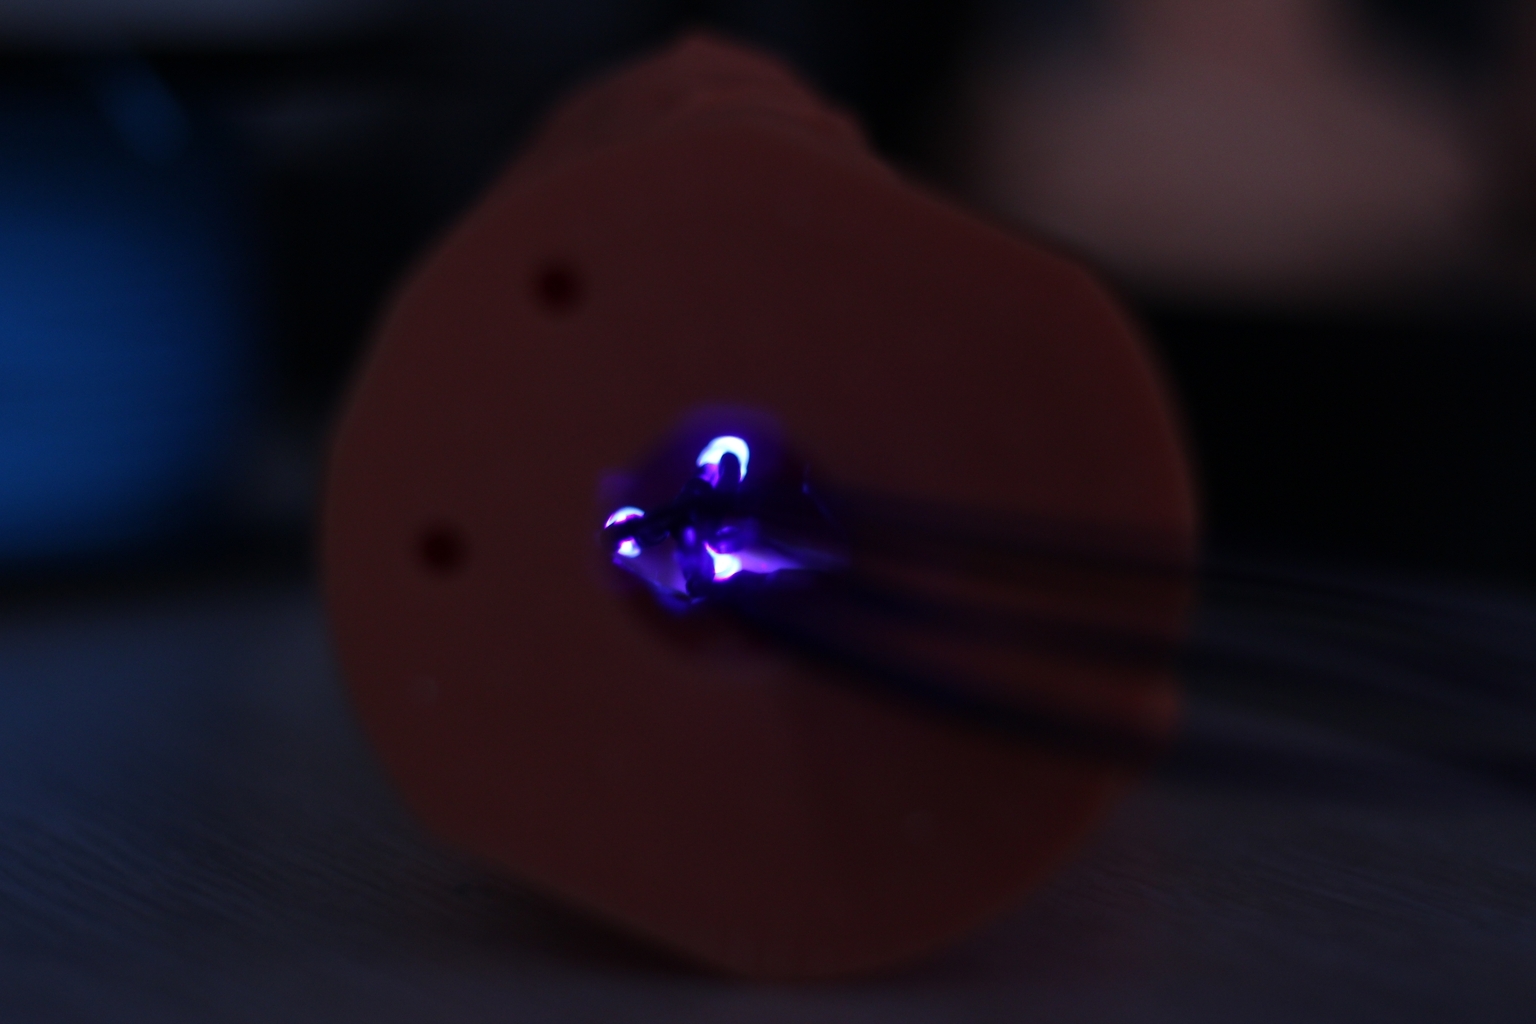
Once the exterior is cured, insert the UV LEDs into the hollow parts of your model. Depending on the size and complexity of your print, you might need to get creative in positioning the LEDs for maximum coverage.
Step 3: Power Up
Turn on the power supply, and let the internal curing process begin. Usually, a few minutes should suffice, but you can let it go longer if you’re unsure.
Wrapping Up
Building your own resin cure light is a valuable and straightforward project that can save you time and frustration down the line. By following this guide, you ensure that every inch of your model is fully cured, thus prolonging its life and preserving your hard work.
This guide aims to be a simple resource, whether you’re a beginner or a seasoned resin 3D printing enthusiast. If you found it helpful, consider supporting 3DPrintBeginner. Your support helps produce more comprehensive guides that make your 3D printing journey smoother.
Additionally, don’t hesitate to join forums or communities where you can share your experiences and troubleshoot any issues you might encounter. The world of 3D printing is vast, and there’s always more to learn! Happy printing!
Anycubic 3D Materials Sale: Resin & PLA from $9.49/kg


