How to Cut STL/OBJ Files | Meshmixer Tutorial 2022 | 3D Printing Guide for newbies
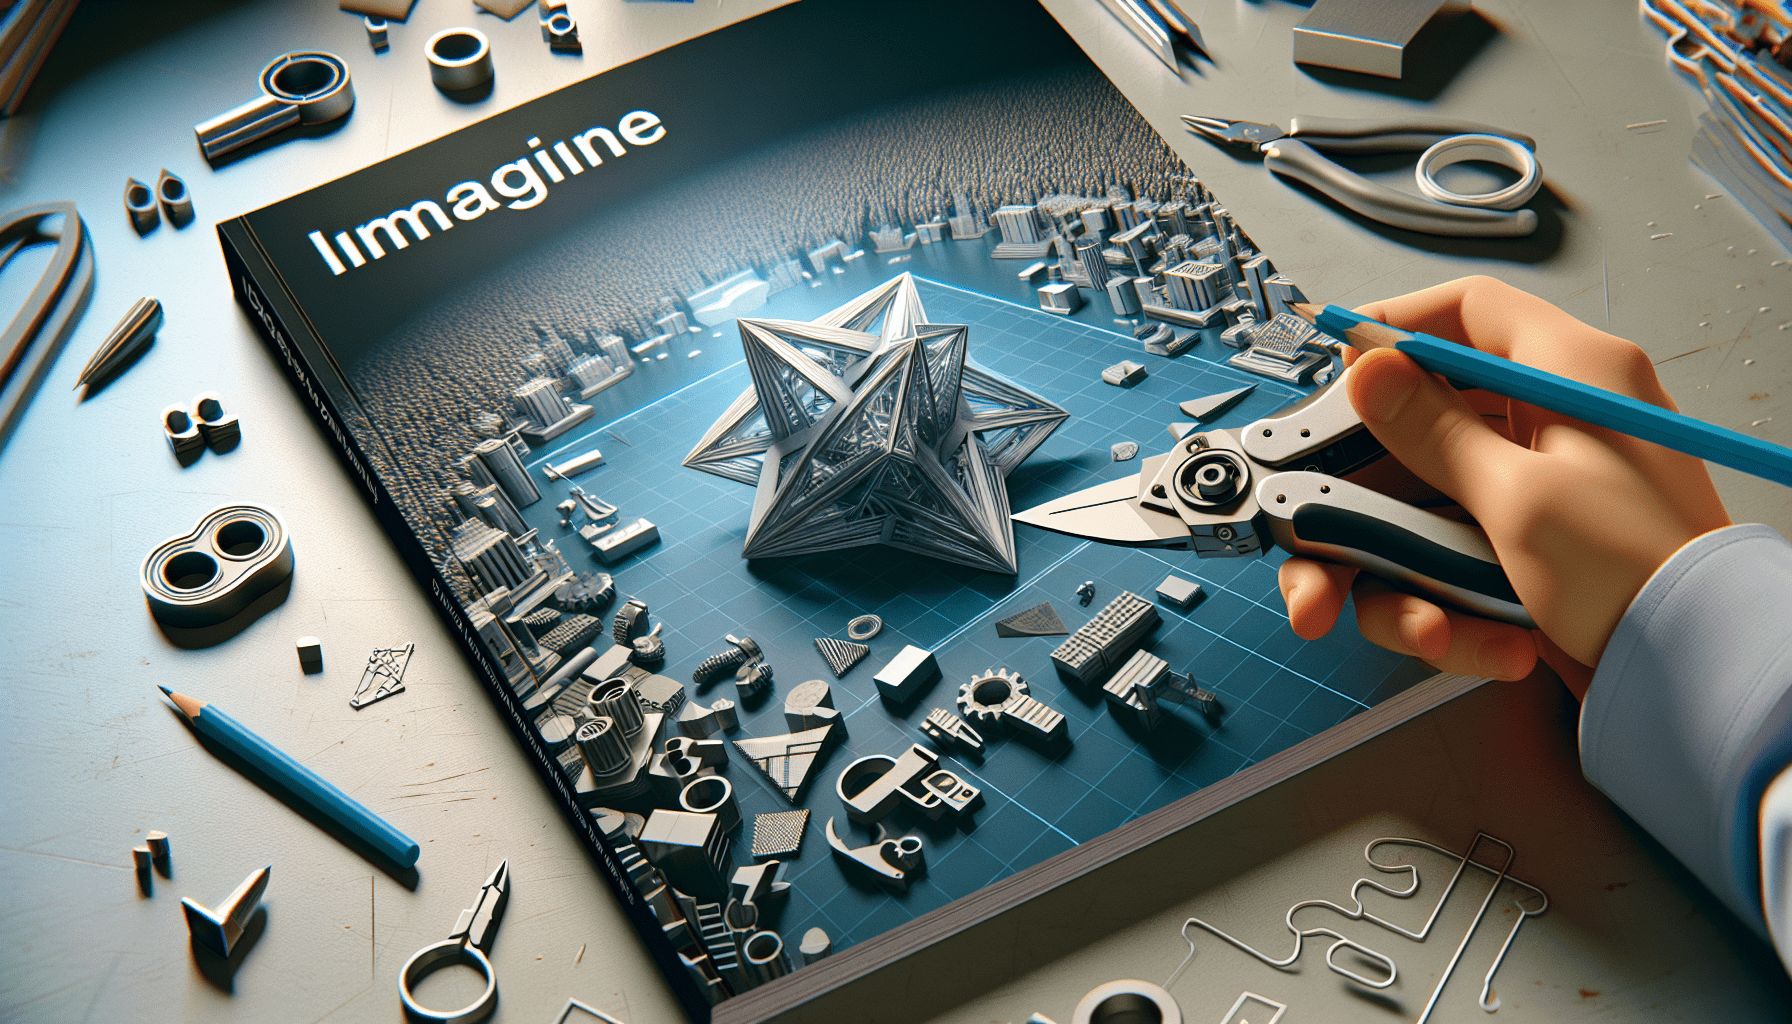
In this video by 3D Polygon, you’ll learn how to cut STL files using Meshmixer, a user-friendly and free software that works alongside your slicer software for 3D printing. The video starts with a quick check for any issues in the STL file using the Edit Inspector. Once confirmed, the tutorial walks you through the process of cutting the model using the Edit Plane Cut feature. You can move and rotate the cutting plane to your desired position, and then accept the changes. However, if you want to keep both halves of the model, you can choose the Slice and keep both option instead. The video concludes by showcasing the divided 3D model, with the two parts still counted as a single piece.
This tutorial, part of a series by 3D Polygon, is a helpful resource for beginners in the world of 3D printing. The step-by-step instructions and demonstrations make it easy to follow along and learn how to manipulate STL files using Meshmixer. By offering support through subscriptions and following the creator’s profile on Cults3d, you can access similar videos and explore more creative possibilities with Meshmixer. With a focus on providing a 3D printing guide for newbies, this video serves as a valuable resource for those looking to enhance their skills in the field.
How to Cut STL/OBJ Files with Meshmixer

Introduction to Meshmixer
If you’re a fan of 3D printing and want to get more creative with your models, Meshmixer is an excellent software to add to your toolkit. Not only is it user-friendly, but it’s also free to use. In this tutorial, we will be focusing on how to cut STL or OBJ files using Meshmixer. This process can be incredibly useful if you want to divide a model into multiple parts or remove a specific section.
Checking for Issues in STL Files
Before we dive into cutting the model, it’s essential to ensure that the STL file you’re working with doesn’t have any issues. Meshmixer provides a useful tool called the Edit Inspector, which allows you to check for and fix any potential problems. By using this tool, you can examine the model’s integrity, such as non-manifold geometry or intersecting meshes, and make necessary repairs.
Accessing the Edit Plane Cut Tool
Once you’ve confirmed that your STL file is in good condition, it’s time to begin the cutting process. In Meshmixer, this can be done using the Edit Plane Cut tool. To access this tool, navigate to the top menu and click on the “Edit” tab. From there, select “Plane Cut” from the drop-down menu.
Adjusting the Cutting Plane
After selecting the Plane Cut tool, you’ll notice a cutting plane displayed on your model. This plane represents the section where the cut will be made. Meshmixer provides various options for adjusting the cutting plane to achieve the desired result. You can move the plane by clicking and dragging it to a new location, or you can rotate it by clicking and dragging the circular icon located at the top. Take your time to position the cutting plane precisely where you want the cut to occur.

Cutting the Model
Once you’re satisfied with the position of the cutting plane, it’s time to make the cut. Simply click the “Accept” button located at the bottom of the screen to execute the cut. You’ll instantly see the result, with one side of the model separated from the other. This step allows you to divide the model into two or more parts, depending on your desired outcome.
Avoiding the Other Half of the Model
At this point, you may notice that the other half of the model has disappeared. To avoid this from happening, Meshmixer provides an alternative option called “Slice and Keep Both.” By selecting this option instead of the default “Accept,” you can ensure that both halves of the model remain intact. This means that even though the model is divided into two parts, both parts will still be present.

Using the Slice and Keep Both Option
To use the “Slice and Keep Both” option, simply access the Edit Plane Cut tool as before and adjust the cutting plane according to your preferences. Once you’ve positioned the cutting plane, instead of clicking “Accept,” choose the “Slice and Keep Both” option. This will preserve both halves of the model upon execution. Now you can continue working with the divided parts without losing any information.
Selecting the Divided Model Parts
After executing the cut, you may want to manipulate or further modify the divided model parts separately. To do this, you need to select each part individually. Meshmixer makes this process easy with its selection tools. Navigate to the top menu and click on the “Select” tab. From there, you can choose the appropriate selection method based on your needs, such as lasso selection or brush selection. By selecting each part, you can apply different modifications or adjustments to them independently.
Understanding the Model Division
It’s important to note that when you cut a model using Meshmixer, the divided parts are still considered as one piece. This means that despite the separation, both parts are still connected in the virtual space. It can be helpful to understand this concept to avoid confusion when working with the individual parts. If you require completely separate models, you may need to export them as separate STL files.
Conclusion
In conclusion, cutting STL or OBJ files using Meshmixer opens up a world of possibilities for 3D printing enthusiasts. Whether you want to divide a model into multiple parts or remove a specific section, Meshmixer provides the tools necessary to accomplish these tasks effectively. By following the steps outlined in this tutorial, you’ll be able to confidently cut your models and explore new creative opportunities in the realm of 3D printing. So go ahead and give Meshmixer a try – you’ll be amazed at the results you can achieve!
In this Meshmixer tutorial, you will discover how to cut STL files. Meshmixer is a user-friendly software that is absolutely free to use and can be used alongside your slicer software. You can expect more videos like this where I will showcase how you can create innovative designs using Meshmixer.
To show your support, you can visit my profile on Cults3d and follow me: 3dpolygo
Check out these similar videos:
- [How to Repair STL/OBJ Files | Meshmi…](add link)
And if you’re interested, here’s a playlist of SolidWorks tutorials:
- [Solidworks Tutorials](add link)


